
How to Make a Topiary
Need to spruce up your entryway or add some decoration to your space?
You would never believe this topiary is made with plungers you can get from the Dollar Store!
Taking the plunge into a new DIY
Topiary out of plungers?!?
When I first came across this idea, I was perplexed too! But the results speak for themselves!
I did not dream up this wild masterpiece, but I knew I had to try it once I saw it. The real mastermind behind this project is Rebecca Jean from Style My Sweets. I’ll link her YouTube channel here and the video where she makes this topiary here.
She typically creates a wide variety of Dollar Tree DIYs year-round. Check her out!
Anyways, I knew from the get-go I did not want to use only Dollar Tree florals for this project (although you totally can complete this project with them).
I wanted to elevate it a bit more with some other florals that I purchased from Michaels. Plus, I wanted the option to swap out colors/flowers depending on the season.
So I sourced some lovely (discounted) spring florals but came short on the greenery I wanted.
I knew I wanted more greenery than she used in her video and Michaels was a bust on greenery that wasn’t over $16 a stem.
So I did what anyone in a predicament does, checked on Amazon! I found the perfect bunch of faux eucalyptus leaves that I thought would look perfect as filler.
Click, Boom and I bought it! Now all I had to do was wait for my items to get to me and I was ready to assemble.
Let me show you how I made the topiary!
This post contains affiliate links. Read my full disclosure for more info.
List of Supplies:
Makes: 1 topiary
Estimated Time: between 1-2 hours depending on how fast you work.
Sewing skills needed/used: none
Skill Level: Beginner. This project is kid-friendly with some adult supervision.
Items you need:
2 plungers from the Dollar Store (you will only be using the handles)
Florals, you will need a considerable amount of florals for this project. I used around 15 or so bundles or stems of florals
Greenery, I sourced my greenery from Amazon
Flower Pot
Wire cutters or needle nose pliers
E6000 or Gorilla Super Glue
Rocks, I used 6 bags from the Dollar Store
Faux Moss (optional), I used 3 bags from the Dollar Store
Brown acrylic paint
Paper towel or foam brush
2 styrofoam balls or floral foam, I used 7.6 inch styrofoam balls from Michaels***
Additional piece of floral foam or styrofoam block to fit into the flower pot
*** The styrofoam was very stiff and ended up causing me to resecure my foam balls to the wooden handles. Next time I attempt this project, I will be using floral foam.
How to Make a Topiary from Plungers

Step 1:
Gather the supplies and clear some space!

Step 2:
Remove the plunger bases and paint/stain the handles.
To do this, I watered down brown acrylic paint and used a paper towel to brush it onto the handle. I used two coats to achieve the color I was looking for.
You might have to play around with the water to paint ratio to achieve the desired color. I always start with my paint more watered-down so I can layer.


Step 3:
Glue the styrofoam balls to the wooden handles.
To do this, I used the handle of the plunger to create a hole where I could secure it, sort of like predrilling a hole when you’re hanging something on the wall. I needed to use some force since the styrofoam was very stiff.


Step 4:
Secure the topiary to the base.
To do this, I used a small piece of floral foam to anchor the wooden handle. Then, I tossed five bags of rocks from the Dollar Tree to add weight and additional support.

When it is secure, it should look like this.

Step 5:
Cut flowers and start attaching them to the topiary.
To do this, I used wire cutters to trim my flower stems down to roughly 4 inches long.
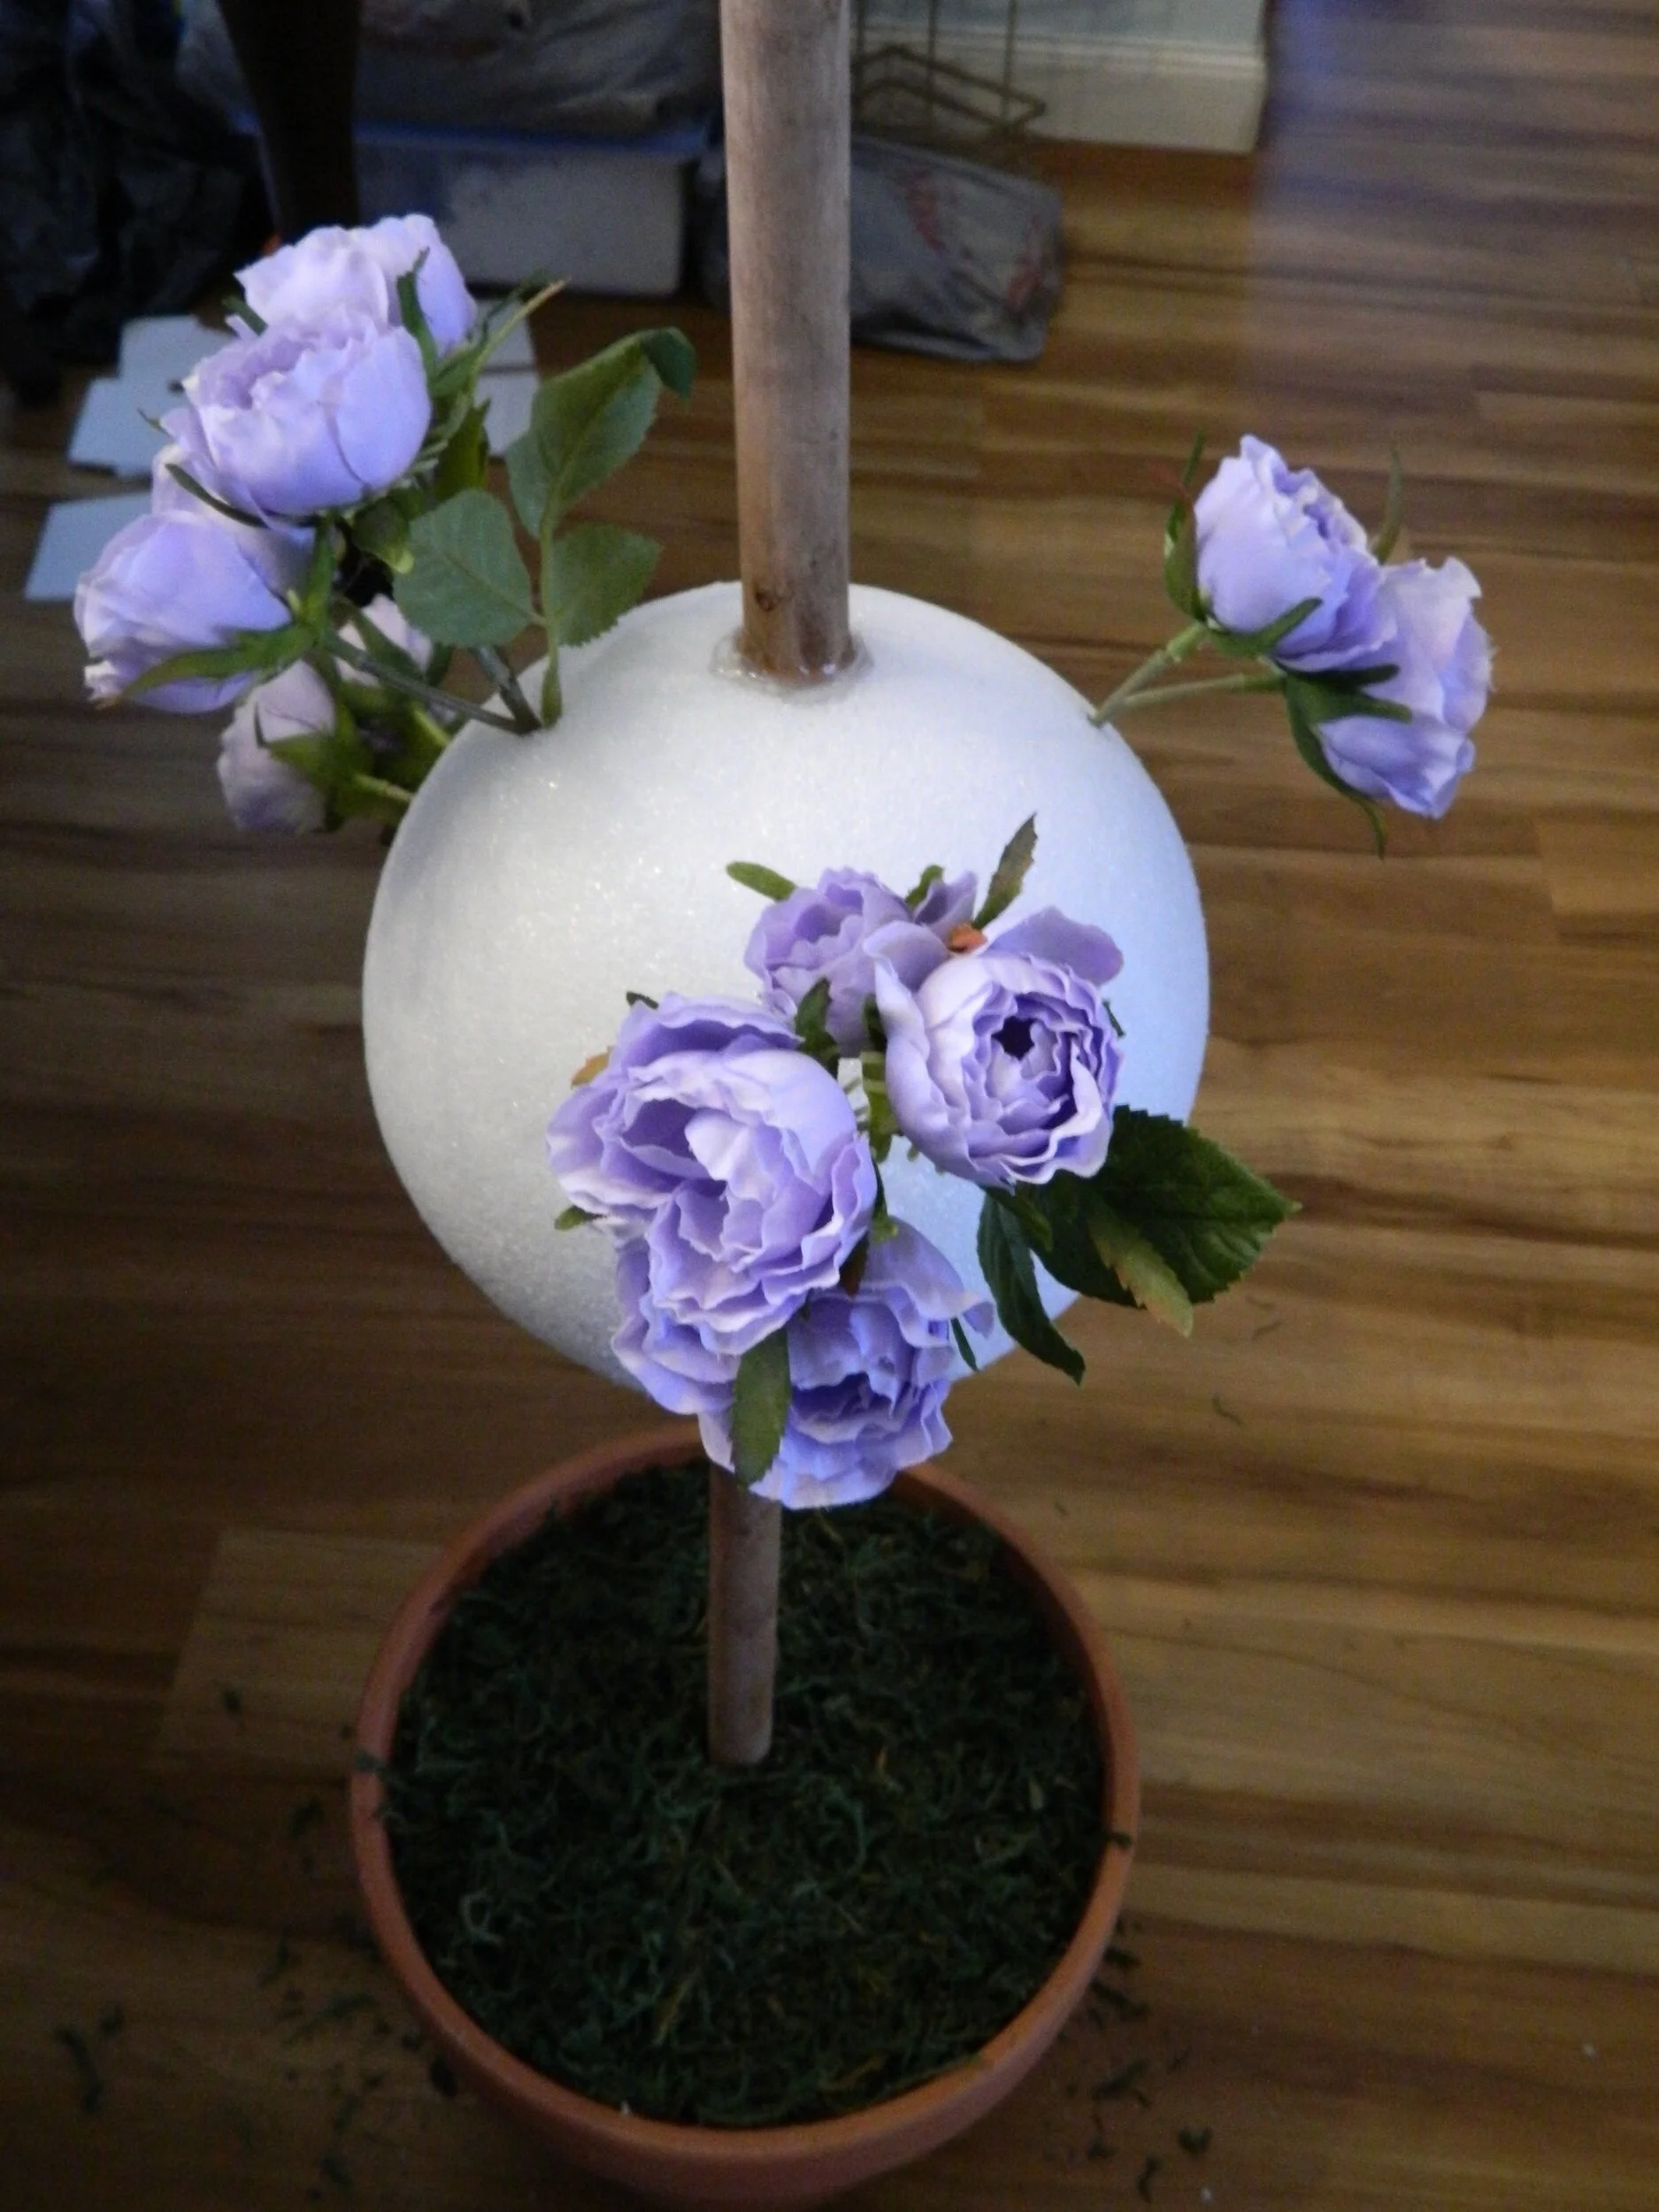
I staggered my arrangement and constantly rotated the topiary to make sure I filled it completely.
***Each inserted flower caused the bottom ball to loosen from the wooden piece. This resulted in me having to secure the ball to the dowel again.
I ended up holding the topiary by the middle wooden piece to help the sytrofoam balls stay in place.

Fill the topiary until it is ass full as you want it.
I used all my flowers first, then I went back in with greenery.
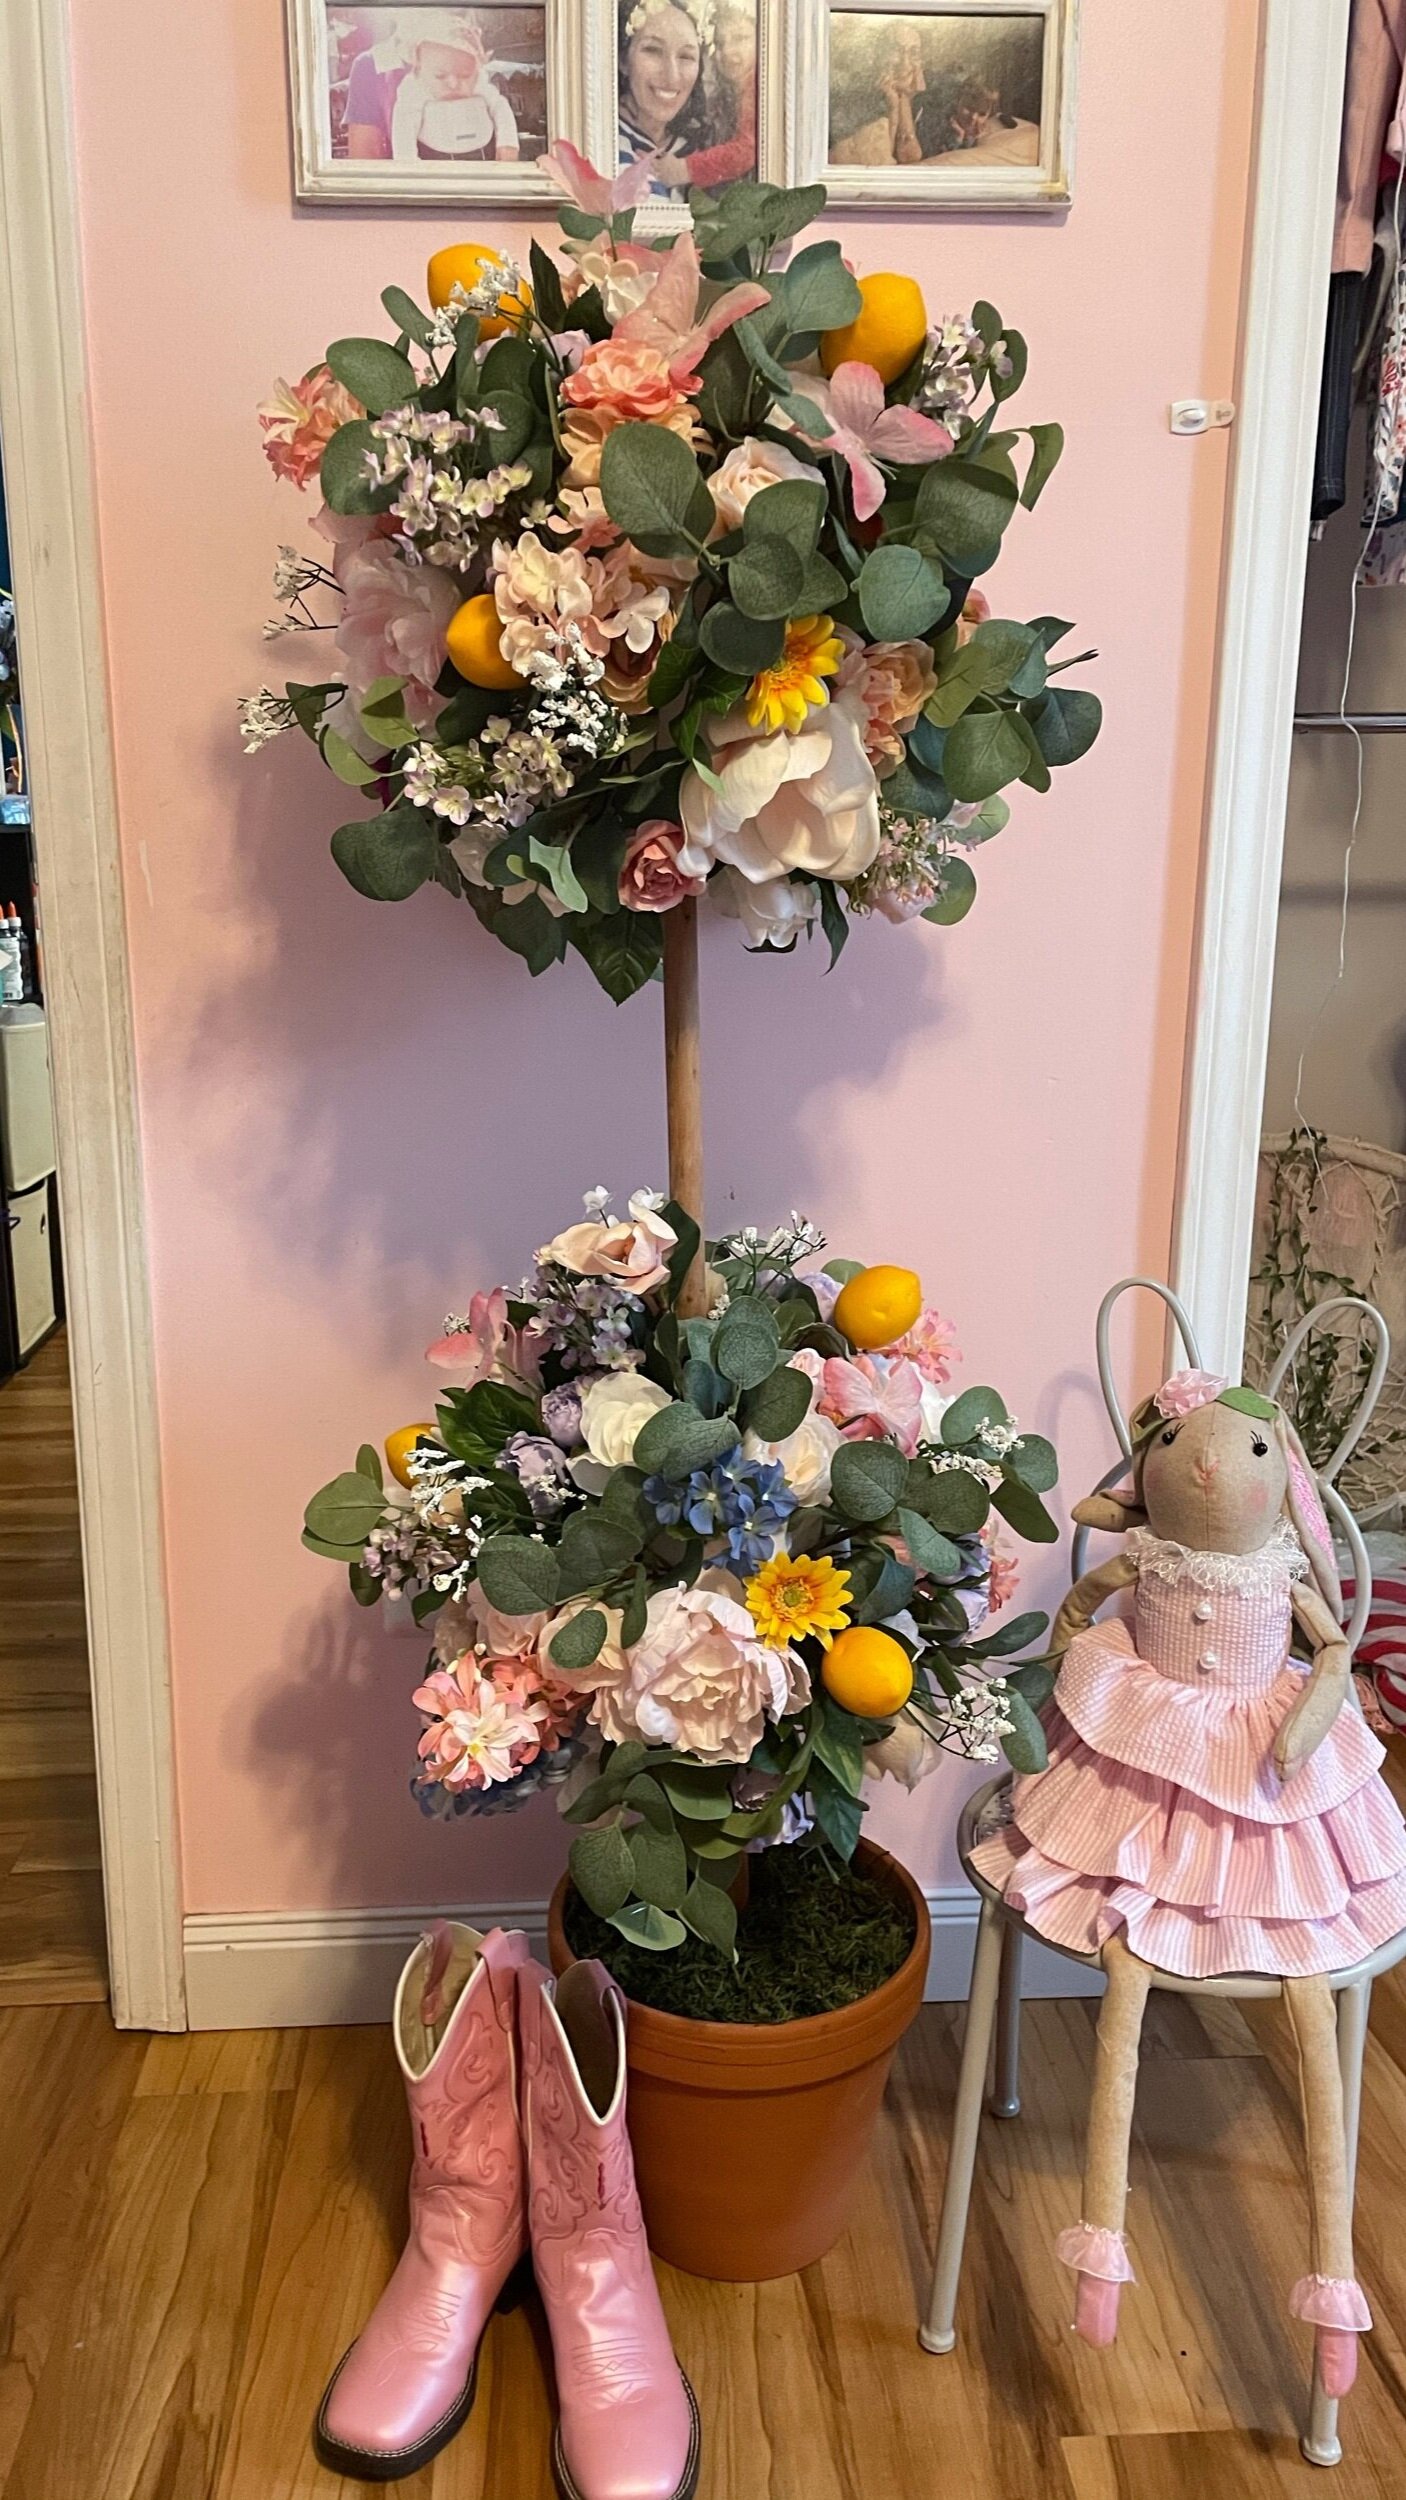
That’s it!
The topiary is complete!
Here are some more pictures of my completed plunger topiary.


Hot Tips
Floral foam would have been a better choice for the centers of the topiary. As I mentioned in the tutorial, the styrofoam was very stiff and caused the whole project to come unbalanced.
This project requires a plethora of florals. I suggest overbuying to ensure you have enough to provide full coverage.
If you choose to go with styrofoam, I suggest covering it with moss to hide the white. It would help mask the foam a bit more.
Leave your stems a bit longer. you can always trim them down if they are too long, but you can’t add if they are too short.
Mix the size and texture of your florals to create more visual interest.
Stick with a neutral color palette and add in a few pops of color. This gives the topiary a balanced look, without feeling too chaotic.
Even though the rocks worked to hold the topiary in place, I would consider anchoring it in a small bit of concrete to hold it straight.
Final Thoughts…
I couldn’t believe that the plunger technique worked! I will definitely try this project out again. I think this would make a beautiful arrangement for any season.
This project is kid-friendly, but I suggest supervision since the foam balls tend to come dislodged from the wooden dowels with too much pressure.
Several family members have asked me to make them one! The only problem is that this costs some $$ if you want it to look realistic and full. I would estimate that I have no less than $75 in this project.
You can make this with items from Dollar Tree, but I wanted more variety in my florals. However, I am going to try to make a poinsettia topiary for Christmas and I plan on using only Dollar Store florals.
I had plans to put this outside, but after completing it, it looks better in my dining room! I can always leave the base and swap out the topiary top!
Next time I attempt this project, I would:
Use a small bowl of concrete to make the base more stable.
Use floral foam instead of sytrofoam.
Use different florals for a different season.
Cover the foam in moss to provide a green/living base for the flowers to be attached.
Overall, I really loved this whole process and my kids loved helping me! I think the end result is breathtaking and I will be making more of these in the future! I also love the idea that I can leave the pot the same and just swap out the top topiary part of the project for the season!
These would be stunning for weddings, birthday decor, or just home decor. What would you use them for?
Remember, if you try this project out, make sure to use the hashtag #darkkfluridesigns so I can see your creations!
I really hope you enjoyed this make! If you did please consider subscribing to my newsletter, so you never miss a new project!
Happy crafting!