
Loom Knit Scarf
If the thought of those knitting needles intimidates you, then loom knitting will allow you to ease yourself into the world of handmade knitting without the stress!

Who said you needed to pick up those needles?
I’m the kind of crafty person that likes to try out everything at least once. I watch people knit or crochet these adorable critters and beautiful blankets. I thought, “Hey I can do that!”
Well, as it turns out, I can’t do that.
About three years ago, I tried to crochet a simple scarf. I had picked out a simple yarn and had the correct needle/hook for its weight. By the sixth row, my rectangular scarf was starting to bend and twist.
Those of you that knit or crochet are probably saying, “You didn’t count right.”
But here’s the thing, I was counting; I was just missing loops and attaching them incorrectly (I didn’t know that then). I couldn’t figure out why my creation was turning into a lasagna noodle. I became frustrated with the idea of counting, stored my hook, and gave up on any further attempts to learn.
Who likes counting anyway!
But this past year, I was reacquainted with my former nemesis when my daughter asked me to help her with a crafting project she had received as a gift. She presented me with a box that contained balls of yarn, a hook, a loom, and instructions.
We spent the better part of an hour learning how to use the loom and getting familiar with how it should be threaded. Once we got the hang of it, the process became addicting!
After her scarf was completed, we decided to hit the craft store and make one for me (and another one for her because why not)! As we were shopping, my daughter got the idea to make a scarf for her aunts and grandmothers for Christmas.
I said, “Why stop there? Let’s make one for every girl this year!” And thus hours of loom knitting lay ahead of us.
Before I jump in on how I made the scarves, I want to explain what loom knitting is.
What is loom knitting?
Loom knitting is a form of knitting where you use a tool to create a knitted garment or blanket. The tool contains a prearranged set of pegs for you to weave yarn in. Each peg counts as a single knit.
Looms come in a variety of shapes and sizes; each one has its own purpose. The most common shapes for loom knitting are:
Circular, Rectangular, Long and Narrow, X-shaped, Oval, and S-shaped.
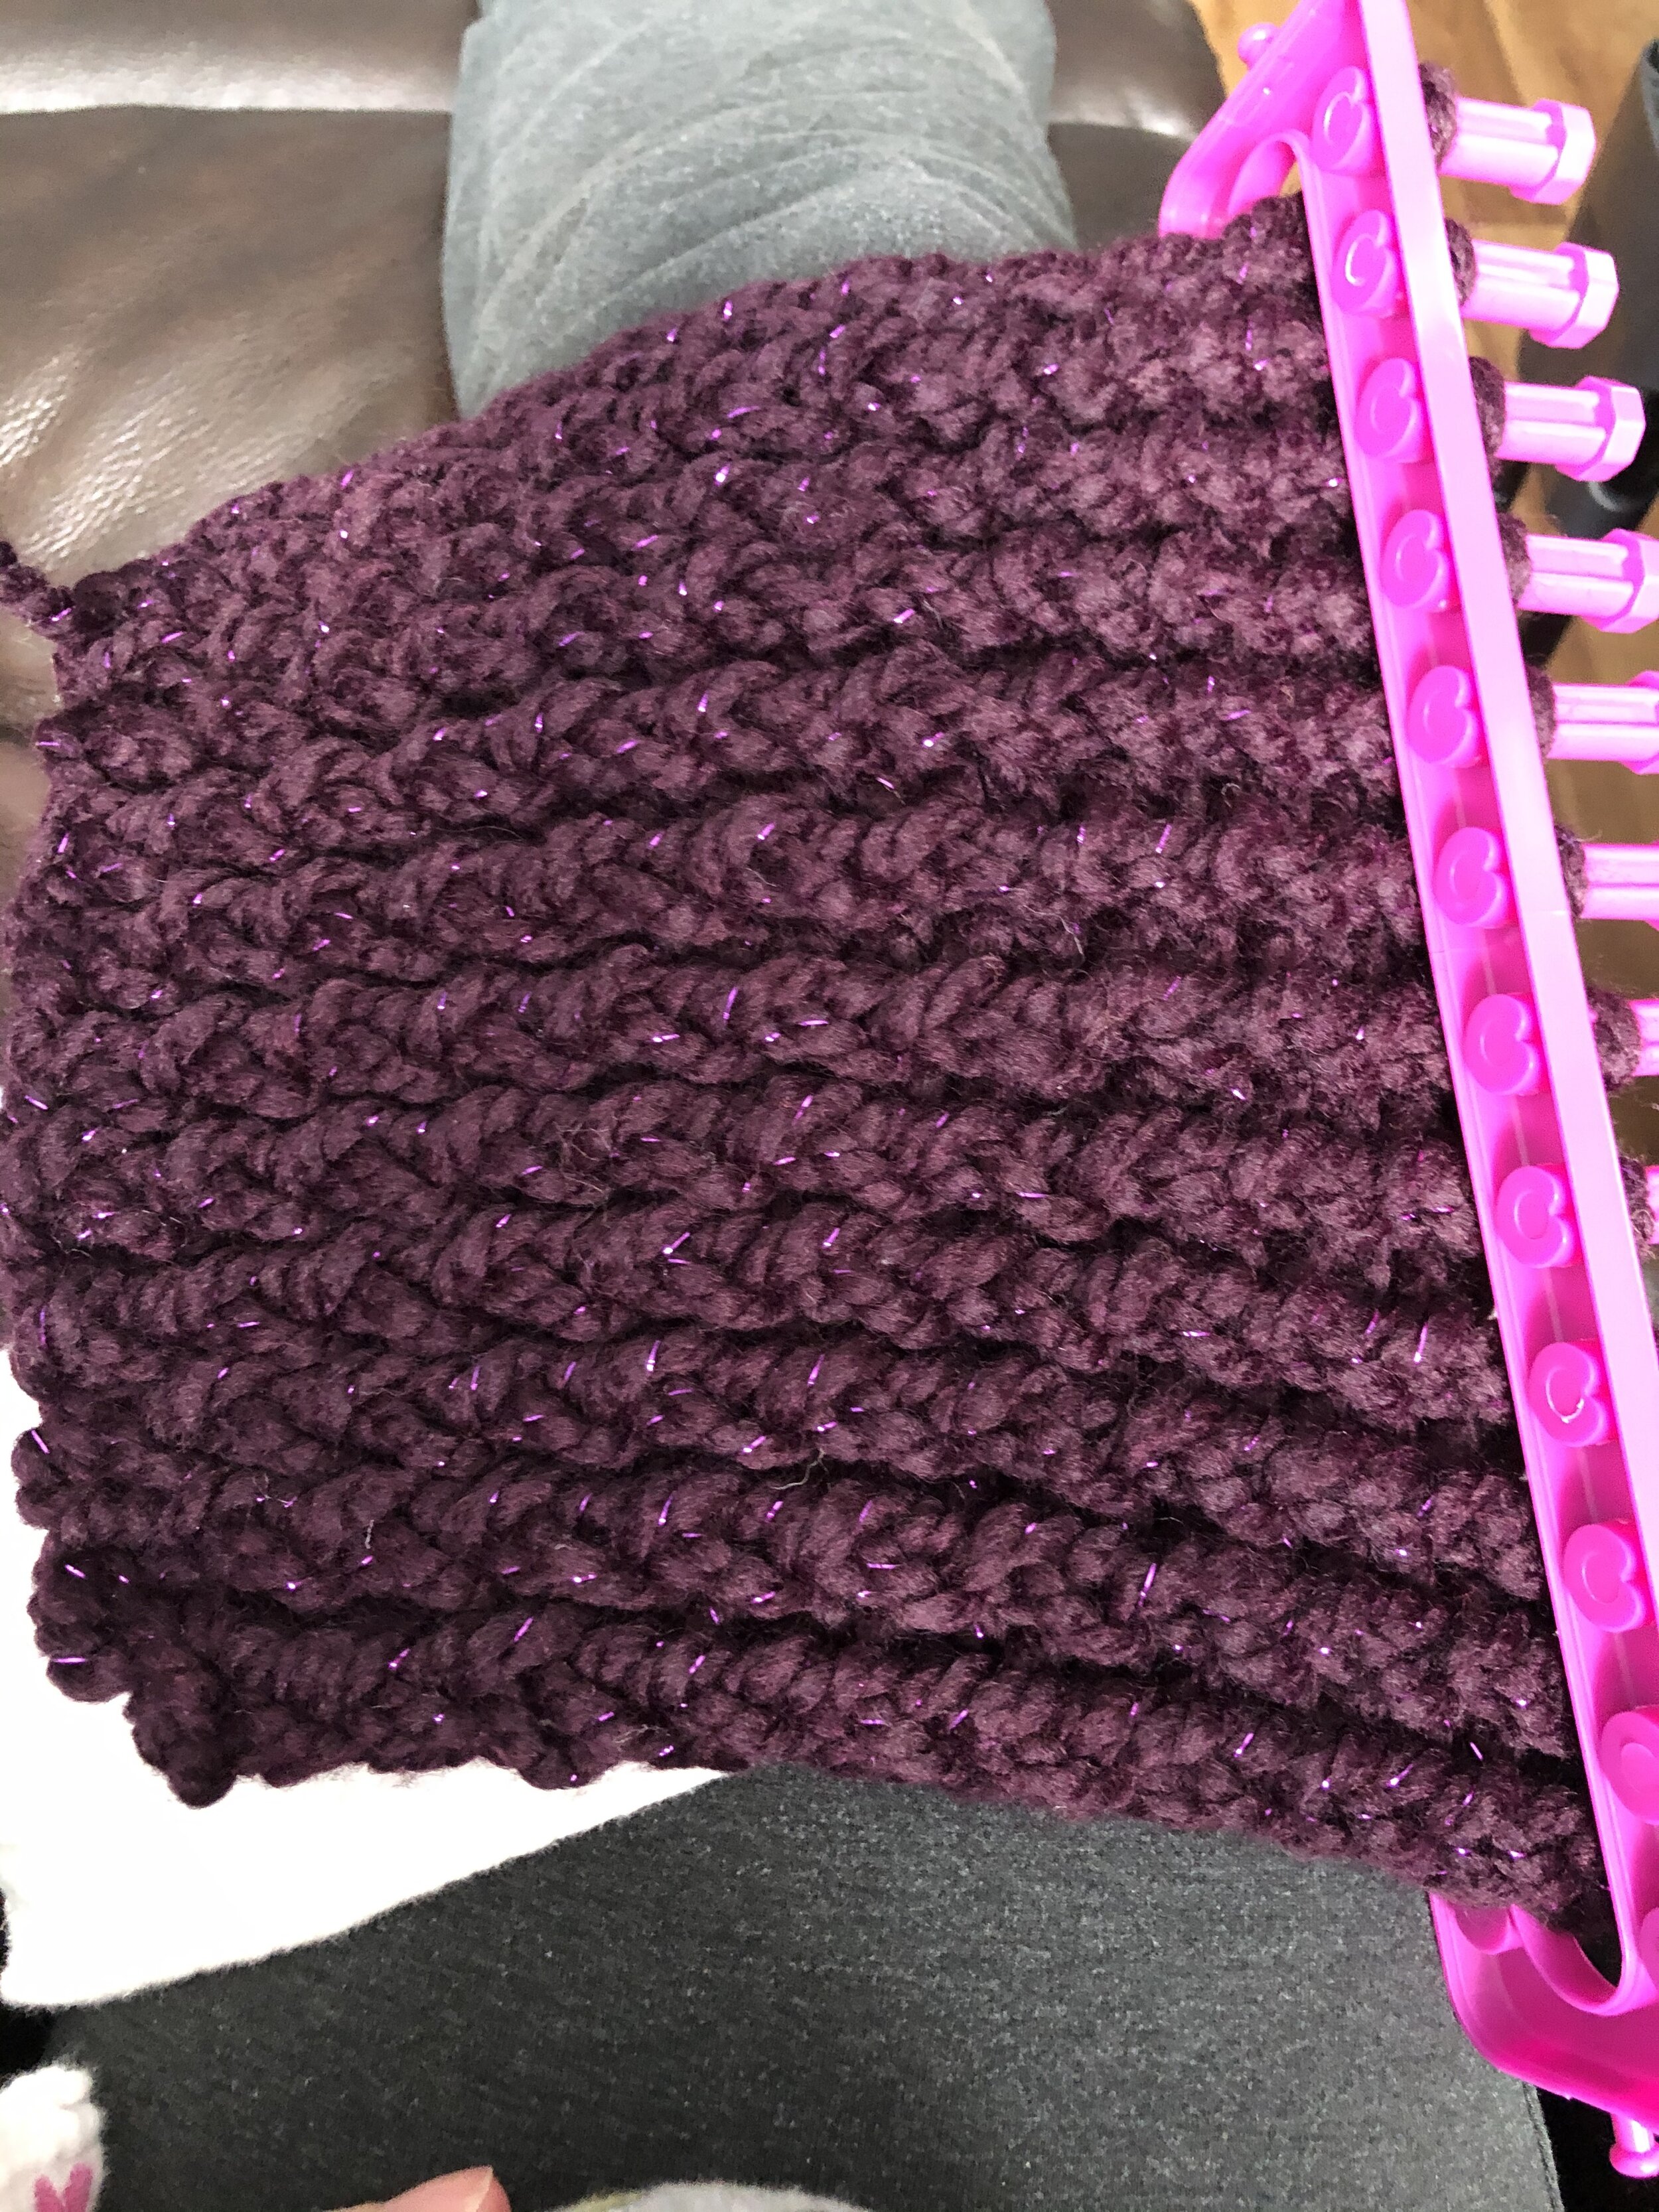
Each shape offers different benefits for completing certain projects. Additionally, the number of pegs and their spacing determines the size of the project and the weight you should use. For this project, I used a rectangular loom that contained 24 pegs.
I promise you, it is not that complicated! (Although it can be if you would like to dive into learning about different techniques)! If you would like to read more about loom knitting, check out this blog here.
But let’s get started on how I set up my projects!
This post contains affiliate links. Read my full disclosure for more info.
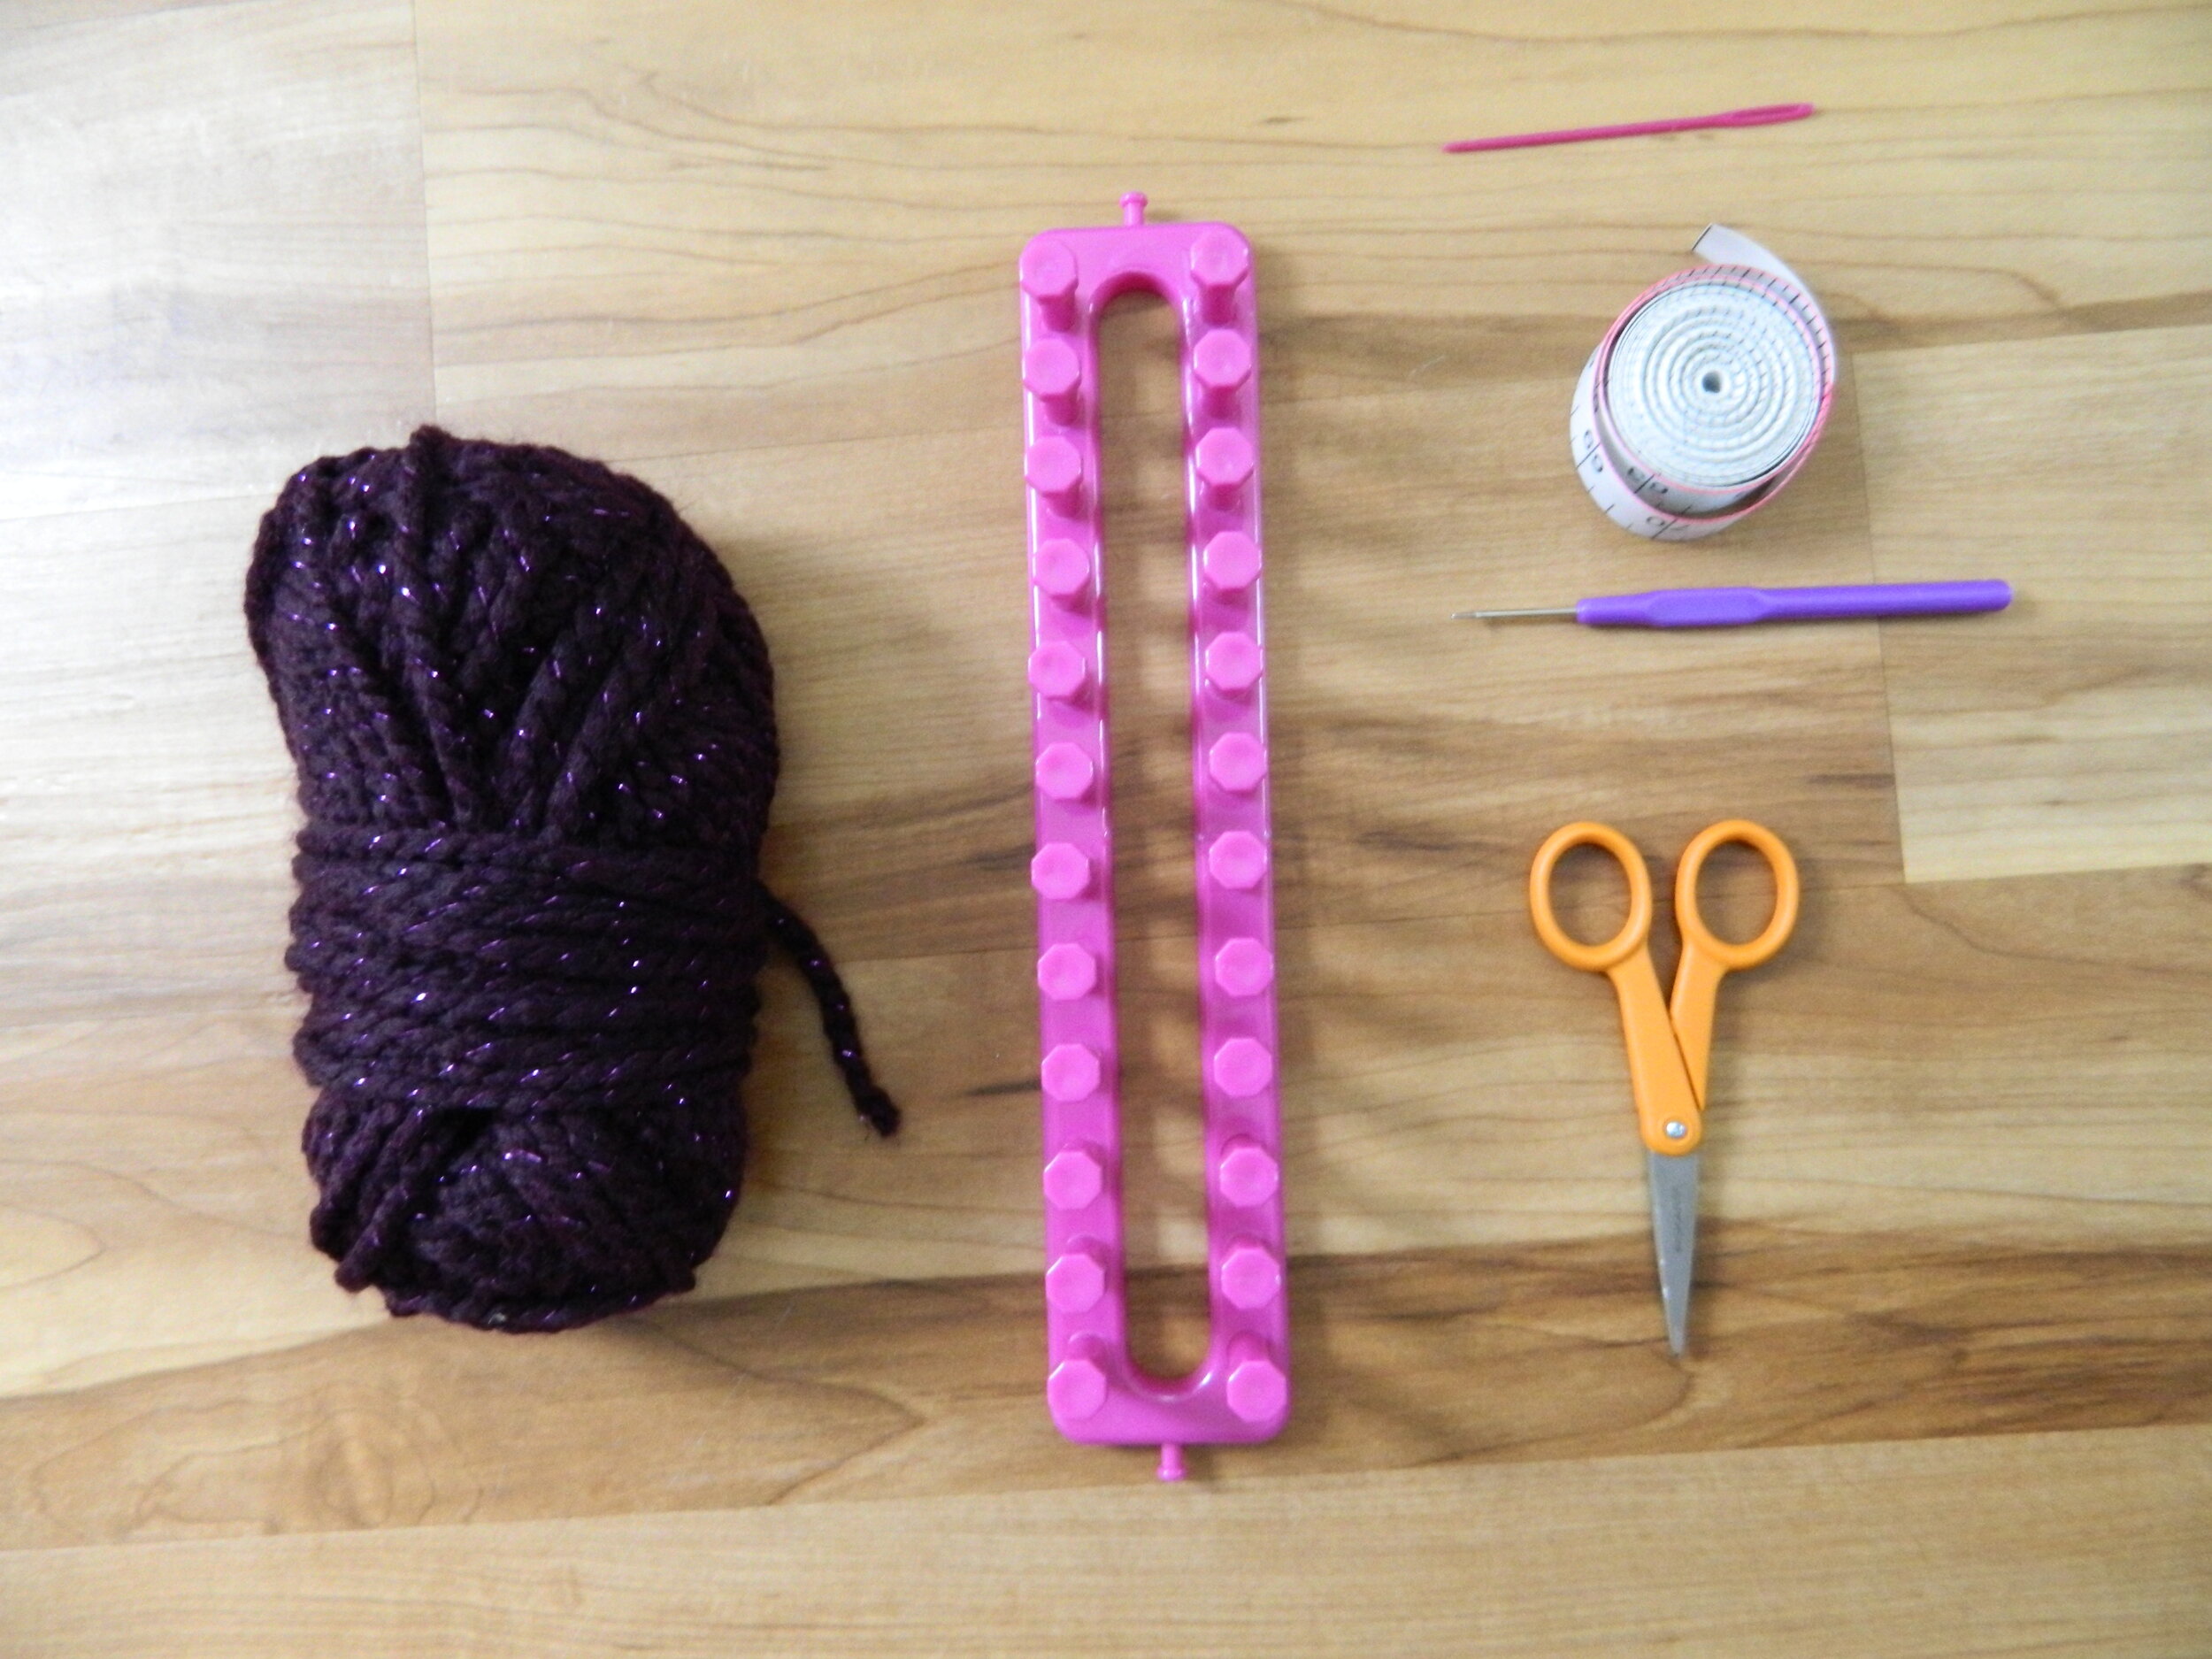
List of Supplies:
Makes: 1 scarf ***Some yarns provide more yardage in their skeins (rolls) so you may be able to get two scarves out of a single skein.
Estimated Time: between 1 - 2 1/2 hours depending on how fast you weave.
Sewing skills needed/used: Needlework at the end to secure the two ends of the scarf together.
Skill Level: Beginner to advanced depending on the project you choose.
For my project, I completed an infinity scarf similar to the one found in this kit:
Scarf loom kit for kids with a beanie
The kit comes with the loom, yarn, and a tapestry (yarn) needle.
You can choose whichever kit, project, or instructions you would like. Here are some others that would make good starting kits:
Loom Kit for adults (multiple projects)
Loom Kit for kids (hat with pom-poms)
Loom Kit for kids/teens (beanie bun and fingerless gloves)
If you have instructions for your own project, here are some different looms you might want to explore:
Just remember you need:
A loom
Yarn (a list of all the yarns I used for this project can be found in ‘Hot Tips’)
How to Loom Knit an Infinity Scarf
Step 1:
Gather your supplies.
I also recommend a good movie, podcast, audiobook, or another form of entertainment.
Familiarize yourself with the loom. Hold it in your hands, and find a comfortable way to grip it.
I also like to designate a top and bottom so I don’t end up rotating it throughout the project.
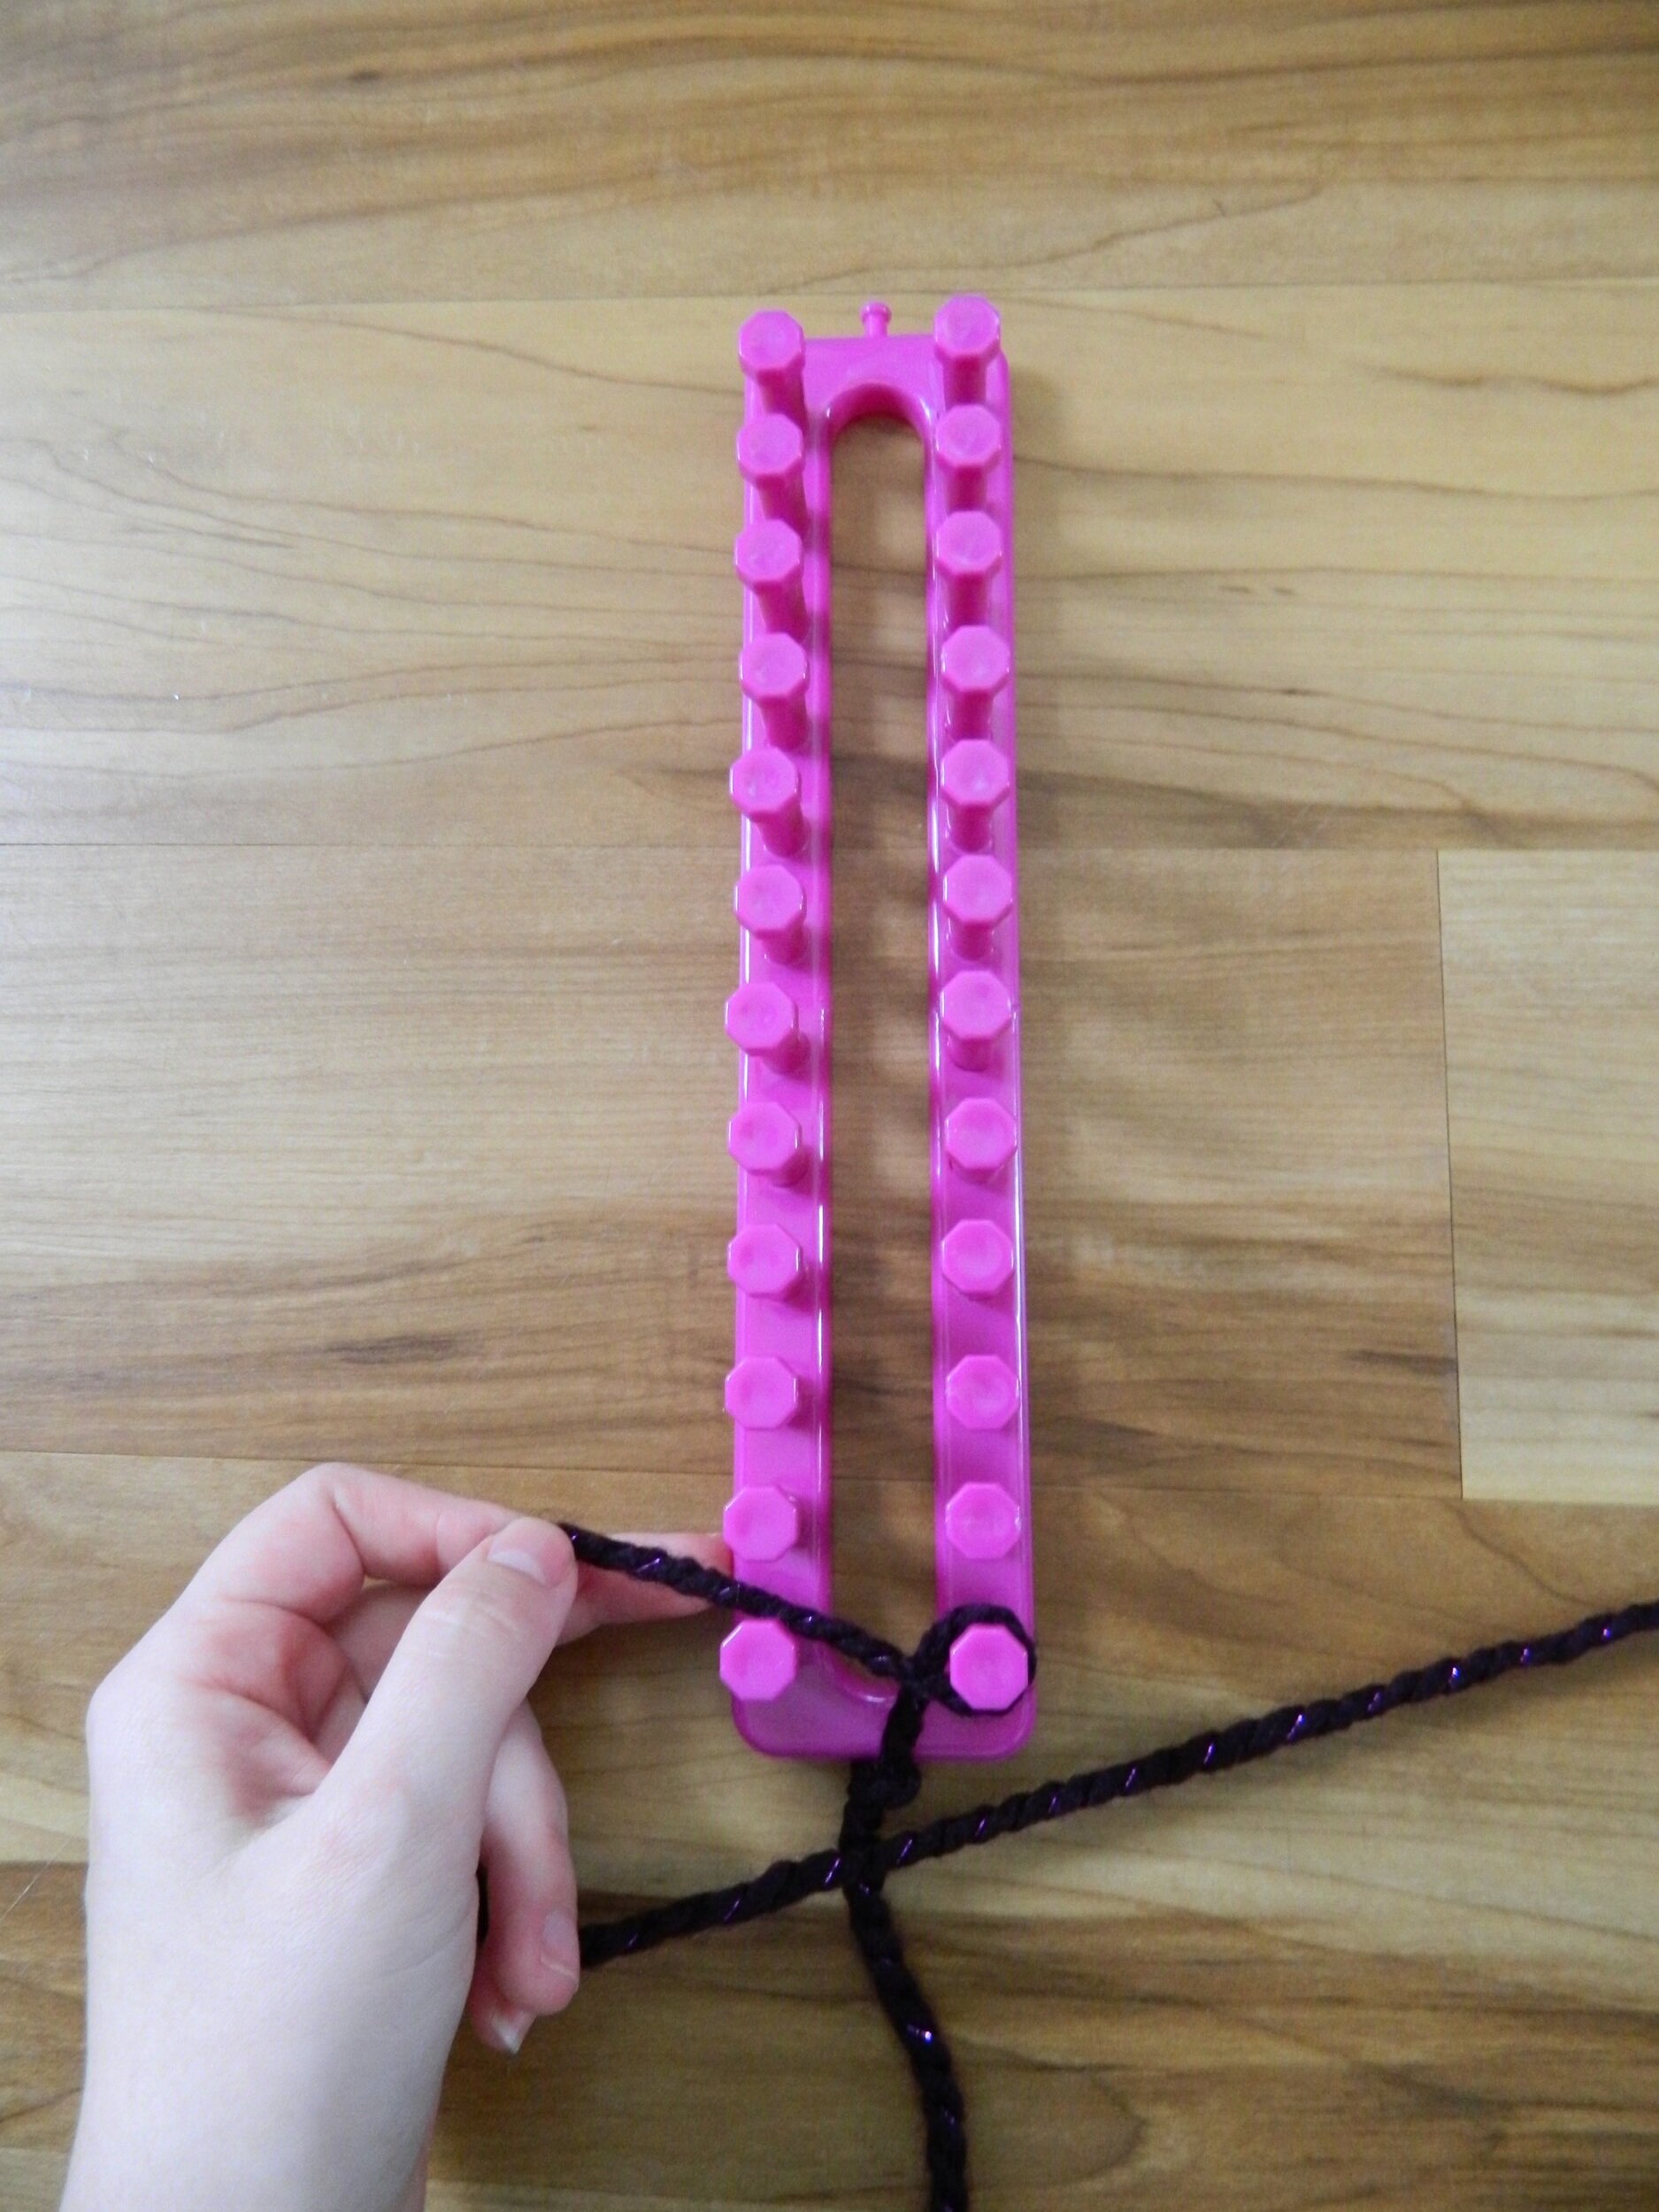
Step 2:
Anchor the project, leaving several inches of yarn as a tail (you will sew this in at the end).
The instructions for my kit called for a slip knot, however, I just tied a simple knot to the anchor peg.
*Some looms do not have an anchor peg and that is okay.

Step 3:
Wrap the first peg.
I like to look at the loom as a ladder. So I am going to start climbing with my yarn.
I take my anchored yarn and wrap it around the TOP of the first peg. This means that I will wrap all the pegs on this side of the loom in a clockwise motion.
*You can number your pegs to make it easier for you if you would like. Evens on one side and odds on the other. In my case, my odds would be on the right and evens on the left.
Step 4:
Wrap the second peg.
After I wrapped my yarn around the first peg, I wrapped it around the second peg's TOP. This means I will wrap the pegs on this side of the loom in a counterclockwise motion.
If you keep your loom vertical, then just remember that the yarn needs to wrap around the TOP of each peg on your way UP.

Step 5:
Wrap the third peg.
I took my yarn and wrapped it around the TOP of the third peg in a clockwise motion.

Step 6:
Wrap the fourth peg.
I took my yarn and wrapped it around the TOP of the fourth peg in a counterclockwise motion.

Step 7:
Weave the yarn through the remainder of the loom.
You will end on the opposite side of the loom (peg 24). So if you started on the right peg you will end on a left peg and vice versa.

Step 8:
Push the yarn down.
If you look at the loom, you will see that your current weave is at the top of each peg.
I took my finger and pushed this down so that the loops are at the bottom of their pegs.
(See below for more images)


Step 9:
Wrap the 23rd peg.
This is where the process becomes slightly confusing but bear with me.
Remember how I said I like to look at the loom like a ladder? Well, we are going to work our way DOWN.
This means everything will be in reverse.
I took my yarn and wrapped it around the BOTTOM of the 23rd peg in a counterclockwise motion.

Step 10:
Wrap the 22nd peg.
I took my yarn and worked my way down, making sure that my yarn wrapped around the BOTTOM of the 22nd peg in a clockwise motion.

Step 11:
Wrap the 21st peg.
I took my yarn and wrapped it around the BOTTOM of the 21st peg in a counterclockwise motion.

Step 12:
Weave the rest of the loom.
You will end on the opposite side again (peg 1).
You will now have two loops on your loom: the ones we pushed down and the ones we just created.
*You will not have two loops on peg 24.


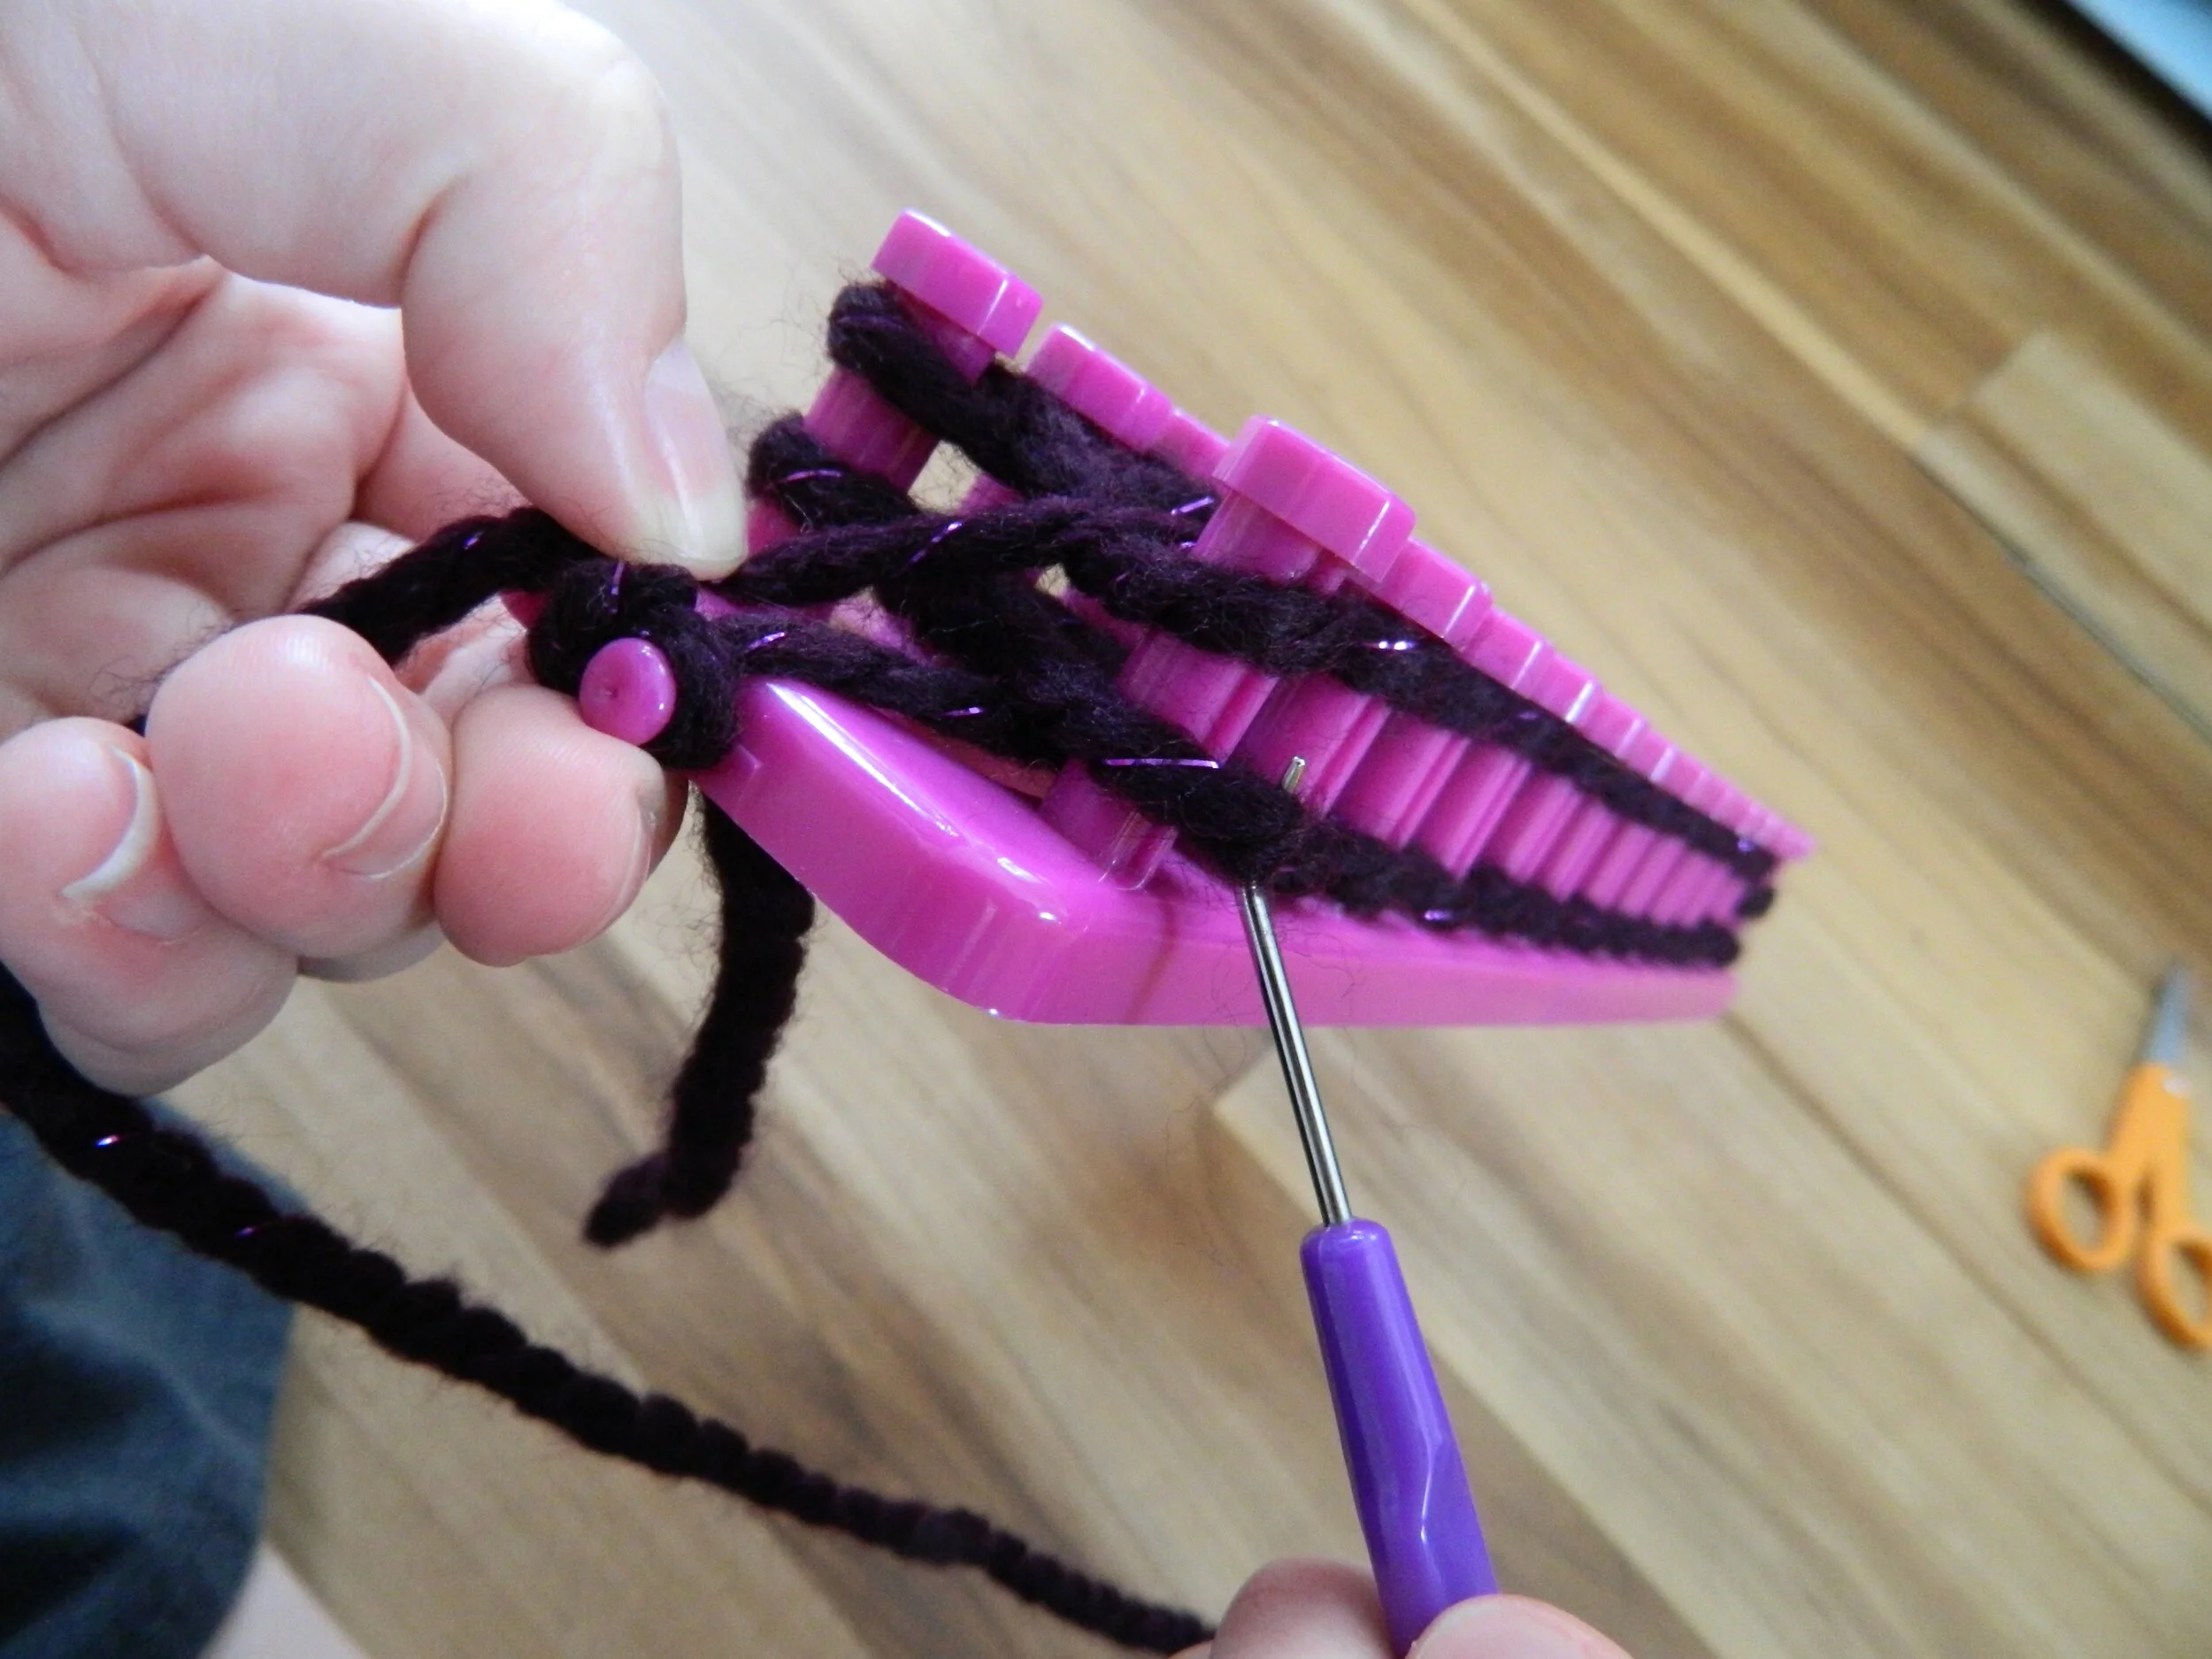
Step 13:
Release the bottom loops to create the first row of stitches.
To do this, I grabbed my crochet hook, took the bottom loop, pulled it over the top of peg 1, and released it.
I continued releasing all the bottom stitches in the same manner.
*Peg 24 did not have a bottom stitch to release, so it gets skipped.
(See images below)


Step 14:
Push the yarn down.
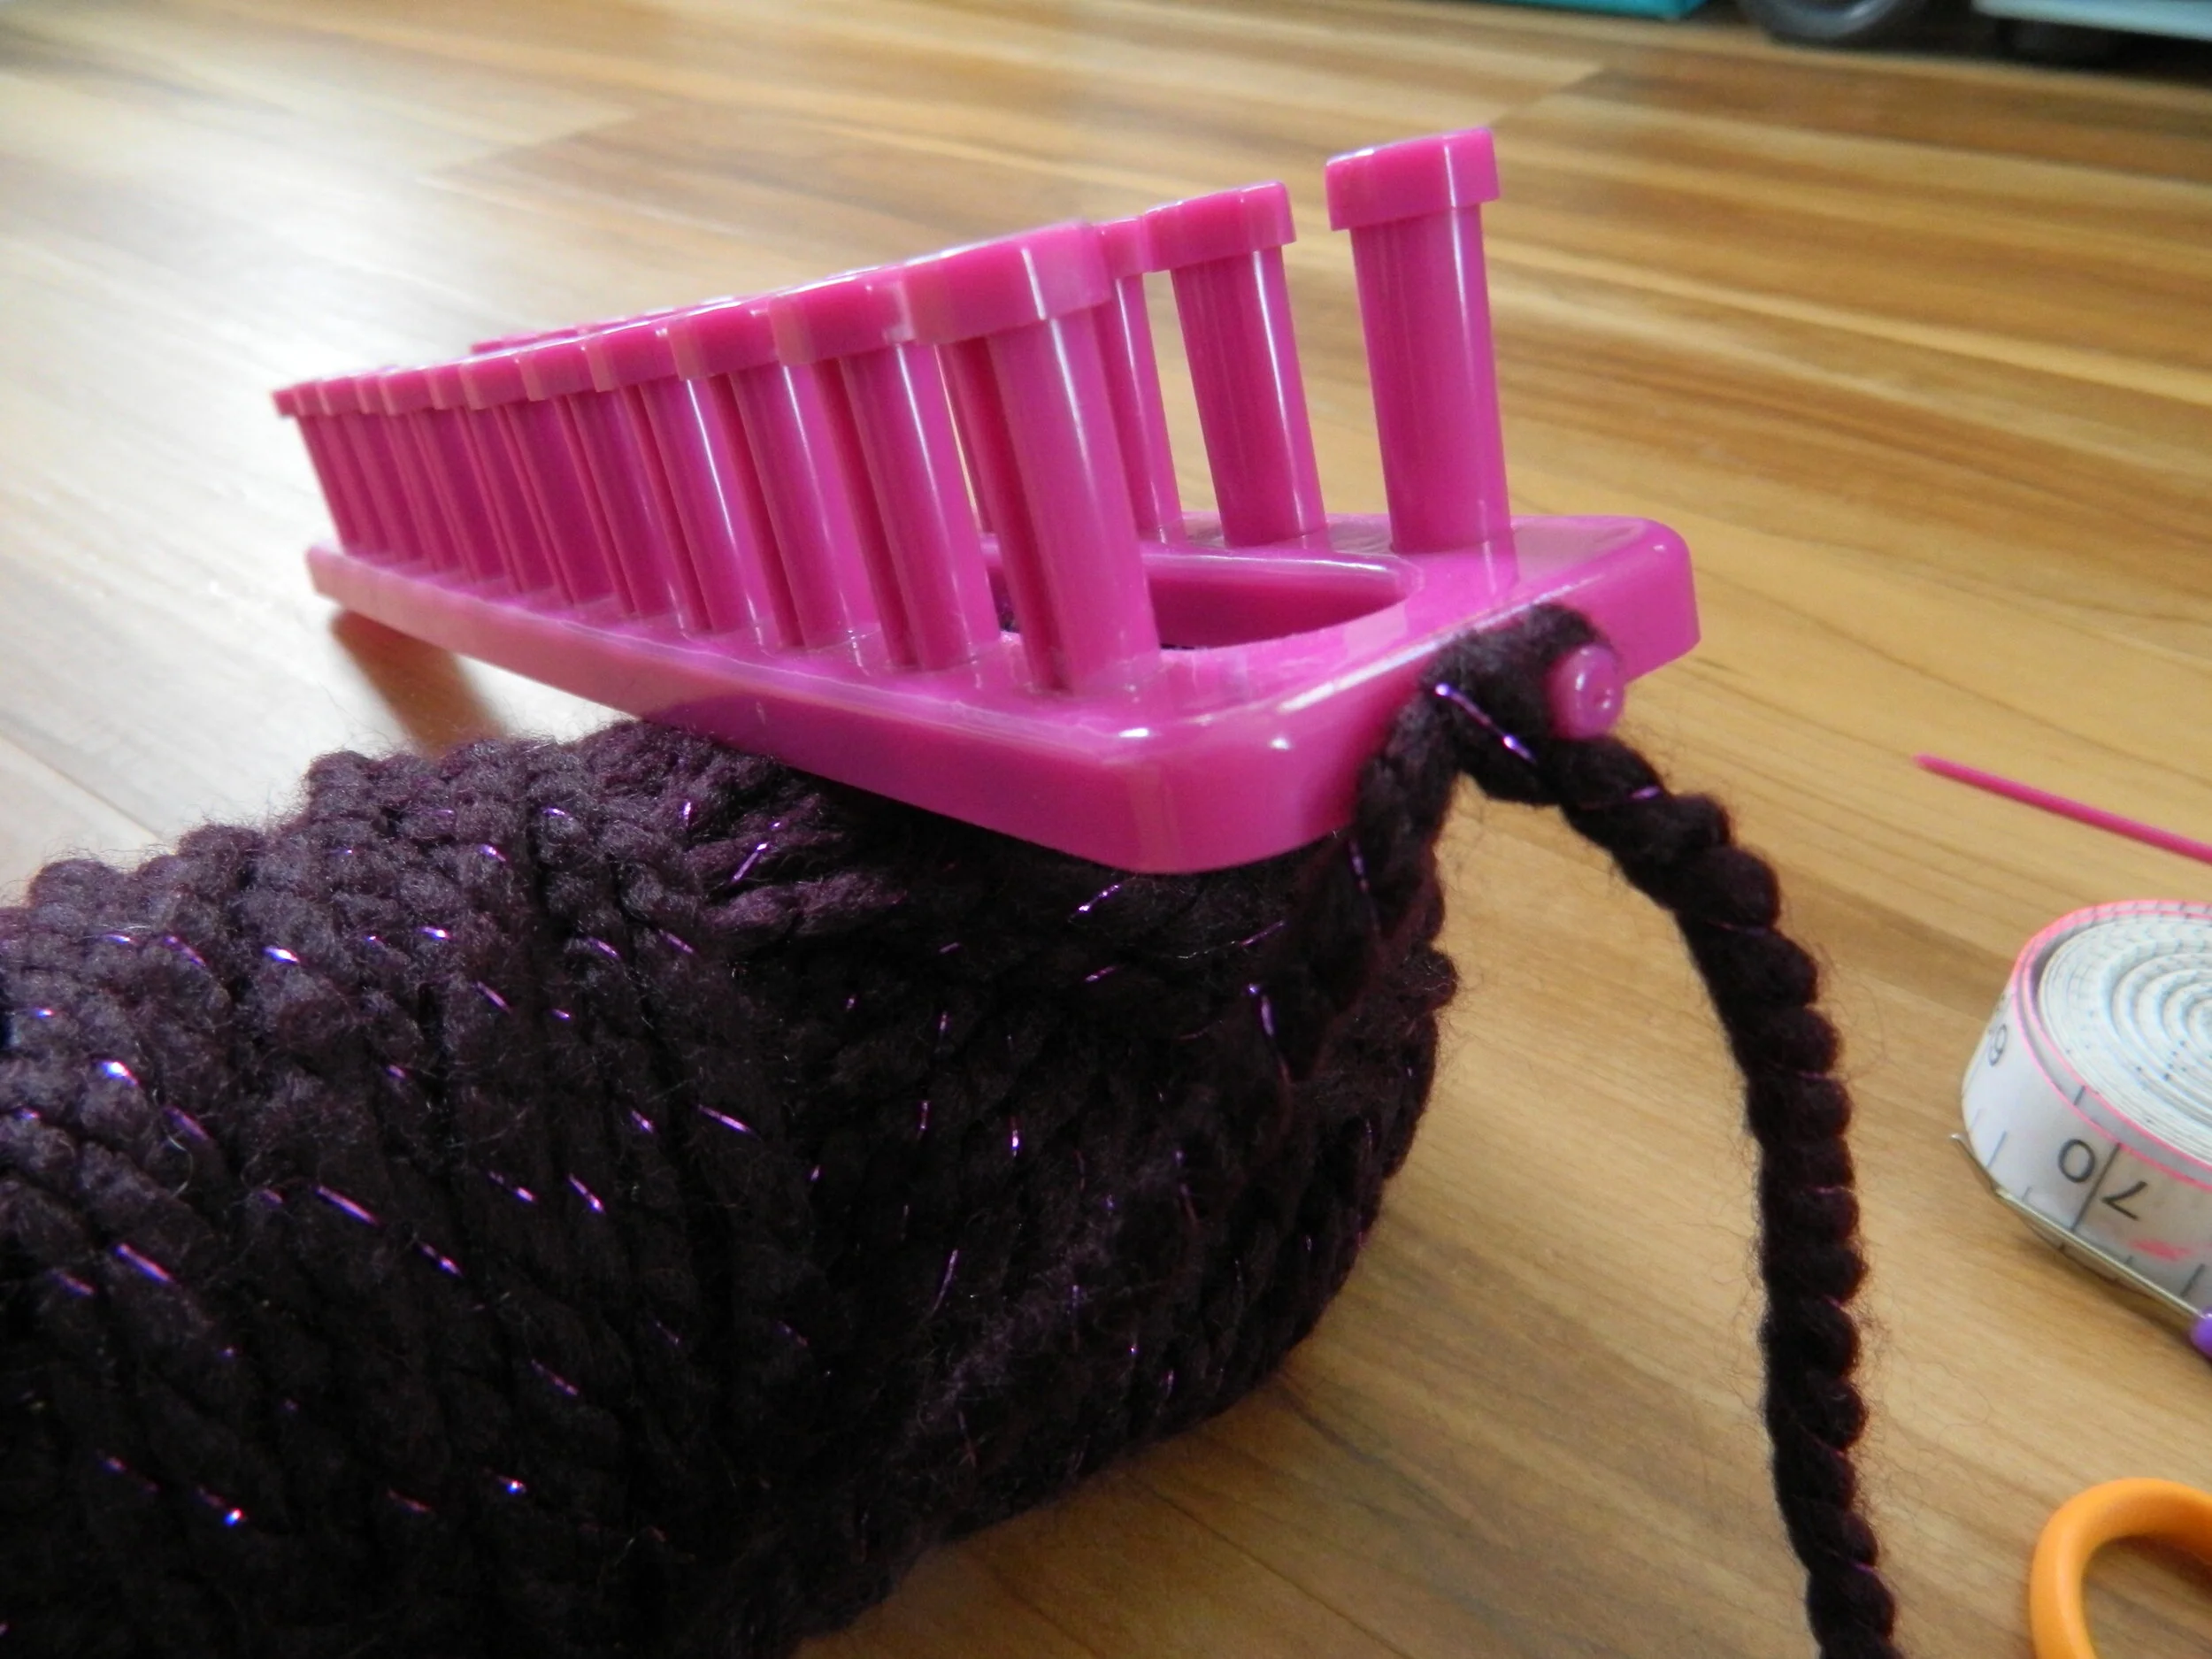
As you work, you will see your scarf come out of the bottom of the loom.

Step 15:
Work the yarn back UP the loom.
Repeat steps 4-14 (the first peg will be wrapped from the previous step).
***When you are working your way UP the loom, peg 1 will only have one loop. When you are working your way DOWN the loom, peg 24 will only have one loop.
Step 16:
Continue this process until the scarf measures between 32”-40”.
At this point, you will stop with a single loop on each peg.
Step 17:
Cast off the scarf, making sure you leave roughly 20” of yarn as a tail to connect the ends of the scarf.
This process is the trickiest part of the entire project. You essentially have to release the final loops into one another.
I can attempt to explain, but I will embed a YouTube tutorial, from The Crochet Crowd, that shows you exactly how to do this.
Basically, you start at peg 23, use the crochet hook to grab the loop. Keep the loop on your hook, move to peg 24, and release that loop onto your hook. You will now have two loops on your crochet hook.
Take the loop from the back (peg 23’s loop), pull it over the loop from peg 24, and release it into the center.
With peg 24’s loop on your hook, move to peg 21 and release the loop onto the crochet hook. Pull the loop from peg 24 (it should be in the back) over the loop from peg 21 and release it into the center.
Do this until your entire project is released.
Step 18:
Sew the ends of the scarf together.
To do this, I took the tail (20” at the end) of my scarf and used a tapestry (yarn) needle to connect my ends.
I tried to weave my needle in each loop so that the seam blended in as best as possible.

That’s it!
The infinity scarf is complete!
Hot Tips
Each loom is built for different weights of yarn. Make sure you pick a weight that matches your loom.
This loom was made for a medium to bulky weight; however, I was able to use a lightweight yarn. I just had to double up, meaning that I had two pieces of yarn I wove simultaneously (similar to the cast-off video).
I found that I needed roughly 78 yards of yarn to make 1 scarf.
Here are the following yarns I used this past season:
Bernat Velvet plus - 1 skein produced 1 scarf (This is the yarn in my finished picture)
Bernat Blanket - 1 skein produced 2 scarves
Bernat Crushed Velvet- 1 skein produced 1 scarf, plus some extra (this needed to be doubled up on my loom)
Lion Brand Wool-Ease- 3 skeins produced 2 scarves (You need 1 1/2 skeins for 1 scarf)
The fluffier the yarn, the less noticeable your stitches will be.
That’s all!
If you make these scarves, make sure you tag them with #DarkkFluriDIY so I can see your creations!