
How to Dye Clothes with Food Scraps
Looking for a more sustainable way to change up your wardrobe?
Or maybe your washing machine decided to change the color of your favorite white shirt….
Learn how to use items you have in your refrigerator to breathe new life into your old clothing.
Just a pinch…
When I started making projects this week, I had no idea that I would be attempting to dye my clothing with food I had in my refrigerator!
My washing machine had decided that my brand new, crisp white shirt needed to be touched with hints of pink…but only on one side…
After fuming over this incident for a few minutes, having a F.R.I.E.N.D.S flashback, and naming my washing machine Flora (from Sleeping Beauty), I decided to embrace the pink and attempt to dye my clothes to match.
But I had no idea how to do that….
I remembered watching a Sorry Girls vlog where Kelsey used table scraps to dye some masks (I believe). I’ll link the video here. And I used that as a starting point for my food-dying adventure.
I will disclaim this early on, that I am by no means an expert on this subject. I can only testify to my experience and my research (which was pretty fast and loose). The only prior knowledge I have on this subject comes from my tie-dying experiments. I will provide links to the articles I used to help me in this process.
I first explored what items I could use to dye my clothes, which needed to be pink! My first stop was The Spruce Crafts where they have compiled a comprehensive list of various items you can use for natural dyes. It was here that I discovered that hues of pink mixed with a little lavender make the best natural pink dyes.
I, then, ventured to themerrythought.com to find more simplified instructions on the dying process. From here, I learned that presoaking your clothes in saltwater or borax helps them absorb the dye. I had previously used soda ash to presoak my shirts for tie-dying, but I did not have any on hand.
I will go into more details about my experience after the instructions, so if you’re interested in what I would do differently keep on reading!
This post contains affiliate links. Read my full disclosure for more info.
List of Supplies:
Makes: 1 container of dye
Estimated Time: between 1 hour to presoak your clothing, roughly 20 minutes to boil down the food scraps, 1 hour to simmer the clothing in the dye, 2-6 hours to let sit in the dye
Sewing skills needed/used: None
Skill Level: Beginner
You will need:
A large pot
Berries, flowers, or food scraps.
Clothing you wish to dye
Stovetop
Spoons that you don’t mind staining
Coldwater
Gloves (optional)
Secondary bowl (large)
Salt or Borax

How to naturally dye clothing…
Step 1:
Gather the supplies and begin presoaking the clothing.

Step 2:
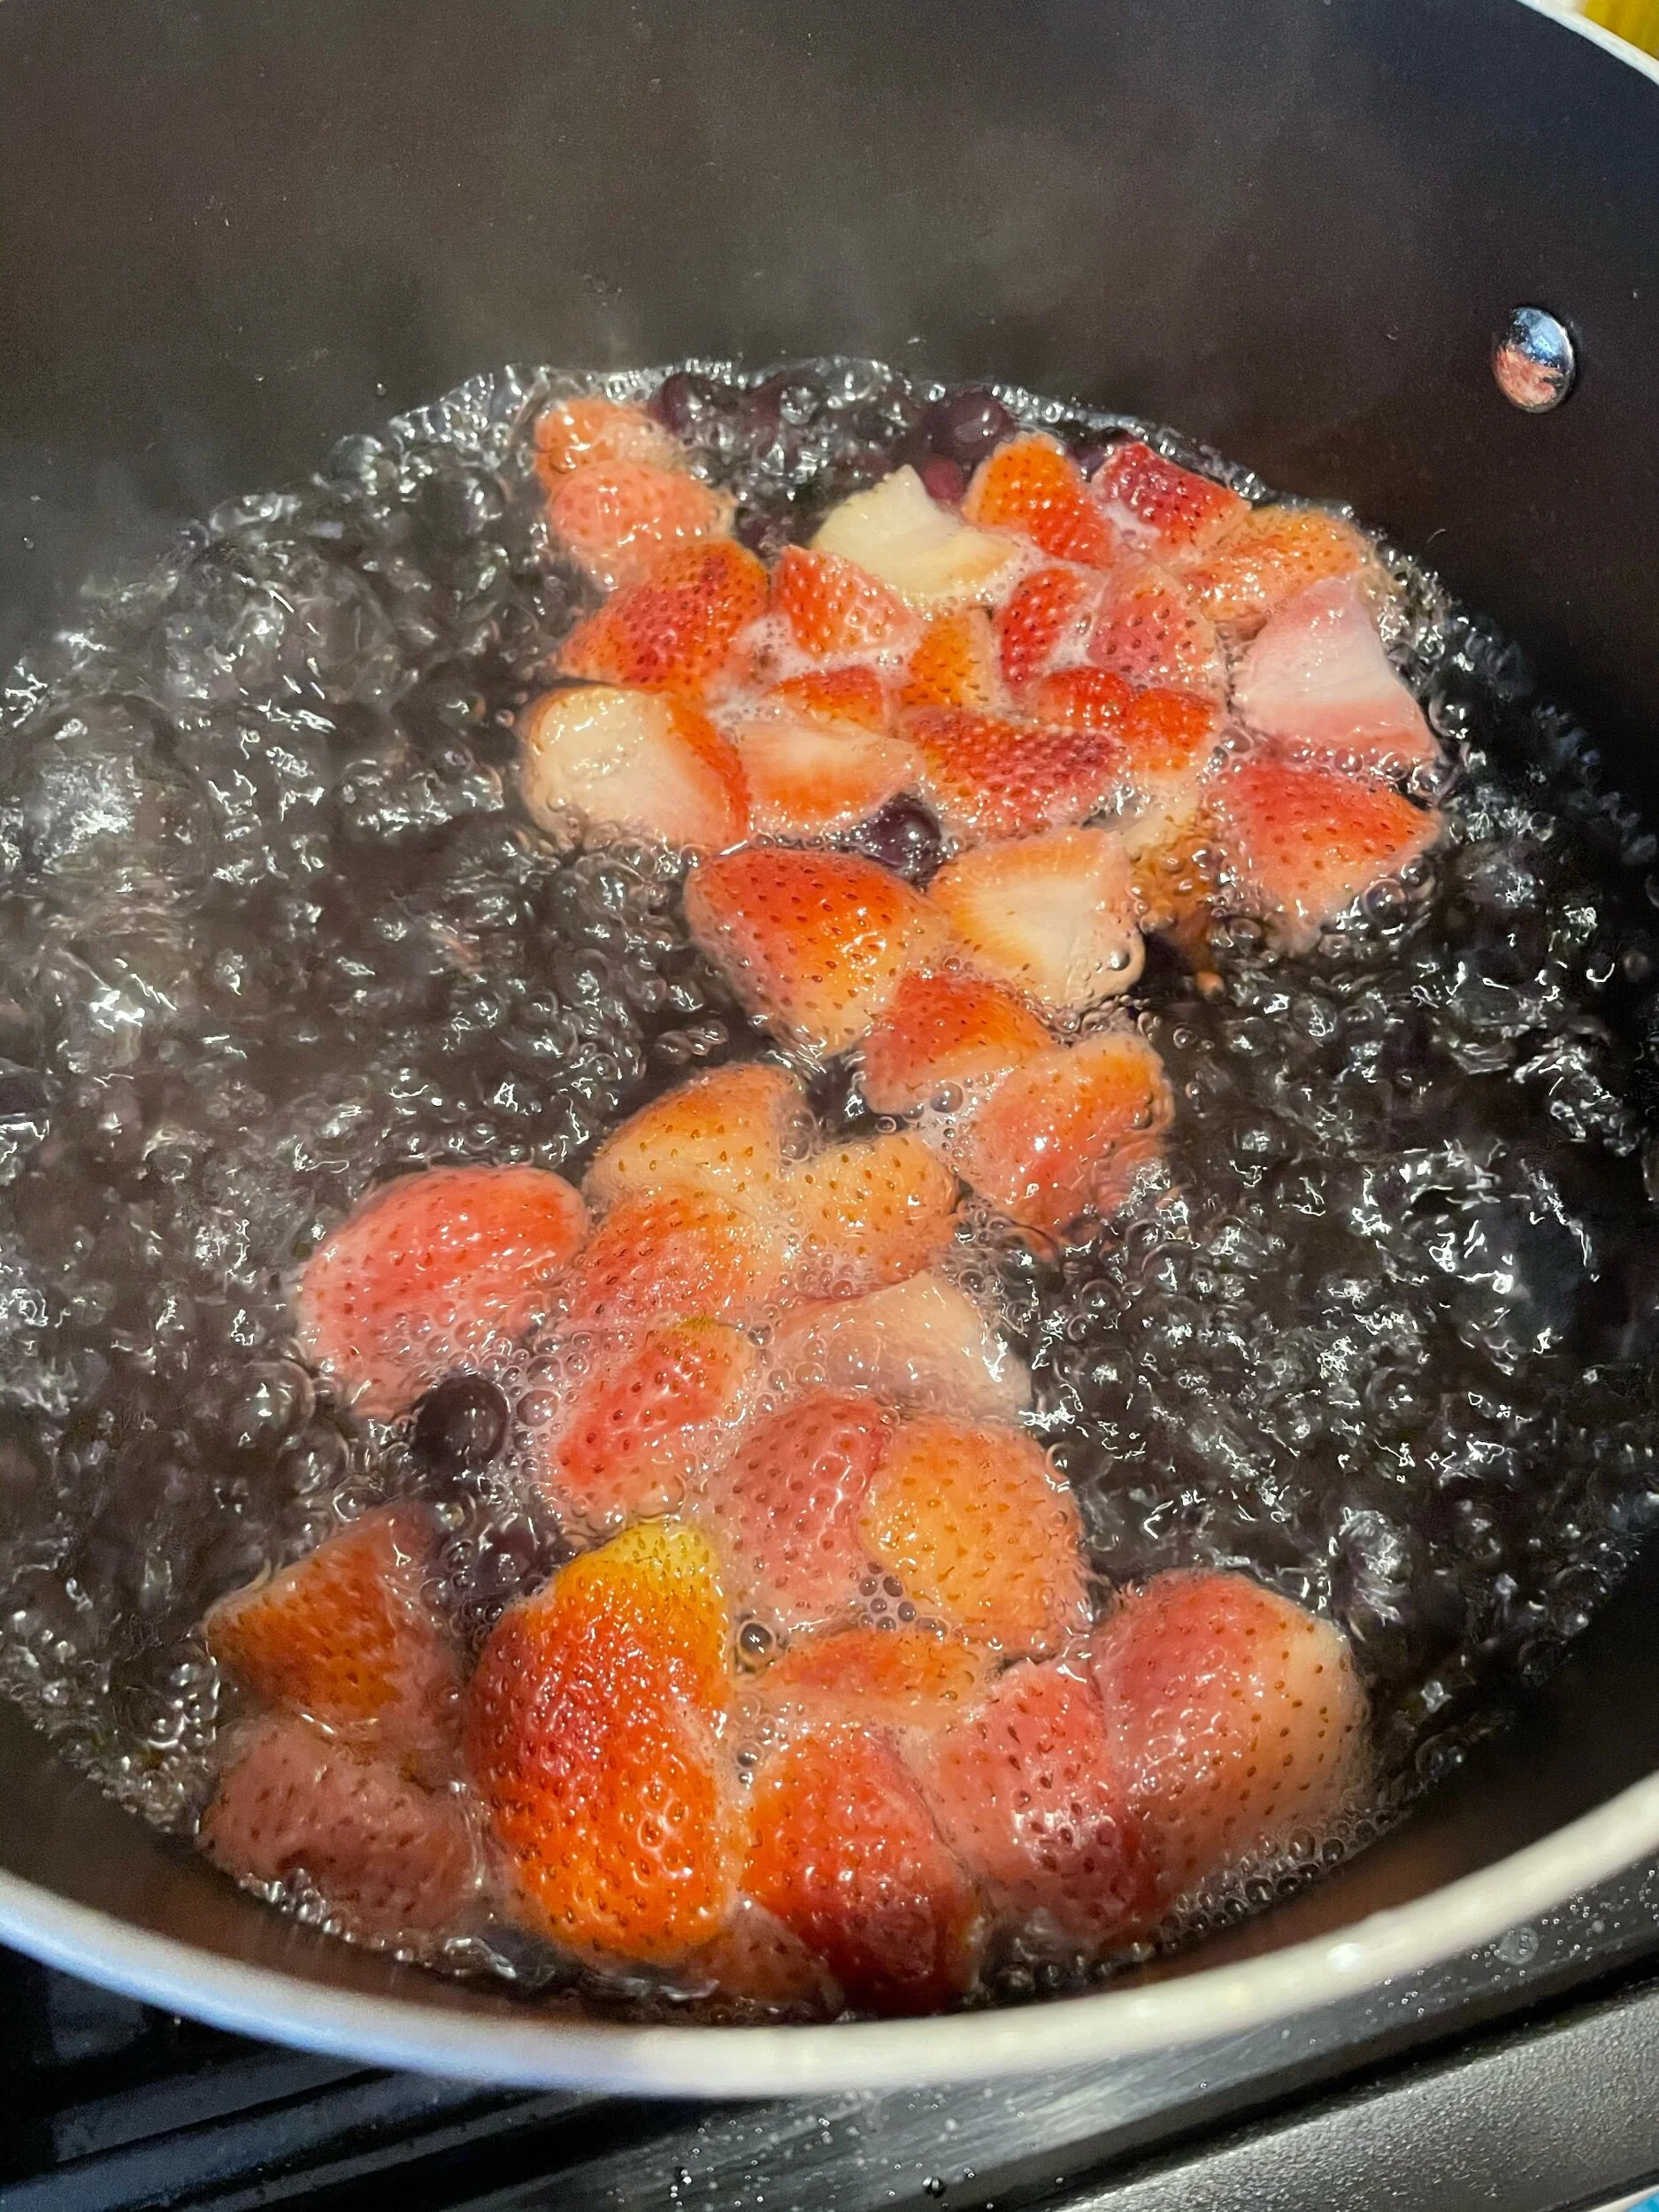
Cut and add the berries to a pot of water.
I used a large stockpot (8 quarts) and filled it a little over halfway (around 5 quarts of water).
I had just about a whole carton of strawberries that were on the edge of going bad. I cut them in half and added them to my water.
I also added a handful of blueberries, 5-6 raspberries, and 4 blackberries (not pictured).

To do this, I mixed 1/2 cup salt with roughly 4 cups of water and placed my shirts in the mixture.
This will need to soak for roughly an hour before adding clothes to the dye.
Step 3;
Boil the berries and press them with a spoon to release the juices!
At this stage, I checked the color of the water to see the saturation of my dye. If the water was too light (and it was), then I added in more berries.
Once the berries have lost most of their color and the dye is the desired color, remove the berries.
***I also added in the smallest bit of food coloring to help bolster the color. I’m not sure if this worked, but I felt like Ursula mixing up a potion for Ariel at this point.

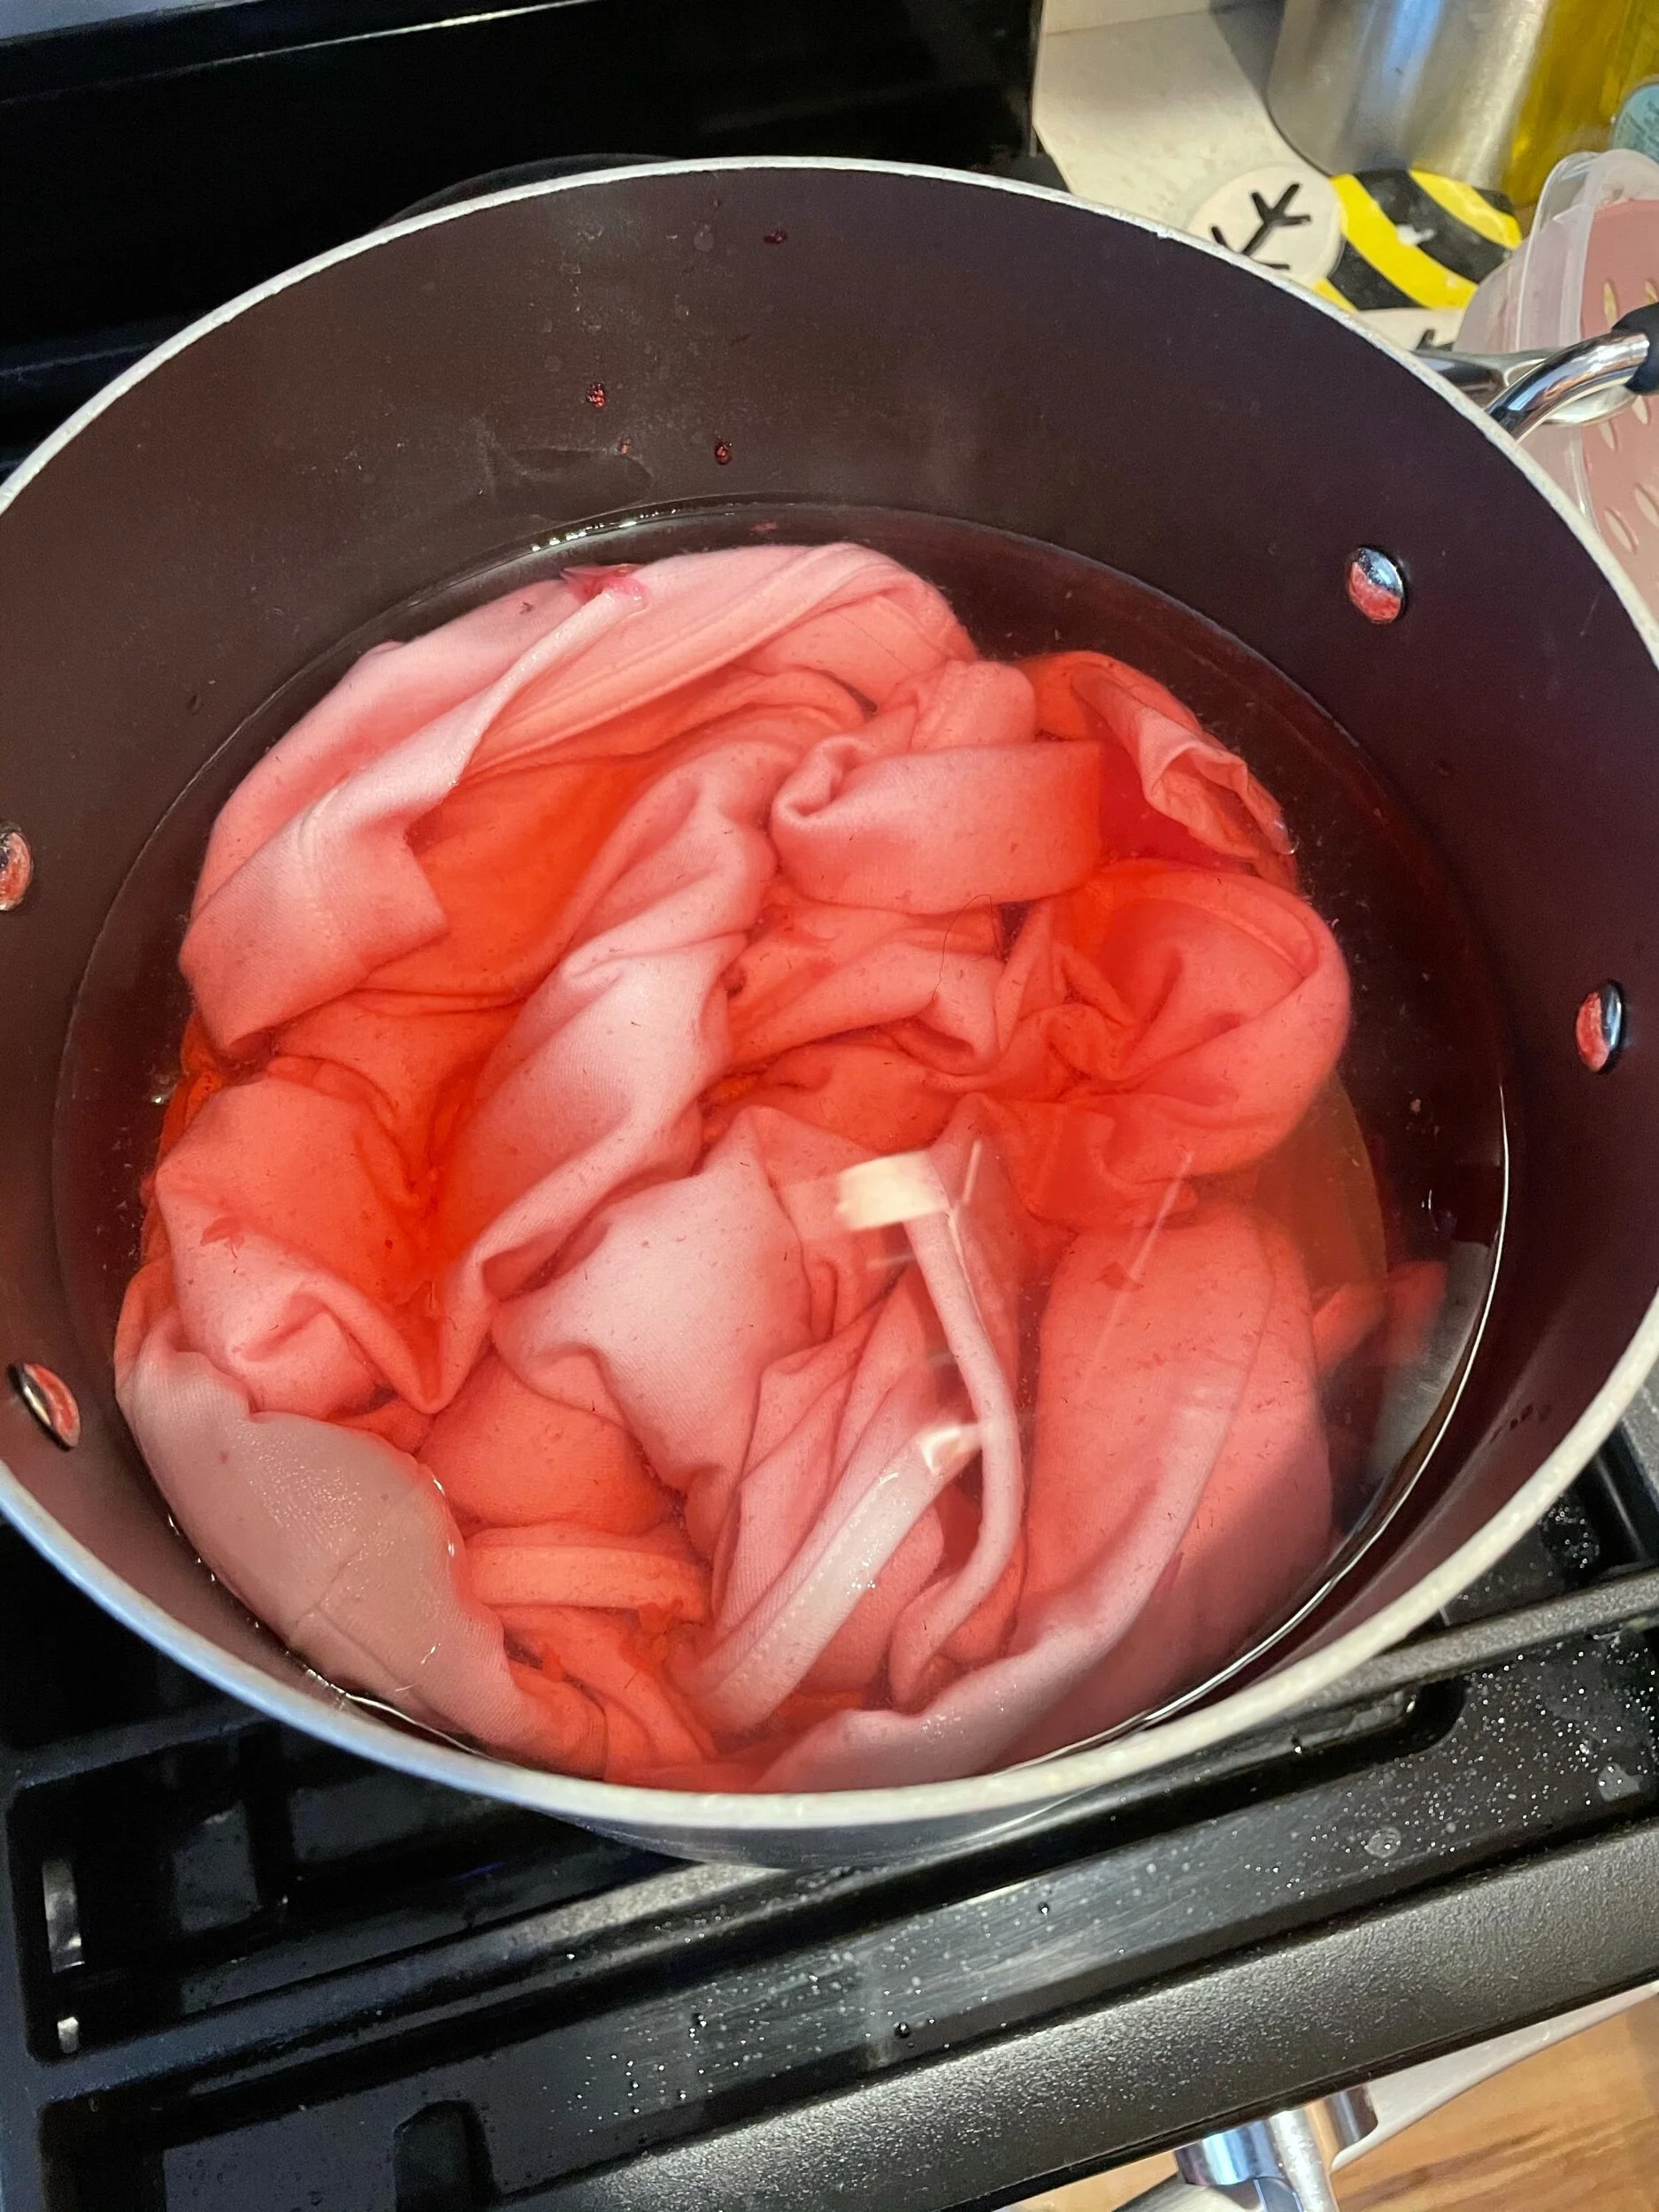
Step 4:
Add clothing to the dye and simmer for an hour, mixing frequently.
***Watch this carefully! Do not leave this unattended.***
Once the hour is up, turn off the heat. Clothing can sit in the mixture for a few hours to help strengthen the dye and saturation.

Step 5:
Remove the clothing and rinse with COLD water.

Step 6:
Let the clothing air dry.
I wanted to speed this process up a bit so I put my clothes in the dryer on low. I would not recommend a higher heat setting because the clothes have a chance to shrink.
That’s it!!
Your clothes are now ready for whatever you want to do with them!
In my case, I wanted to make some matching shirts for my girls and me!


Hot Tips
The darker the dye the more saturation (richer color) the clothes will have.
Wash the clothes separately for the first few washes.
The clothing will fade with the first few washes.
The water to berry ratio will be more than you think. For stronger dyes with large quantities of water, you will need more berries.
Check the color of your dye with a clear cup (like an old laundry cap) to see the color of the dye. It will look darker in a dark pot!
Use items you don’t mind staining. The dye will color what it comes in contact with.
If you are using a special garment, test the dye out before you apply it to your clothes. Once you dye it, you cannot undo it!
Final Thoughts…
As I mentioned earlier, I am not an expert! I made a few mistakes when completing this process and after the second wash, the baby’s onesie almost rinsed clean.
In a pinch, this process works and you can use natural dyes to change the colors of your clothes with little to no additional supplies. If you are looking for color saturation that will last for wash after wash, you might want to stick with man-made dyes.
I was happy with the overall final result of this project. It worked in a pinch for me and allowed me to breathe new life into my clothes that were ruined in the wash.
Next time I attempt this project, I would:
Use some flowers to see if the dye is stronger. Through my light research, different plants yield stronger dyes.
Use less water to create a stronger saturation. While I achieved my desired color, I am left wondering how much fading will occur.
Let my clothing sit in the dye longer. I think this would let the dye really adhere to the fibers of the fabric.
Wash my clothes at least twice before applying any vinyl to them. I was in a pinch and under a deadline to complete this project. I now cannot re-dye my clothes without dying the vinyl decal I applied.
Overall, I am happy with my results and I will be attempting this process in the future. There is definitely a learning curve and there are so many people out there with information and experience using natural dyes.
If you try this project out, make sure to use the hashtag #darkkfluridesigns so I can see your creations!
Happy crafting!