
How to Make Tinted Potion Bottles
Looking to elevate your next themed party?
Or, maybe, you are trying to achieve a mythical aesthetic.
Or, perhaps, you just collecting glass jars!
Whatever your motives are, creating beautiful, realistic potion bottles are easier than you think!

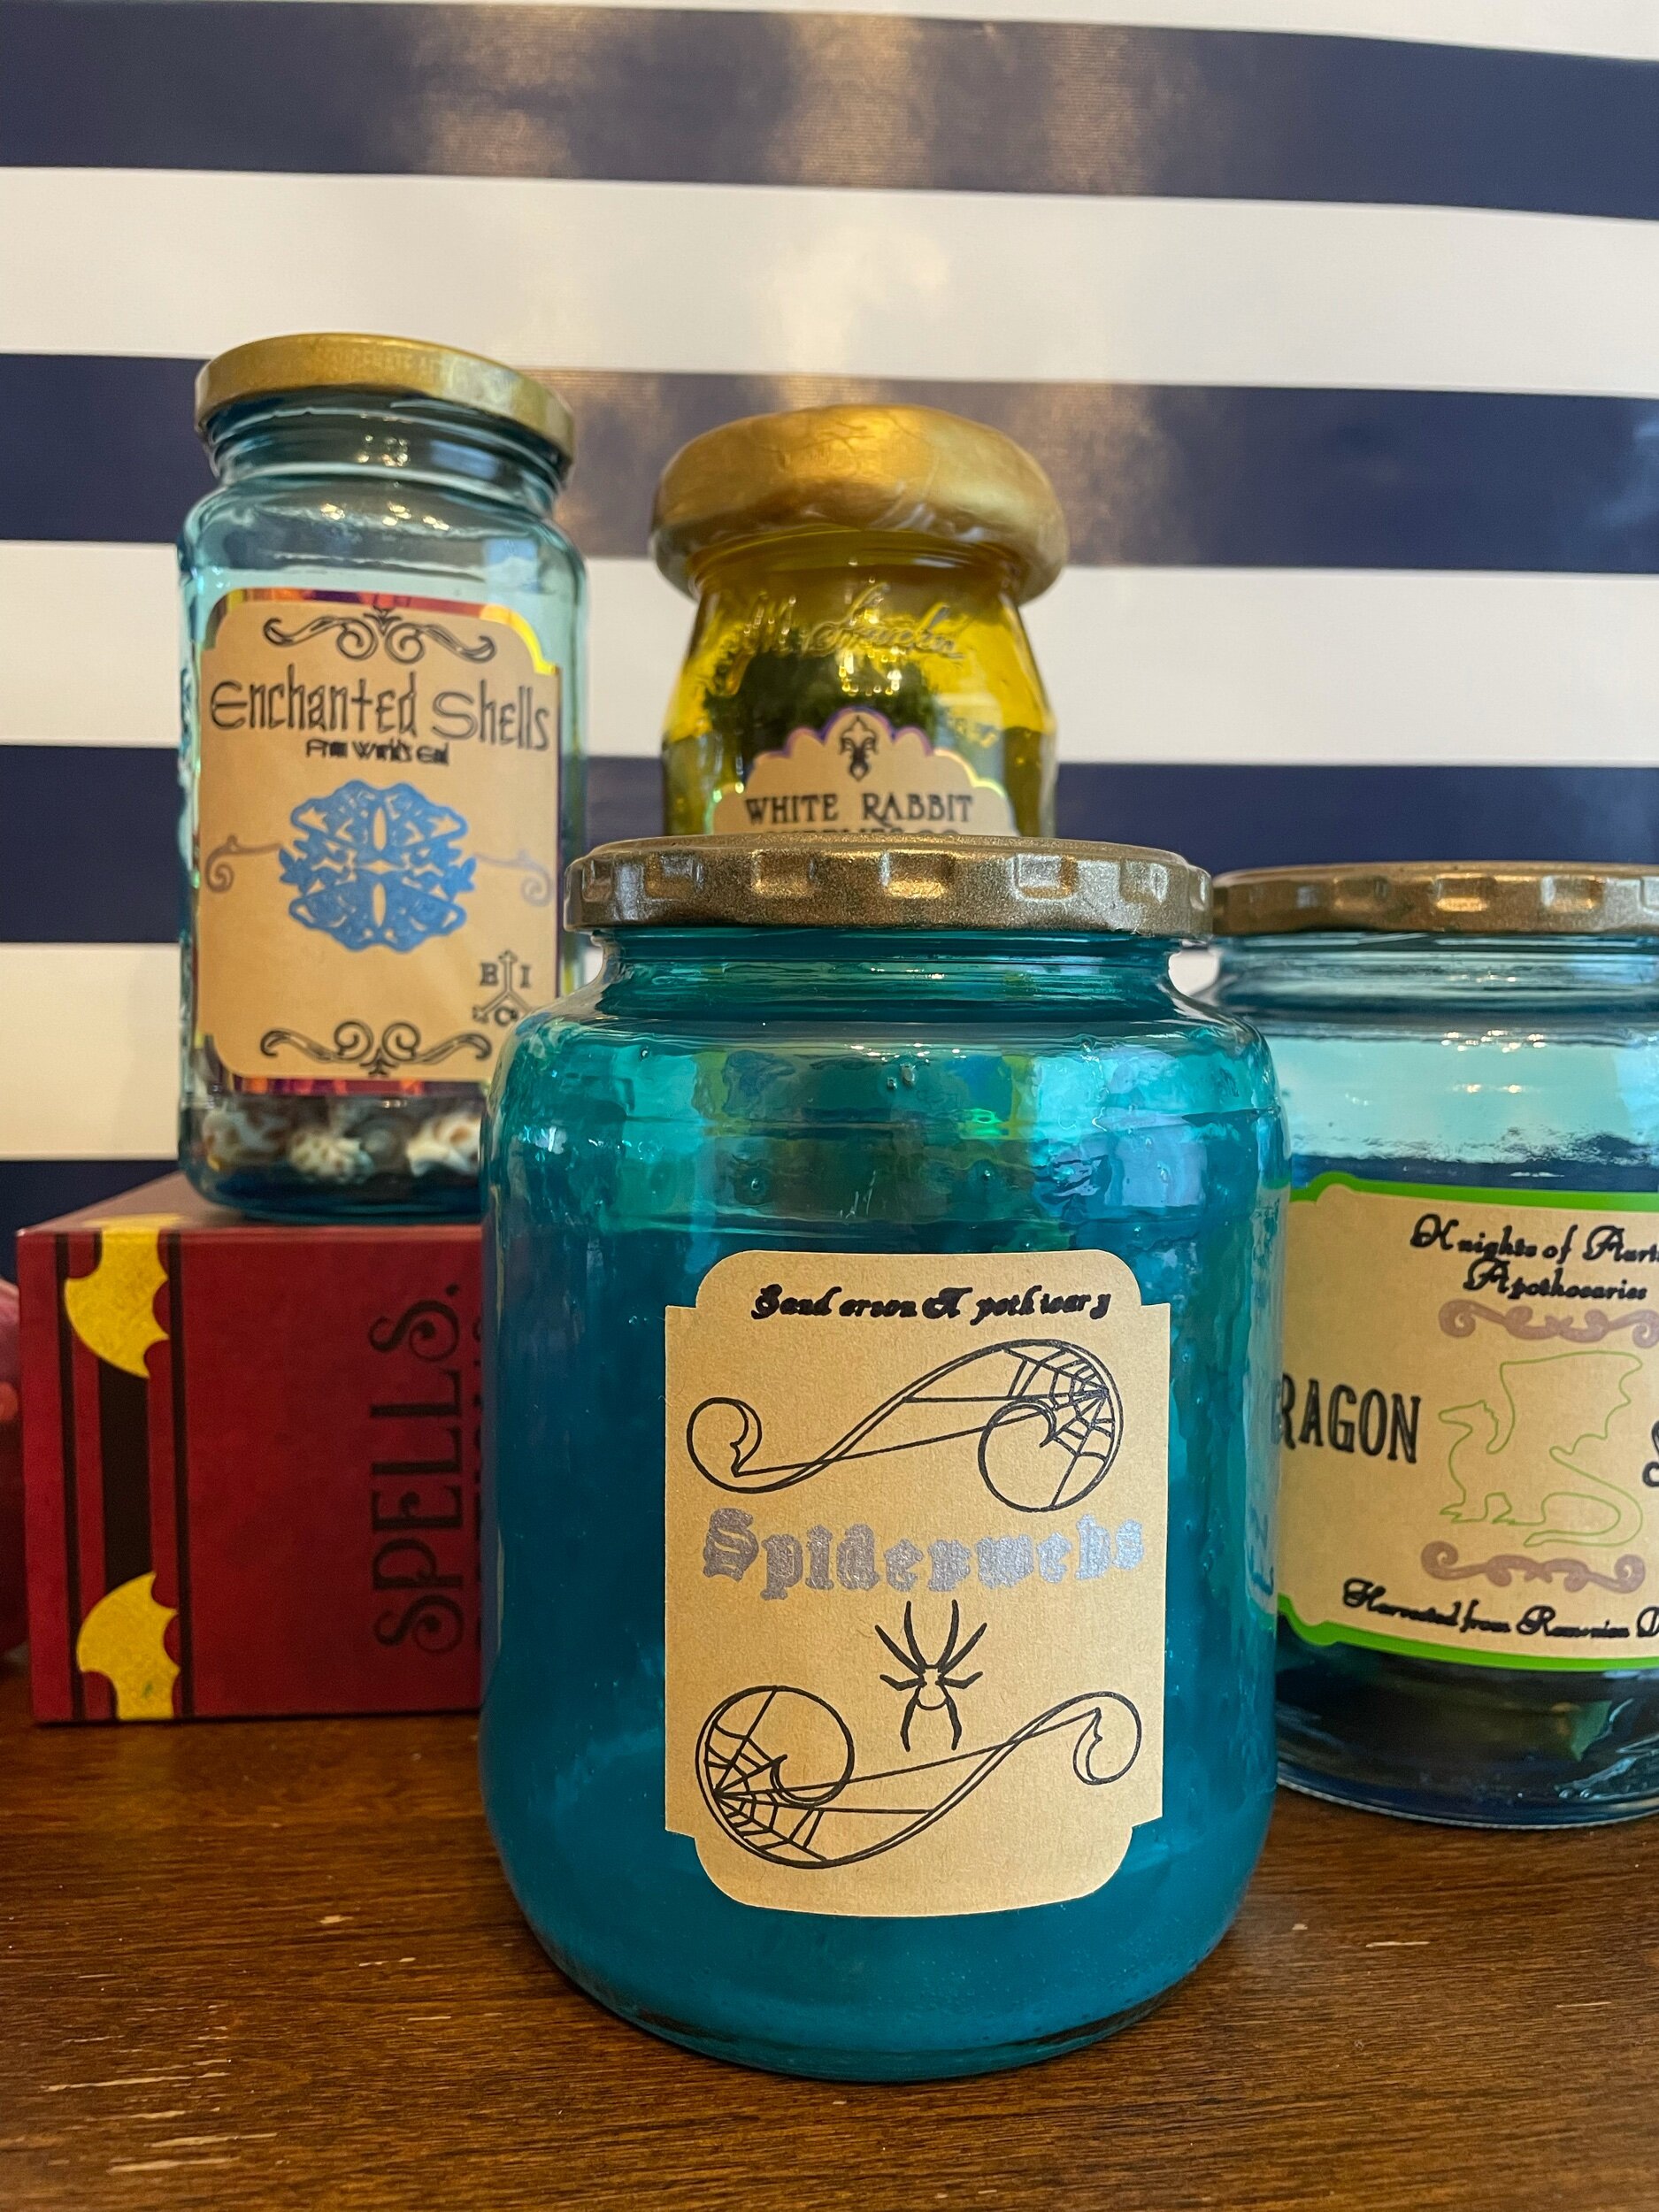
Potions Class-Inspired Bottles…
I don’t know about you, but I love the look of tinted glass. I think it adds a rich decorative element to any glass sculpture.
So when I came across the Unofficial Harry Potter Craft Book, I was delighted to see that they had instructions for making a set of realistic potion bottles!
But they didn’t have instructions on how to tint glass. Naturally, I had to research it and find out how to add it to the potion bottle collection!
I scoured Pinterest and Youtube, but I settled on this blog. I read through their instructions and decided to give it a whirl.
I found that they required a step too many for me. I didn’t like mixing the glue and food coloring in a separate container only to transfer it, leaving half a fourth of the concoction clinging to the sides of the container.
So I modified it a bit. Plus, I added in my own successes and failures with you for you to see.
This blog post will cover how to tint glass bottles and jars using glue and food coloring. I also drafted up posts for frosted and clear bottles.
You will have to let me know which one is your favorite!
Let’s get started!
This post contains affiliate links. Read my full disclosure for more info.
List of Supplies:
Makes; Multiple Jars
Estimated time: 20 minutes plus 20-50 minutes of bake time and another hour of cooldown time.
Skill Level: Beginner (Kid-friendly project) for all bottles
Food coloring
Mod Podge (I used Glossy)
Oven
Water
Paper plate
Wooden skewer (I get mine from the Dollar Tree)
How to Make Tinted Potion Bottles

Step 1:
Gather supplies.

Step 2:
Add Mod Podge to the bottom of the bottle.
To do this, I added enough glue to fill the bottom. I found that you can always add more glue to the mixture. If you start with enough at the bottom, then you don’t have to add any more after this step.
*This image shows not enough glue. I had to go back and add in a considerable amount to coat the bottle.

Step 3:
Add in food coloring and mix well.
To do this, I put gel food coloring (it’s what I had on hand) on a wooden skewer and swirled in with the glue. I did this until the mixture was completely combined.
*Don’t leave any globs of food coloring or it will discolor the jar.


Step 4:
Add in a few drops of water, mix to combine, and start swirling the mixture around the sides of the bottle.
To do this, I simply tilted the bottle at an angle and rotated it, making the angle closer to 90 degrees the more I rotated it.
All sides of the bottle should be covered. I did this a few times to ensure an even coat.

Step 5:
Turn the bottle upside down and let it sit for 1 hour at least.
This is a very critical step! This process allows the excess glue and dye to be expelled. If you skip this step or shorten the time, the. You run the risk of having a blob of glue at the bottom of the bottle or streaking to occur.

Step 6:
Bake the bottles at 225 degrees for 20 minutes to 1 hour. Once they are done, turn the oven off and let them come to room temperature slowly.
To do this, I placed the bottles face up (or top-up) on a baking sheet.
I checked my bottles every 15-20 minutes to see how they progressed. The majority of the bottles were done within 40 minutes.
The key here is to make sure the bottles are free from streaks and that the glue at the bottom of the jar is completely dry.


That’s it! Your tinted bottles are complete.
Repeat this process until you have your desired collection!


Top Tips…
If you use only Mod Podge to coat the bottle, then you will have tiny air bubbles in the final product.
Using a small amount of water will help your bottle get a clean bubble and streak-free finish.
The mixture consistency should be between a Barbecue sauce and a Buffalo sauce. So slightly runny!
Make sure to evenly combine the glue water and food coloring. If there is a glob of food coloring, it will dye the bottle in a big spot.
If you can let the jar sit upside down for more than an hour, I recommend it. This allows all the excess glue to drain out before you bake it.
You can continue to bake your item as long as the glue is still opaque. You will notice it more at the bottom of the bottle.
Remove excess tint from the mouth of the bottle before putting it in the oven. This will allow your lid to fit on correctly.
The more water you add, the more transparent/faded the final tint will be.
Things I would do differently…
Overall, I am very happy with my bottles. I think that their imperfections make them feel more authentic. That being said, here’s what I will do next time I attempt this project:
Mix a small amount of glue with food coloring and water, then add in more glue.
In the first bottle, I made my mixture to watery. It allowed me to completely mix in the food coloring; however, I had to add a considerable amount of glue to balance out the water. I ended up using that mixture to coat two bottles.
If I did it in a small amount to start, then I would have enough mixture for the one bottle. Plus, the consistency should be perfect. It takes some practice to get a perfect balance!
Let the bottles sit upside down for more than an hour.
I said this was a critical step and I wasn’t lying. Letting the bottles sit upside down allows the excess to run out of the bottle. When the bottle is turned mouth up to bake, the rest of the glue mixture runs back down and pools in the bottom of the bottle.
The longer the bottle sits, the more the excess glue mixture has a chance to drain away!
Experiment with different consistencies.
My first bottle was too watery which gave it a very light tint. Some bottles had no water and this left behind tiny air bubbles, Other bottles had to be tossed after a round of baking because the mixture didn’t set correctly.
I think it would be worth it to test out different consistencies for different textures. As I mentioned, I enjoyed the imperfections each glass provided. I don’t have exact measurements to provide a fool-proof way to tint bottles, but I think a little experimentation helps find what works best for the equipment and supplies you have!
This process was very easy and fun to do. The glasses are very whimsical and will be a talking point for your next event!
I really hope you enjoyed this make! If you did please consider subscribing to my newsletter, so you never miss a new project!
Remember, if you make these bottles following this tutorial, use the #darkkflurdesigns so I can see your creations!
Until next time, happy crafting!