
How to Insert a Grommet
This step-by-step guide will show you exactly how to insert a grommet into your next project.

What is a grommet?
A grommet is a type of eyelet (typically metal) that is inserted into a hole to prevent material from tearing or fraying. Grommets can be placed in a variety of different materials from fabric to plastic.
Grommets are usually less decorative and larger than eyelets.
Why would you use a grommet?
Grommets are used in many industries, including medical, manufacturing, and engineering fields; however, we will talk about how they are used in the sewing industry for this post.
If your project uses thicker materials and needs to withstand a reasonable amount of stress, then you will probably need a grommet for your project.
Grommets are typically used as a space for cording to run.
Materials with grommets can be easily strung up or gathered with cording, rope, or a dowel.
How do you use grommets for sewing projects?
Grommets can be used in a variety of different sewing projects.
Curtains: If you want to make a pair of professional-looking curtains, grommets can help you achieve a designer look, without requiring much skill.
Corsets: Due to the amount of tension and stress corsets endure, grommets are usually selected for the lacing structure of corsets.
Banners: If you need to construct a simple banner for a special occasion or event, grommets provide stronger support to hang any banner.
Handbags and backpacks: Grommets allow you to add handles or gathering elements to your bags with little additional work.
This is how I prefer to use them!
This post contains affiliate links. Read my full disclosure for more info.
List of Supplies:
Makes: unlimited; once you have this skill, you can make as many projects as your heart desires!
Estimated Time: 5-10 minutes
Sewing skills needed/used: Measuring
Skill level: Beginner
Grommet kit
Hammer
A project that needs grommets
X-Acto knife
Fabric pen for marking (I use these Frixion pens)
Ruler
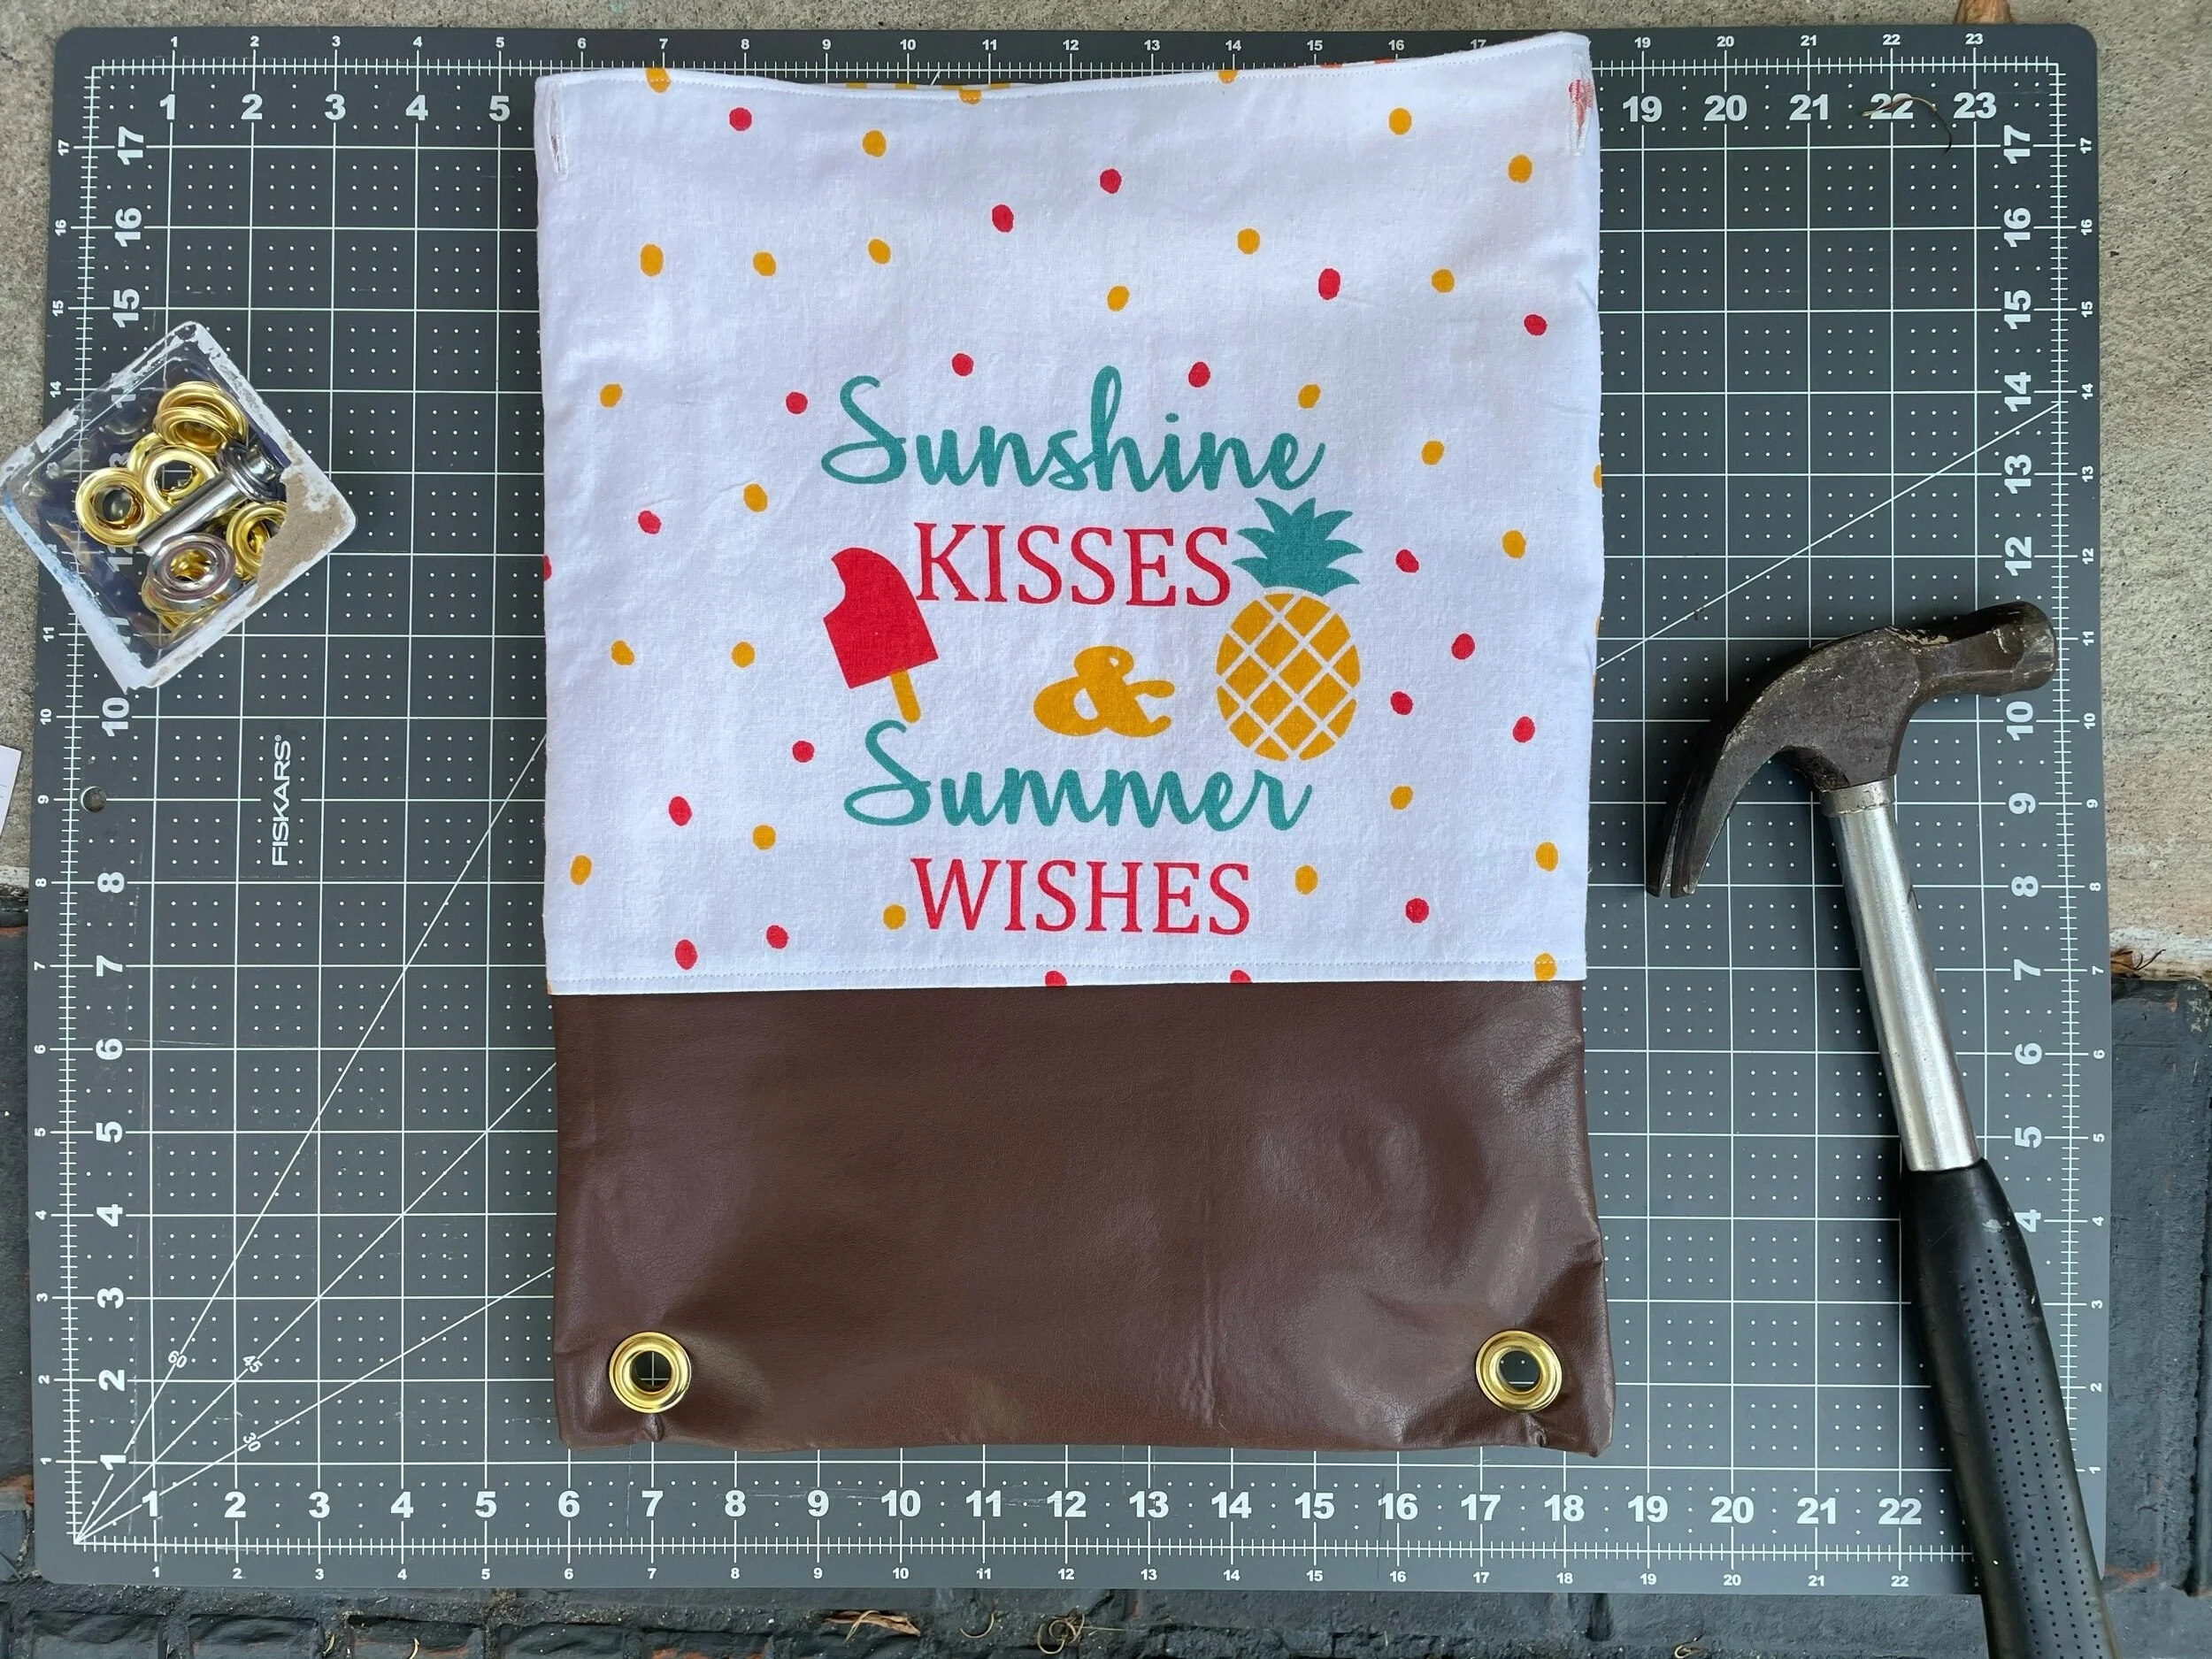
How to insert grommets
Step 1:
Gather the supplies and make sure you have a hard/flat surface to work on.
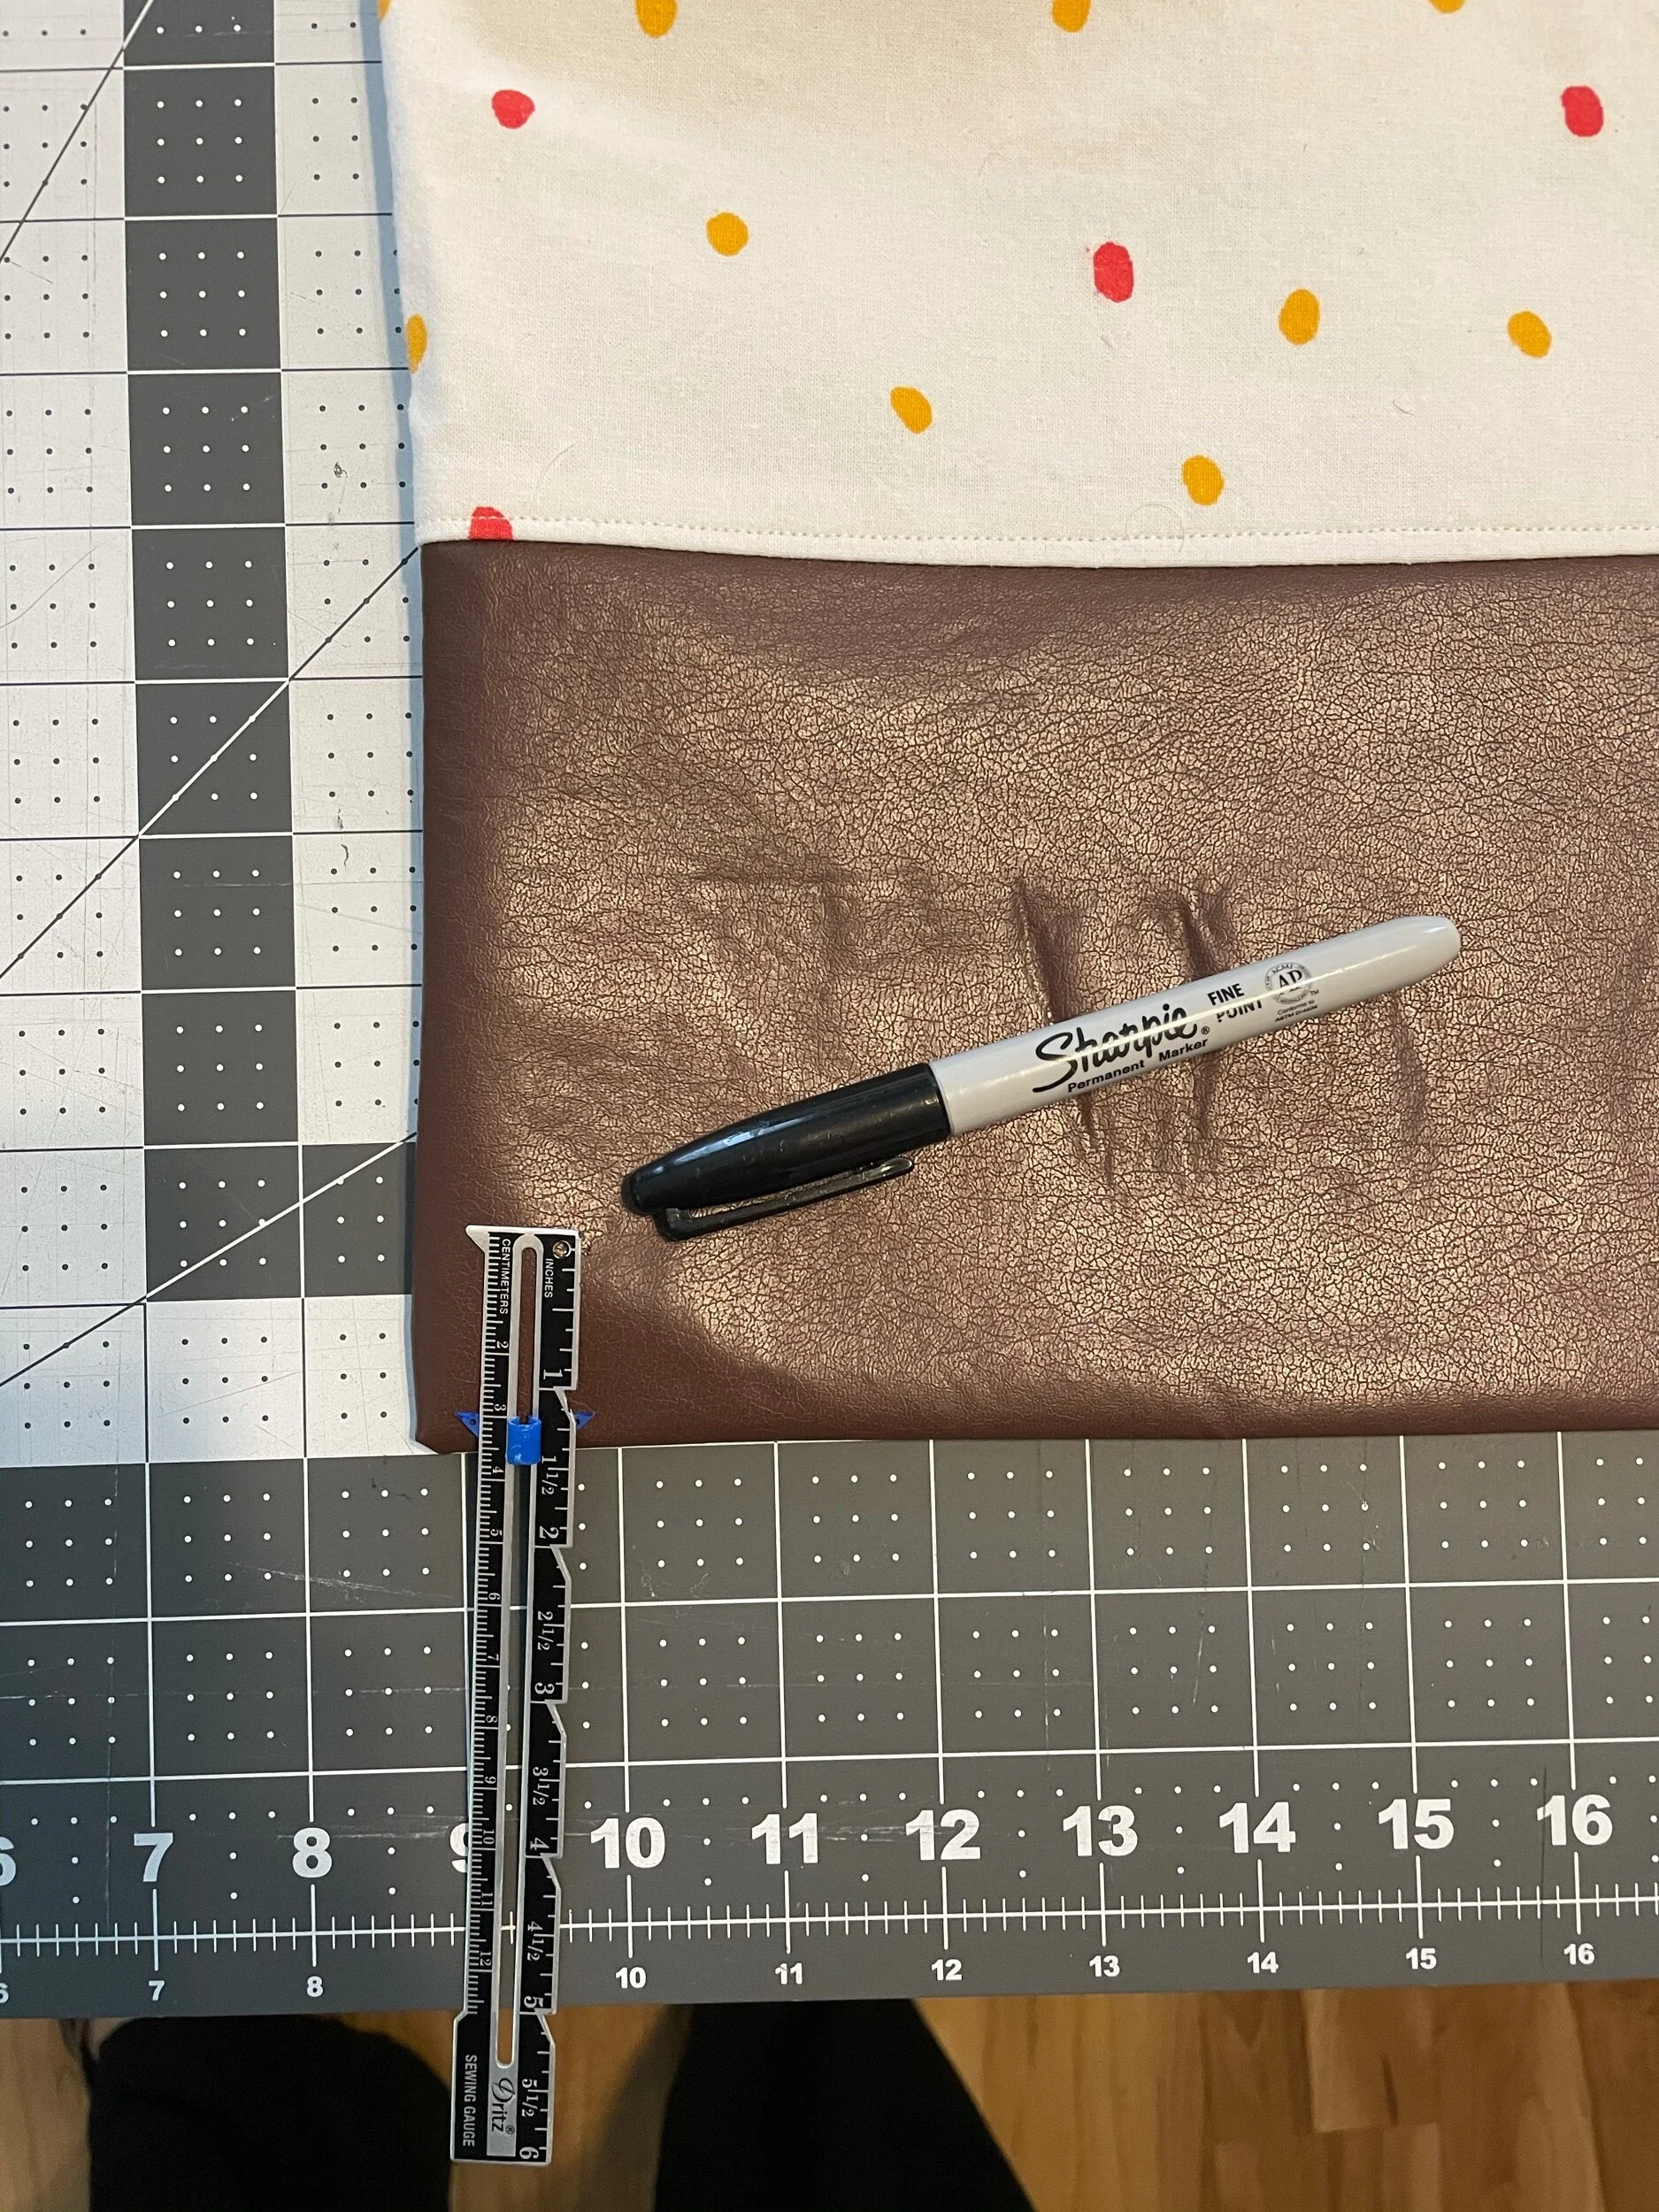
Step 2:
Measure and mark out the placement for the grommets.
To do this, I made sure to measure far enough away from the edge so that my grommet didn’t place unnecessary stress on my project.

Step 3:
Cut a hole in the desired spot.
To do this, I used an X-Acto knife to place a small slit into the fabric. I frequently tested out the size of the slit versus the size of the grommet. I wanted a snug fit for the grommet, so I didn’t want the holes to be too large.


Step 4:
Insert the base (solid piece without prongs) into your project and place it on top of the anvil piece.
*Grommet kits come with the anvil (the circular base) and the mandrel (the long tool you hammer).
**I prefer the base grommets to face the front of my project because I like their seamless look; however, you can place them however you prefer, just ensure they are all facing the same direction!

Step 5:
Place the top grommet (the one with spikes) on top of the base grommet.

Step 6:
Place the mandrel (the long tool) into the grommets and hammer.
*The grommet should be sandwiched in between the anvil and mandrel.

Hammer the mandrel several times with steady force.
After 3-4 hammers, I checked to see how the grommet was coming along. The grommet should appear to be one solid piece and should not wiggle when touched. If I need to apply more strikes, then I did so.
**Make sure you work on a flat surface otherwise your grommet will not secure correctly.
That’s it!
Your grommet has been inserted!
Repeat these steps as many times as needed to complete your project!
Hot Tips…
Cutting a hole too large will require you to insert a larger grommet.
Test the cording size to ensure it fits through the grommet before your insert it.
Double-check to make sure all grommets are being inserted in the same direction.
Use a hard, flat surface that can withstand the strikes from a hammer. A table will have indents left on it from the process. I used my front, cement stairs; others have used small wooden plaques to protect furniture.