
Fabric Gift Bag: Debbie Shore Sew-Along
Have you ever tried a sew-a-long?
In this post, I will be reviewing and following Debbie Shore’s fabric gift bag tutorial found on her YouTube Channel.
Join me as I follow along with Debbie Shore’s tutorial and make this adorable gift bag!


Let me introduce you to Debbie Shore…
Note: This post is not sponsored. I just really love her teaching style!
Several years ago, I stumbled across a YouTube page filled with detailed tutorials on how to construct handbags, backpacks, tote bags, bunting, pillows, and countless other projects. I couldn’t believe the treasure trove I had just uncovered!
All it took was one video and I was a subscriber to Debbie Shore!
Her lovely and warm presence sets you at ease while you are trying a project that is out of your comfort zone. Believe me (or don’t, but I suggest you give her a try)!
From the most complex of techniques to a simple straight stitch, Debbie Shore’s enthusiastic demeanor gives you the confidence you need to tackle any project. Her tutorials have helped me create some beautiful projects (like these gift bags) and master techniques (like invisible zippers) that I really struggled with.
She provides tips, tricks, and suggestions to help you utilize your current skills, build new ones, and craft beautiful projects. I just simply cannot say enough positive things about her!
If you are searching for a complete tutorial where you feel encouraged to try out new techniques, then her channel is one to check out.
Now that I have given you a taste of who Debbie Shore is and what she does, let’s talk about the project for today.
I found this gem she posted a week or so ago, while I was researching materials for my fabric gift bags.
Although it is similar to the simple drawstring bag that I had just completed, this project had different features that I felt would be a perfect addition to my fabric gift bag series. Plus, the more variance you can add to your wrapping the better, right?
I will link her original tutorial down below. If you are interested in reading about things I would do differently next time, hot tips, and other ideas for this project, read on after my instructions.
Let’s get started!
This post contains affiliate links. Read my full disclosure for more info.
List of Supplies:
Makes: This is entirely dependent on the amount of fabric you buy and the size of your bag, but for the purpose of this tutorial these instructions will make 1 bag.
Estimated Time: 30-50 minutes per bag (her original video is 45 minutes)
Sewing skills needed/used: Straight stitch, Slip stitch, Boxed corners, applique
Skill level: Beginner to advanced beginner
For this tutorial, I will use the dimensions Debbie Shore provides in her video. You can alter the amounts depending on how many bags you wish to make and the sizes you want them to be.
2 pieces of outer fabric measuring 12” x 16”
2 pieces of lining fabric measuring 12'“ x 18”
2 pieces of fusible fleece measuring 12” x 16” (plus two small strips she covers in the video)
1 strip of lining fabric measuring 24” x 1.5”
4 squares of fabric measuring 4” x4” (varying colors for applique present)
16” of ribbon to decorate your applique
30” of ribbon for your tie closure
Needle
Coordinating thread
Fabric pins or clips
***If you would like to purchase her 1/2 Yard Christmas book, then you can get it here.
**I did not box my corners as she does in her tutorial. I kept this a simple seam on the side.

Making the Bags…
Step 1:
I cut out my outer fabric, lining fabric, fusible fleece, (4) 4'“ fabric squares, and my ribbon casing.

Step 2:
I applied my fusible fleece to the WRONG side of my outer fabric.
***The bumpy side of the interfacing is the side with the glue.

Step 3:
While my iron was on, I pressed the top and bottom of my ribbon casing in by 1/4”.
I folded the WRONG sides together and pressed.

Step 4:
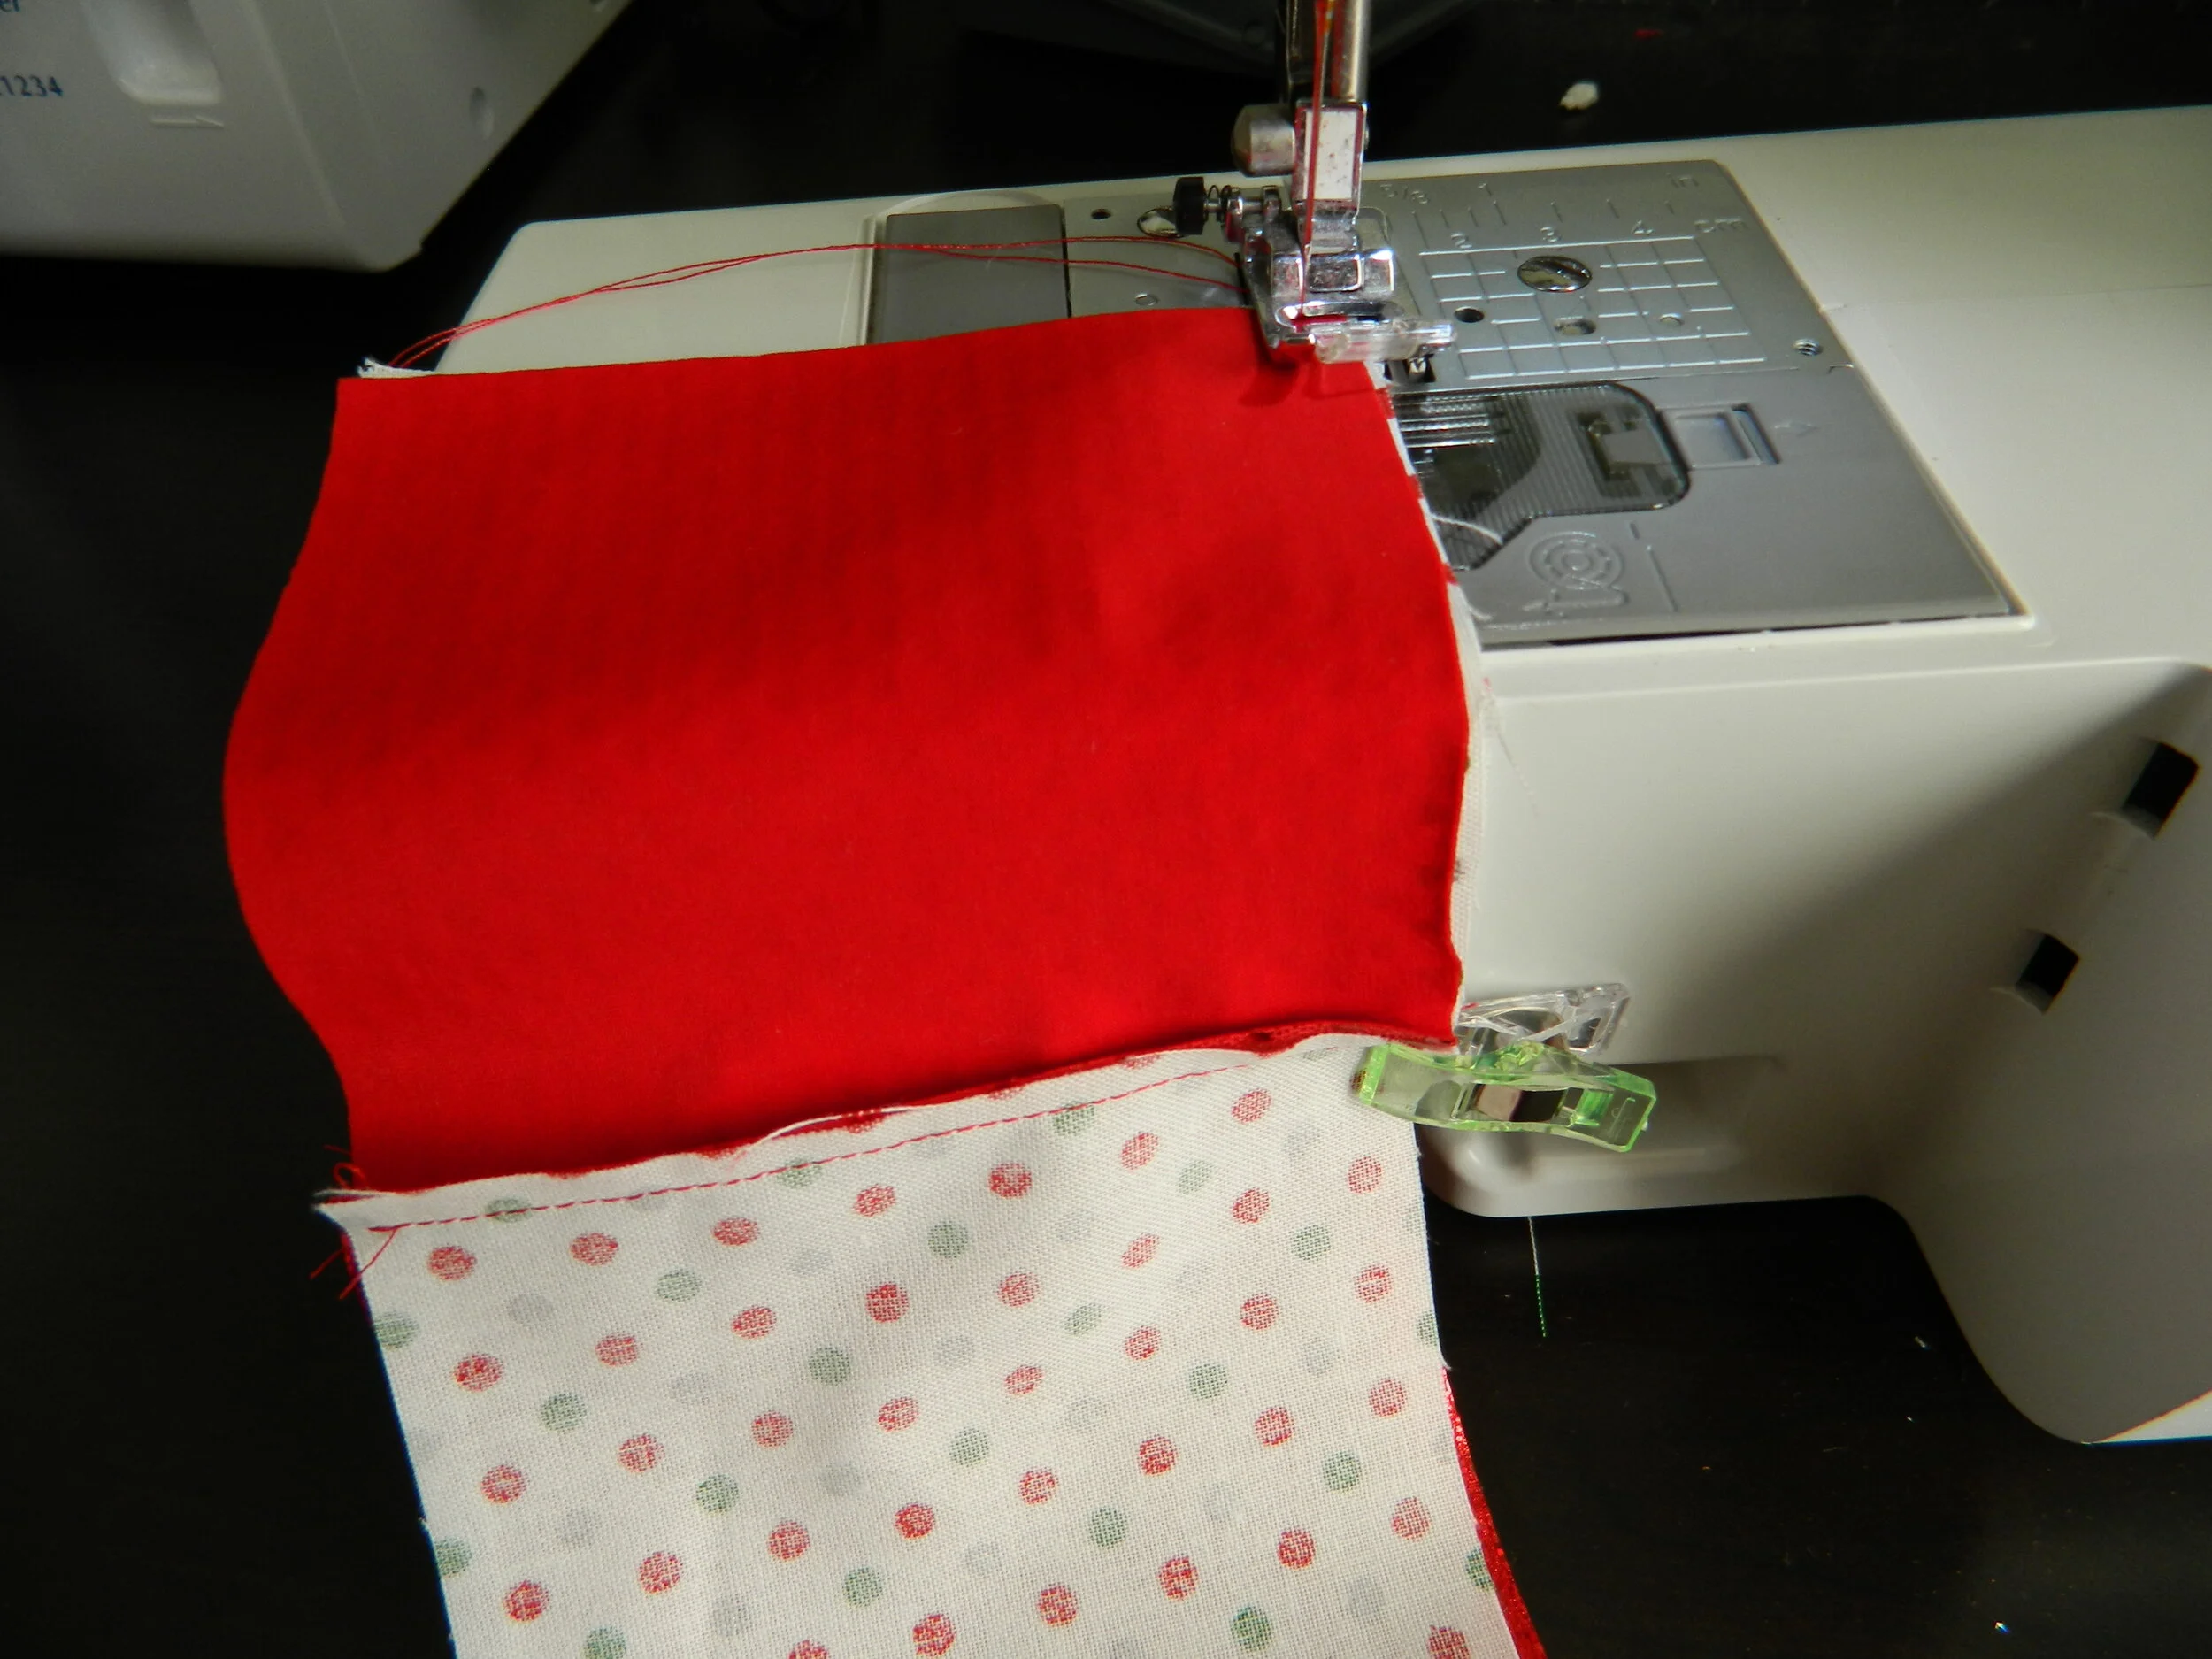
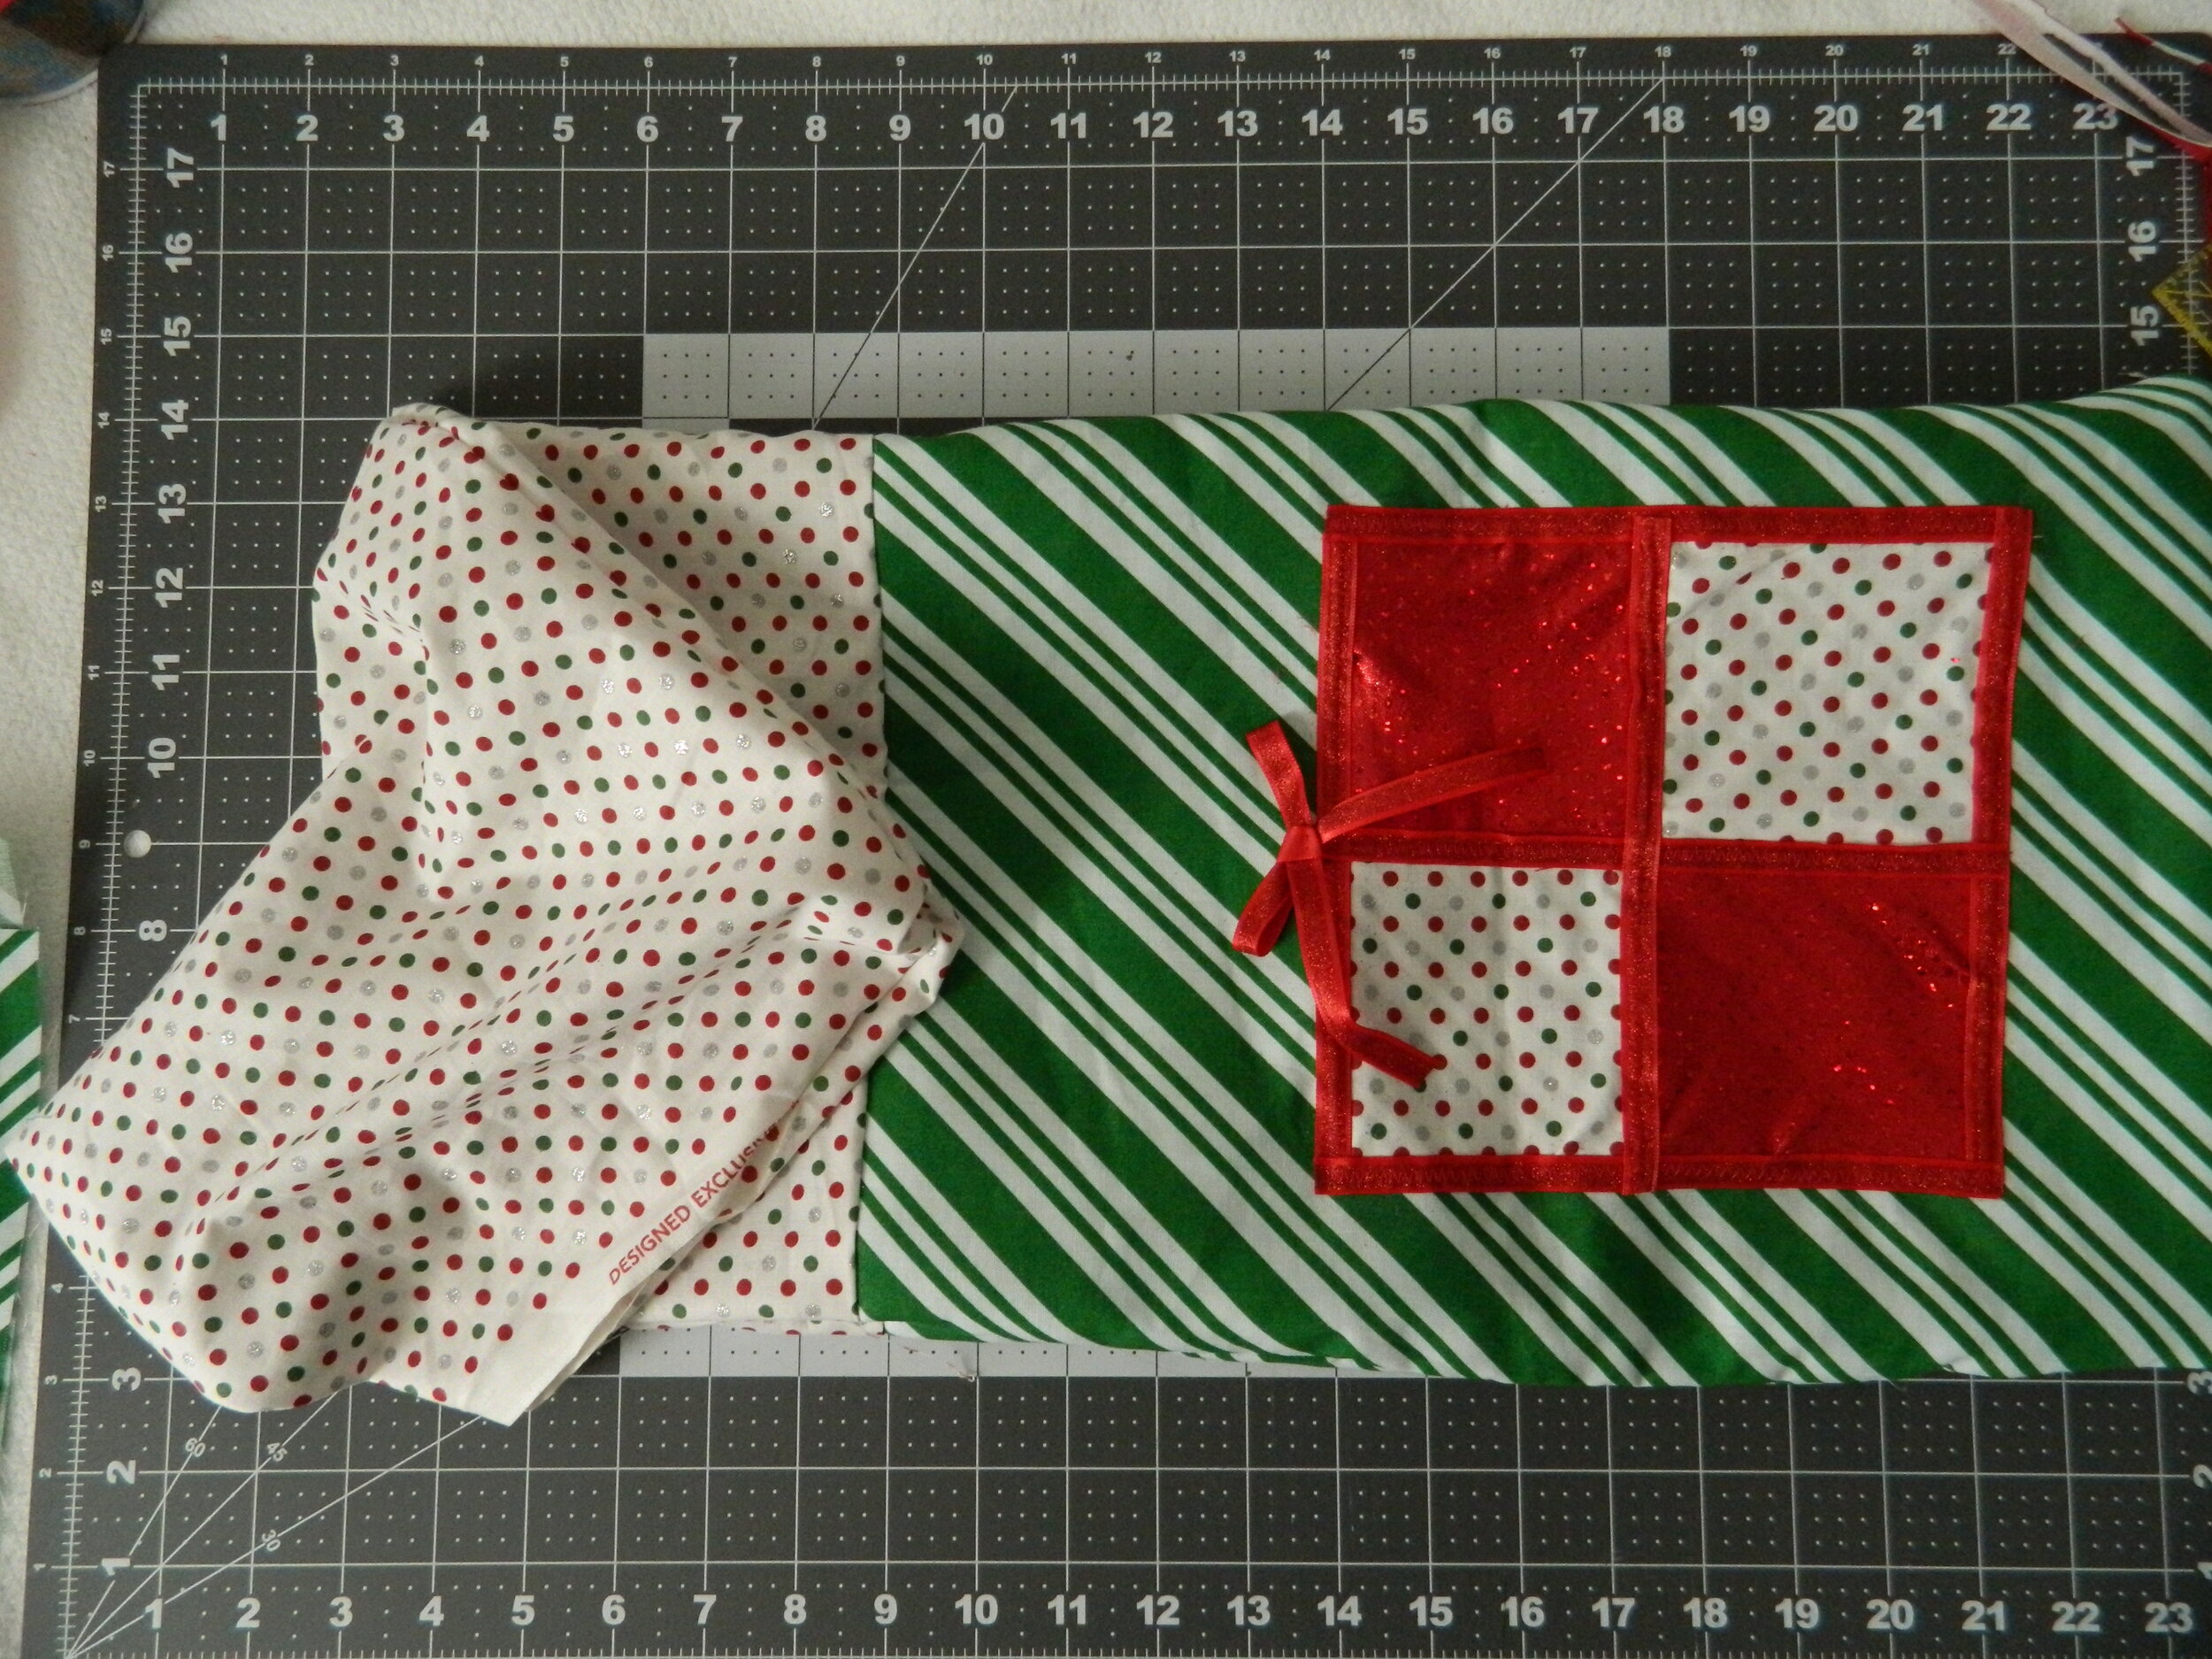
I sewed my squares together using 1/4” seams to create a present applique.
To do this, I took two squares, placed them RIGHT sides together, and sewed.

I sewed down the edge of one side.
I repeated this step for the remaining two pieces.

When I was done I had two sets of squared panels.
I pressed the seams open.
I clipped my two panels with RIGHT sides facing each other and sewed along the edge.
I pressed these seams open.

Step 5:
I basted my square applique onto one of the outer panels.
This square is a present on the front of the bag.
To do this, I used a spray Basting adhesive to secure my present down.
I measured roughly 2 1/2” in from each side and 3 1/2” up from the bottom.
***I did not box my edges out as she does in the tutorial. You may want to scoot your present up a bit higher if you plan to square your edges.

Step 6:
I sewed my present applique in place.
I used a zig-zag stitch that overlocked my edges. I used a stitch length of 2.4 and a width of 4.0.
***The red fabric was a knit fabric that I did not interface on this first round (Rookie mistake). I wanted to show you my mistakes and how I went about fixing them.

I interfaced the red fabric on another bag and you can see the difference it made.

Step 7:
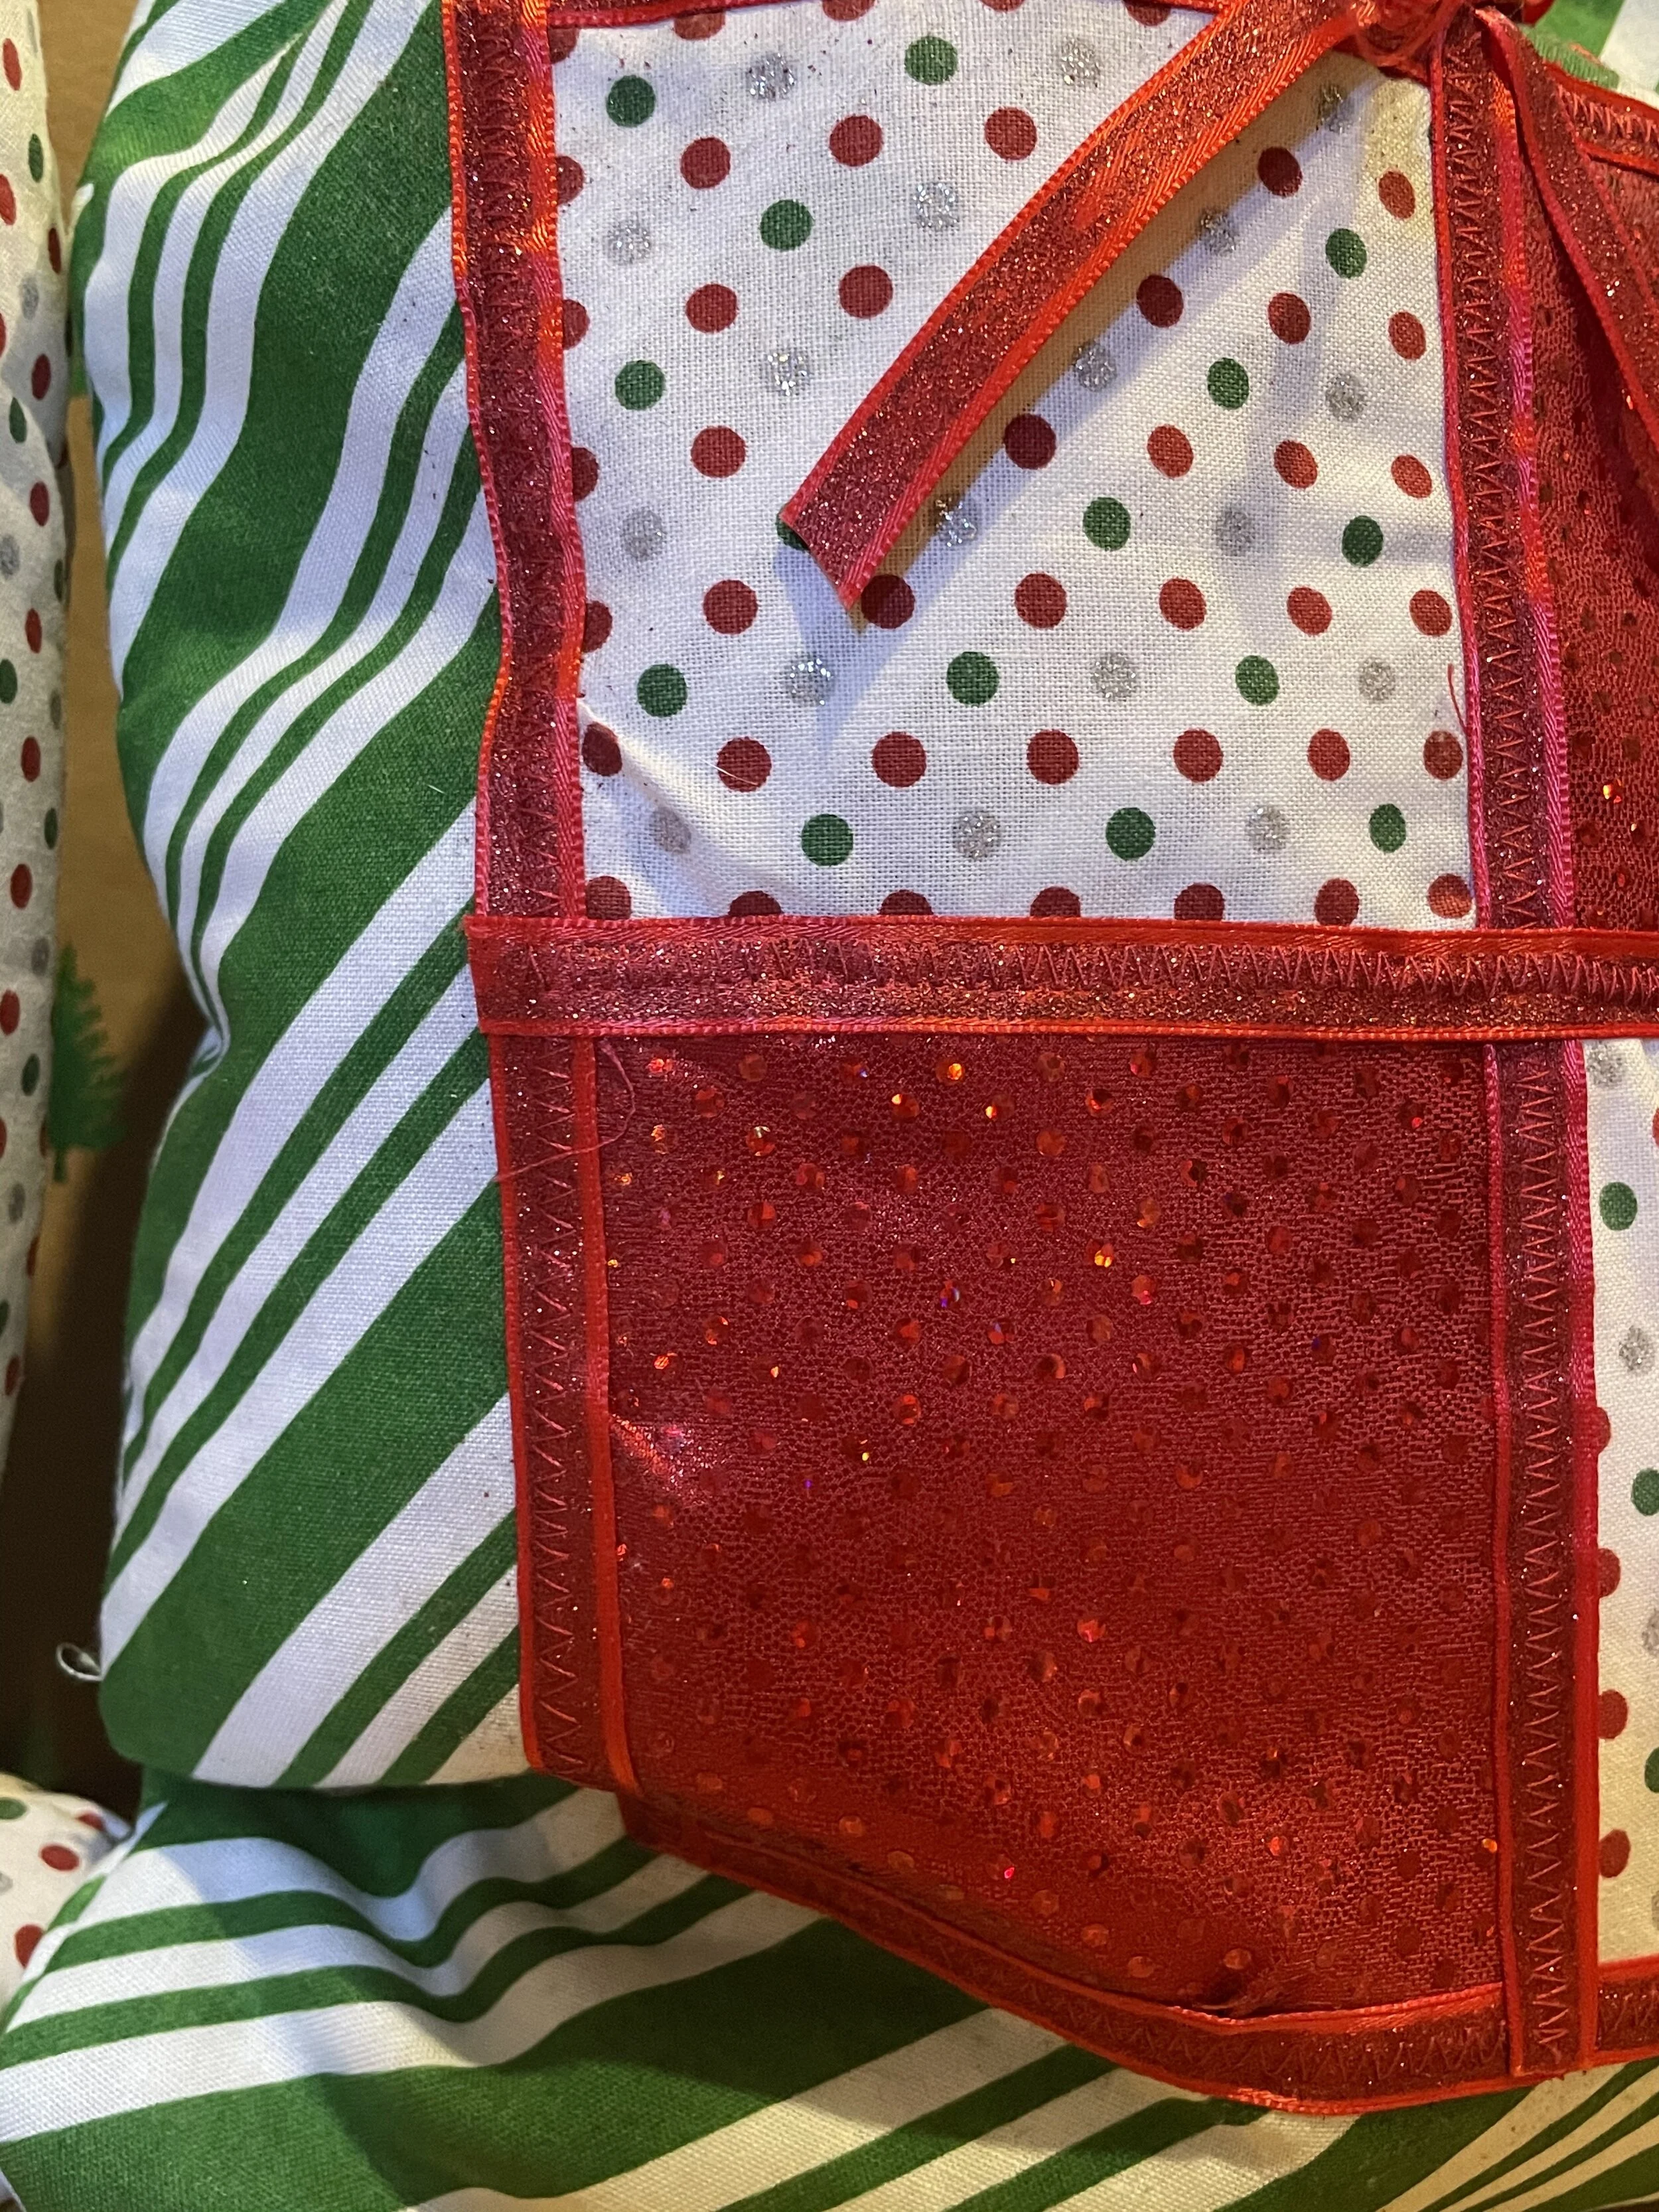
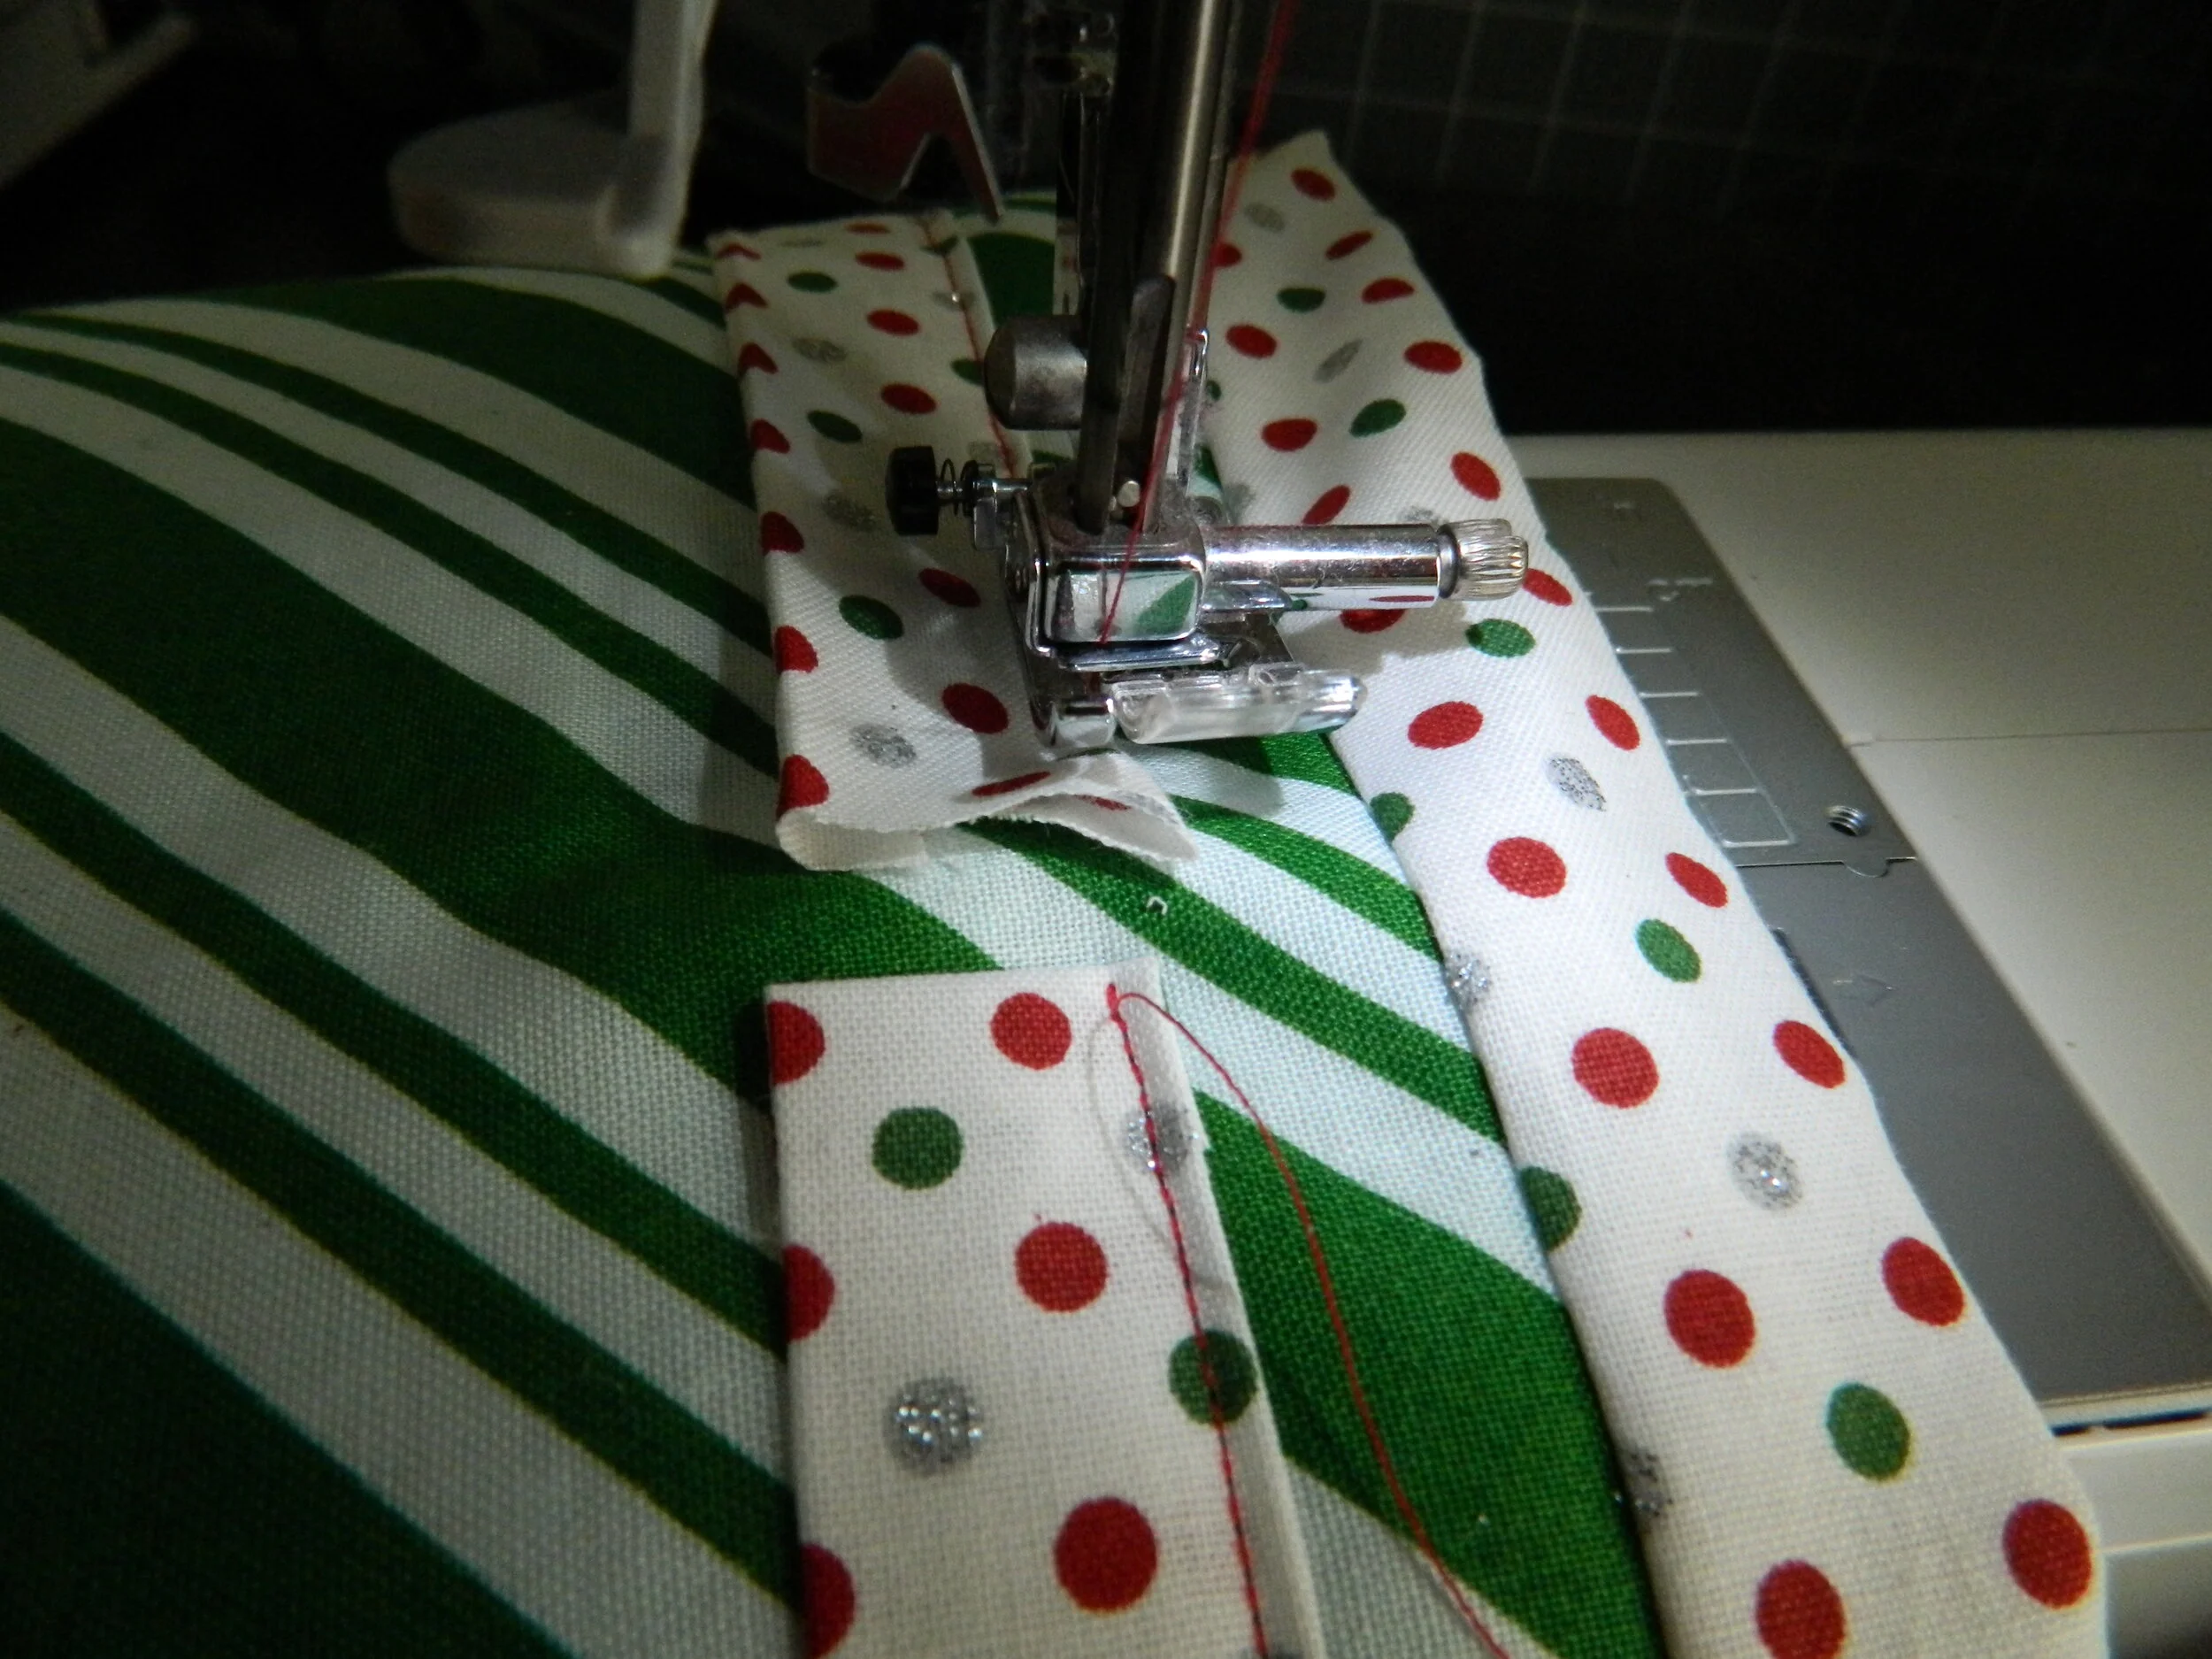
I sewed ribbons in the cross-sections of my present to secure it to the fabric.
I also sewed ribbon along the sides of my package to finish and conceal the edges (optional).
I did this to hide my mistakes. and give the present a finished look.
Optionally, you can leave your edges raw with a zig-zag seam for another finish.


Step 8:
I made a small bow from my ribbon and sewed it on top of my present to complete the applique.

Step 9:
I sewed along the top seams of my bag using a 1/4” seam allowance.
To do this, I placed my outer fabric and my lining fabric together with RIGHT sides each other.

You will have two panels with a seam along the top.

Step 10:
I sewed up the side and bottom seams using a 1/4” seam, leaving a gap in the bottom of the lining for turning.
To do this, I needed to open my fabrics and line up my linings together and my outer fabrics together (RIGHT sides together).
Make sure you take time to match your top seams together since this will be easy to see when the bag is complete.


Step 11:
I turned my bag.
To do this, I pulled my bag through the gap I left in the bottom of the lining.
I made sure to push out all my corners.

Step 12:
I stitched the opening in the bottom of the lining closed.
You can slip stitch this closed or use a machine stitch.
I chose to use a machine stitch since it will not be seen.

Step 13:
I sewed the ribbon casing to the top of my bag.
To do this, I folded one edge of the casing under (roughly 1/4”) and pinned it near the center of the bag (roughly 2” from the top).

I sewed along the top of the casing very close to the edge.
I made sure to back stitch a few times at the casings opening.
When I got back to the center, I wanted to make sure I had a 1” gap between the start of my casing and the end I was sewing down.
I cut the excess casing fabric and tucked the raw edge under (roughly 1/4”) and secured it down.

I repeated this process to stitch the bottom seam of the casing.

Step 14:
I threaded my ribbon through the casing using a pin to help guide the ribbon.
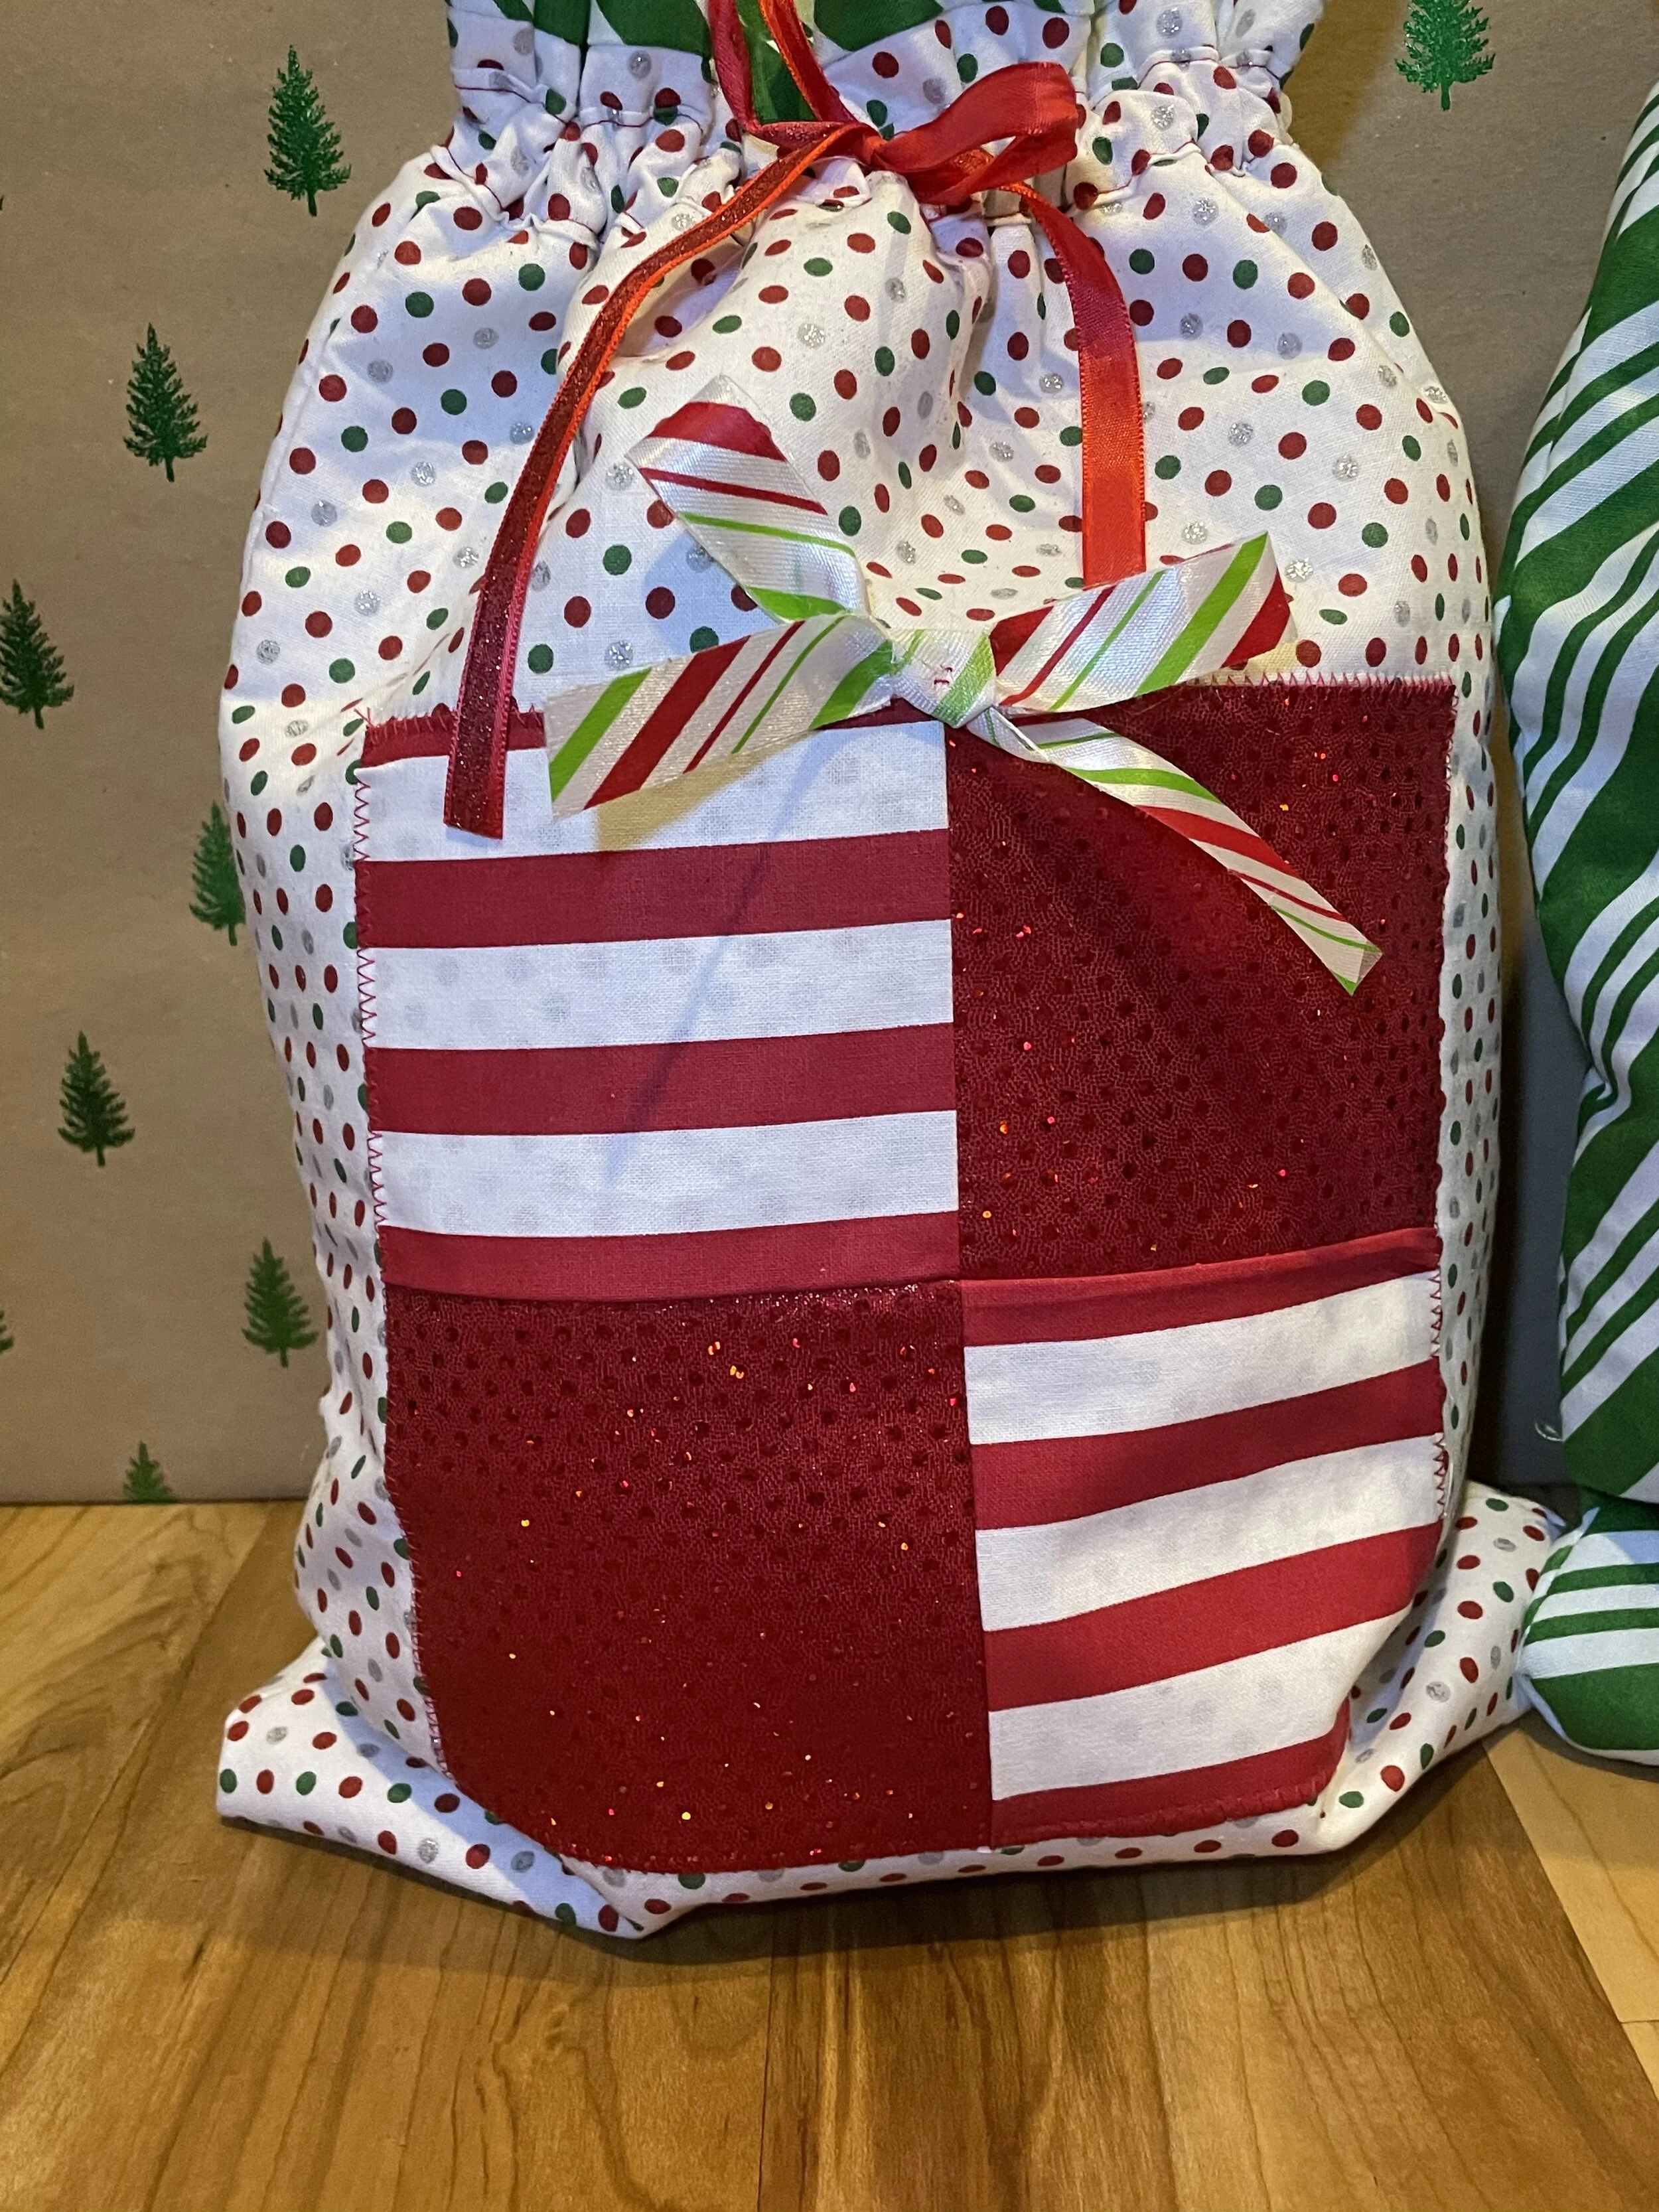
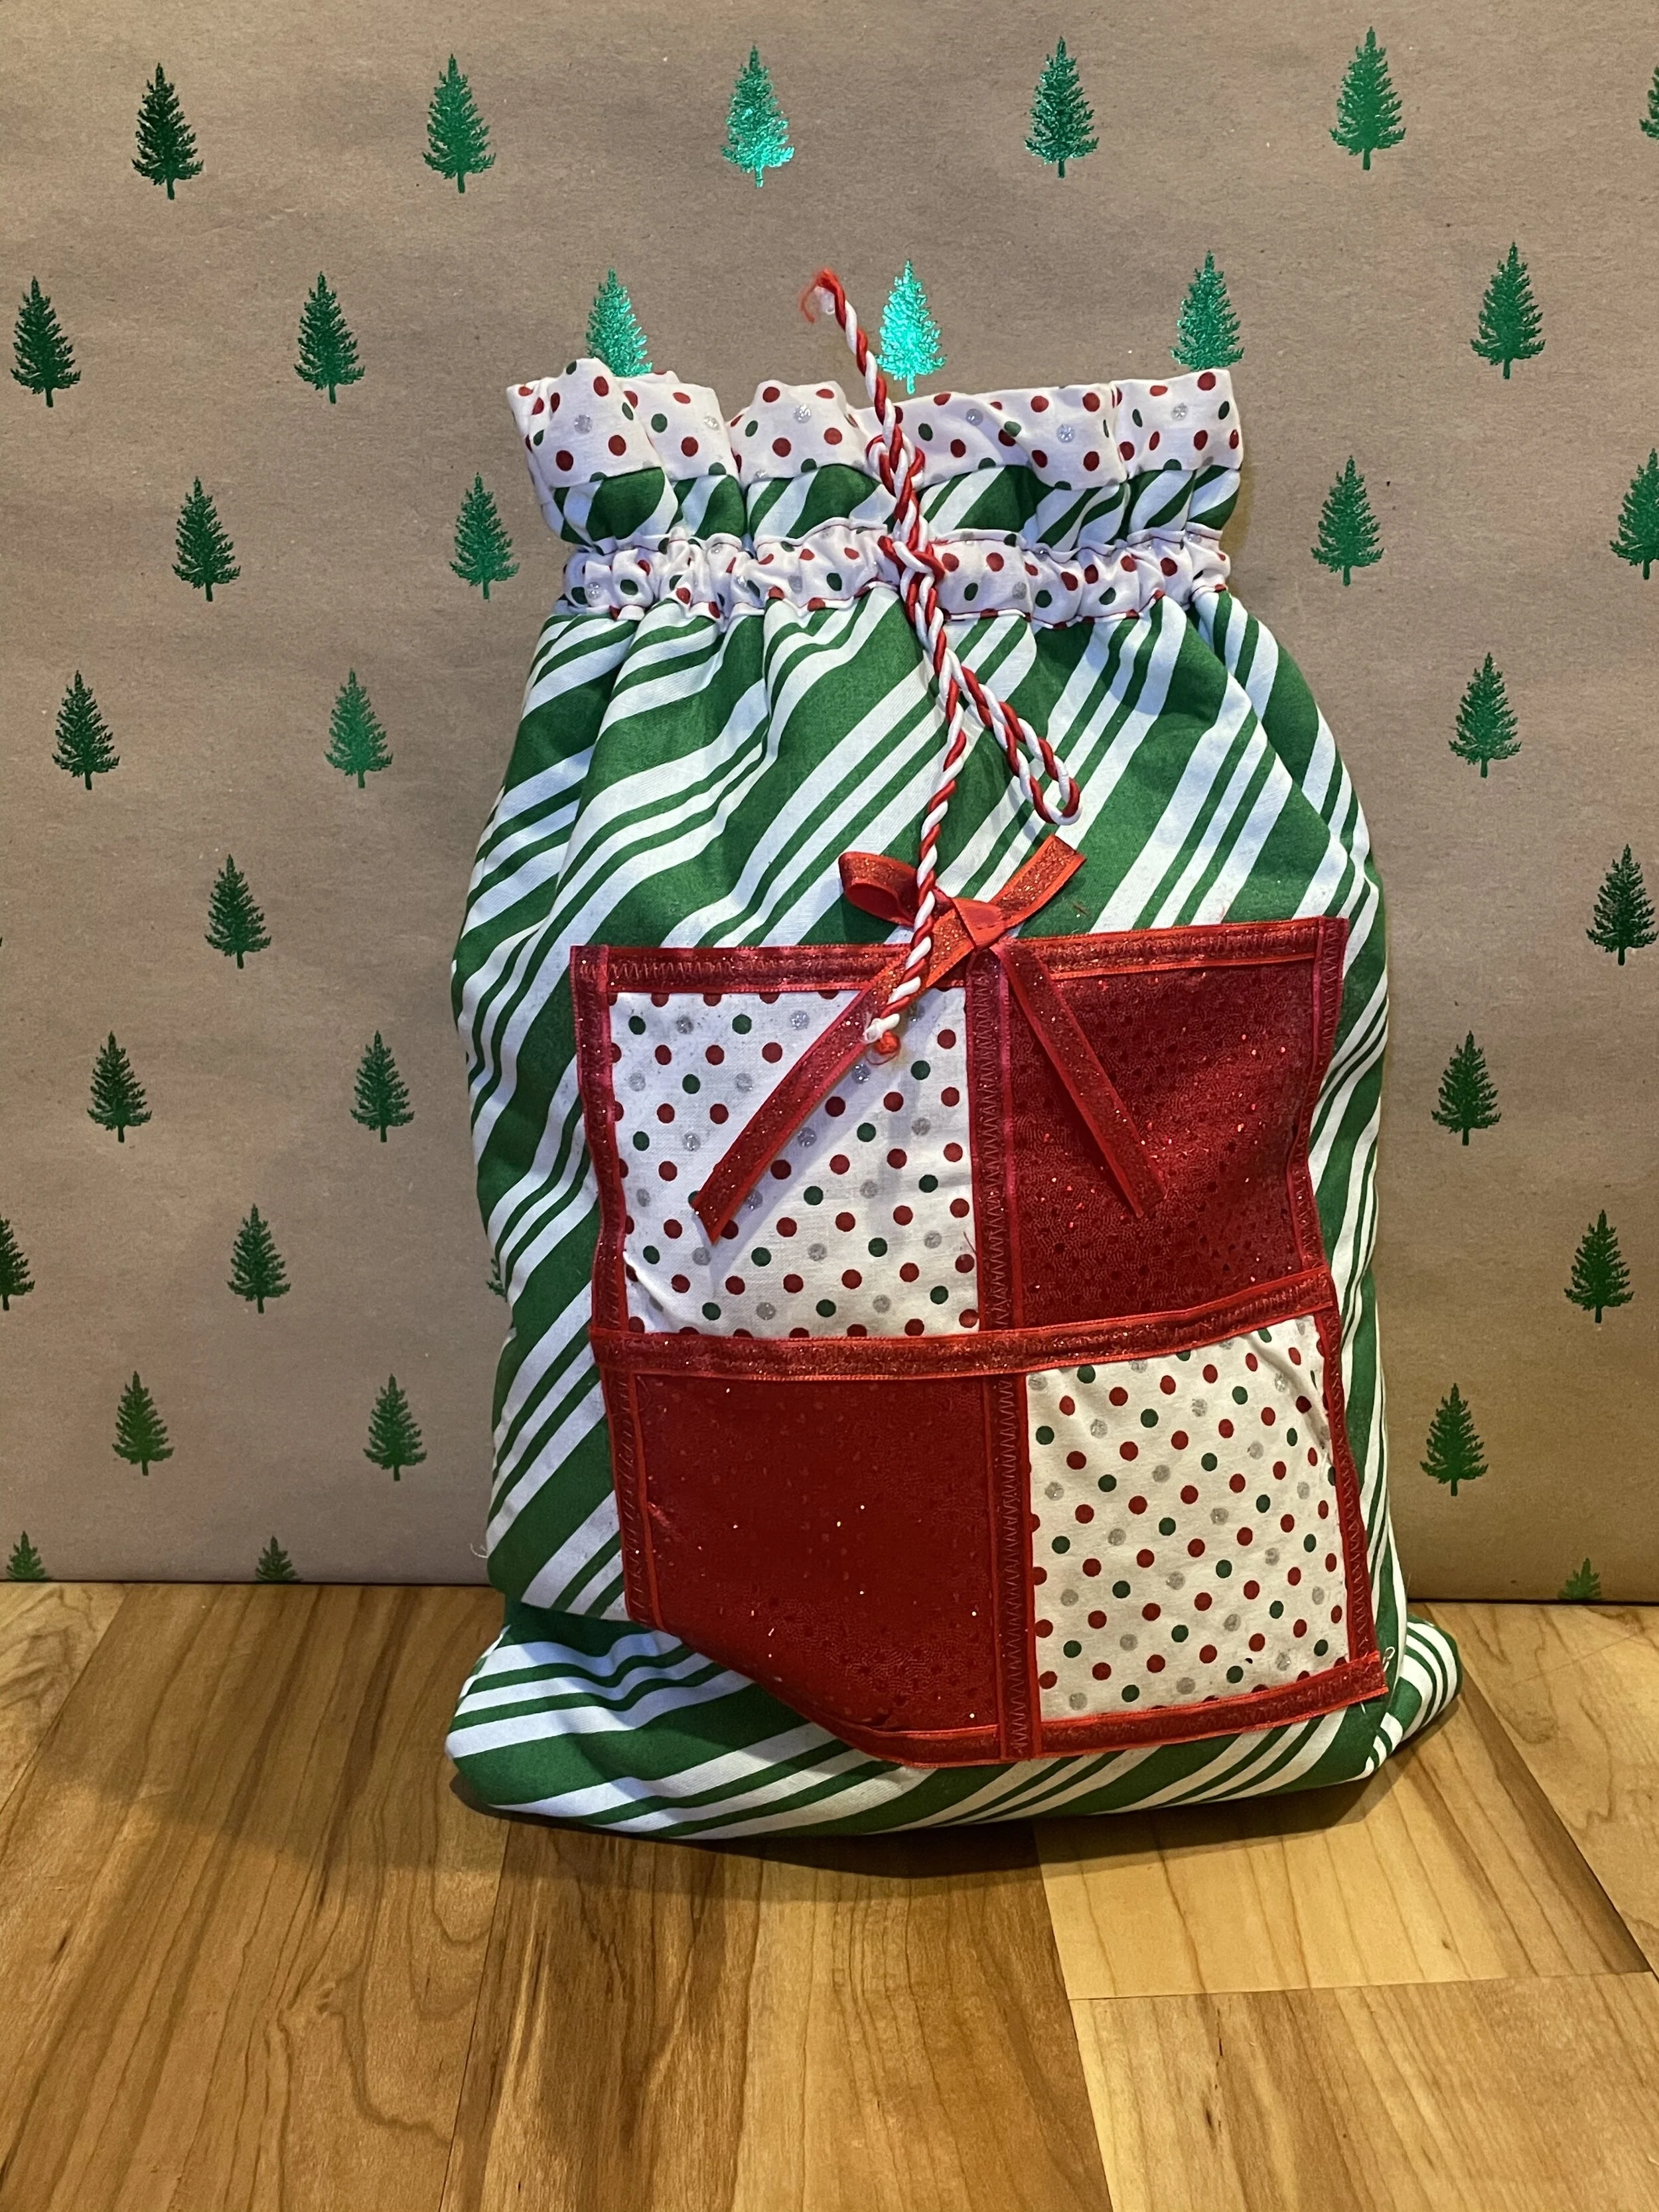
My gift bag is complete!
These sweet, little gift bags are the perfect way to dress up your holiday gifting!

Hot Tips
This project is best made in batches. You can read more on batching here.
After I pieced together my present applique, I took it back to the cutting table to square it out again. I did this because my fabric warped when sewing (due to one of the fabrics being a knit).
Do not attempt these bags if you are tired! You will only end up making mistakes and getting frustrated.
Work with any mistakes you come across as I did with the knit fabric. I prefer the smoother/cleaner look of the interfaced package, but the wrinkled fabric reminds me of foil wrapping paper that can be found this season. I ended up liking the bag because of its imperfections.
Things I would do different…
As with every project in this series I have tried so far, I really enjoyed this gift bag. It was just complex enough to challenge my sewing skills while helping me achieve my goal of sewing sustainably for this holiday season. Even still, there are things that I would do differently.
First, I would like to try out other appliques on this bag.
I adore the body this gift bag has versus a simple drawstring bag. I think it helps give the bag a wonderful shape and allows it to display an applique beautifully.
So naturally, I want to try out other appliques to this bag! I think using quilting techniques to achieve this would follow with the style of the bag, but I would also try out some vinyl decals or rhinestones to make it pop!
Imagine a nutcracker (my personal favorite Christmas decor) or a pine tree or cardinal! I know Fabric.com has a free printable for a nutcracker table runner that could easily be adapted to this project.
Here is a link to their mini quilting blocks that could work for this project.
Second, I would vary my fabric choice to customize it for the individual.
Since my goal this year was to create sustainable Christmas wrapping, I was happy with my fabric selection.
But, I could really use any fabric to make this for my kids or whoever I intend to gift these to.
I could also style these bags with a particular theme (i.e. glam or candy or black, white, and gold) so that they would fit in with existing decor.
Lastly, I would make these bags in different colorways for different occasions.
Who said these bags can only be made for Christmas???
These would work beautifully to hold a baby shower gift in or customized for a Mother’s Day gift bag.
You could grab some fabric paint and have kids apply their handprints to the bags and you have memorabilia for any parent or grandparent! (I’m going to try that one out this year!)
I mean, these bags are adaptable for any occasion.
Overall, this project was another favorite Debbie Shore project that I will be making year-round!
I really hope you enjoyed this make! If you did please consider subscribing to my newsletter, so you never miss a new project!
If you make these gift bags, make sure you tag them with #DarkkFluriDIY so I can see your creations!