
Fabric Gift Bag: A Simple Drawstring
Maybe you love the look of gifts wrapped in a cute drawstring pouch…
Or
Maybe you are looking for a simpler way to wrap those oddly shaped gifts?
These super-simple drawstring gift bags can be sewn up in under 30 minutes!
Find out how easy these are to make!
Santa isn’t the only one who can rock a drawstring…
I don’t know about you, but every year I struggle to find ways to wrap those oddly shaped presents that kids (and some adults) get. I mean how the heck am I supposed to wrap an egg-shaped gift? Or a box with one corner that is missing? Or a dinosaur mask? Or pretty much any toy that a kid can test out in the store?
Sure, there are plenty of tutorials showing you fancy ways to wrap things, but I personally don’t have the patience for that. Now, you might think that’s strange since I sew and that’s like a meticulous hobby; but there are just some things you have to put your foot down and say no to.
Fancy gift wrapping is where I put my foot down. Why spend hours learning and mastering folding techniques for someone to literally destroy it in less than 5 seconds? I mean seriously, why do it? (If you enjoy intricately wrapping your gifts because you find the process soothing, then kudos to you! Do your thing!)
I would much rather invest my time making a simple drawstring bag that the recipient of my gift could use for other things or use as gift wrapping next year. Oh and if you think that you don’t spend that much on gift wrapping each year, make sure to check out my post here for a little sticker shock!
To make a long story short, this year I wanted to cut down on my wrapping budget and invest that time and money in a reusable gift bag to conceal those presents that I would have struggled to wrap.
So I took a page right from Santa’s book and made my own (smaller) versions of his gift bag!
If you are interested in reading about things I would do differently next time, hot tips, and other ideas for this project, read on after my instructions.
This post contains affiliate links. Read my full disclosure for more info.
List of Supplies:
Makes: This is entirely dependent on the amount of fabric you buy and the size of your bag.
Estimated Time: 15-30 minutes per bag
Sewing skills needed/used: Straight stitch
Skill Level: Beginner
***I purchased 1-2 yards of six different types of fabrics and used them to make a variety of bags. All of my fabric was 50% off (between $4-$6 per yard).***
For this tutorial, I will use the dimensions I drafted my bags out of. You can alter the amounts depending on how many bags you wish to make and the sizes you want them to be.
At least 1/2 yard of outer fabric
Optional contrasting fabric roughly (1/4 of a yard)
Ribbon
Sewing Machine
Ruler
Pinking shears (optional)
Fabric pins or clips
Safety Pin (optional, but comes in handy for threading your ribbon)

How to make a drawstring bag…
Step 1:
Cut out your outer fabric and optional contrasting fabric.
The dimensions I used for my bag were the following:
Outer fabric, 26 1/2” x 12”
Optional cuff, Cut (2) 6 1/2” x 12” pieces
***This will give you a 3” cuff. You can change this to fit your needs or skip this step. Note: Your bag will be 3” shorter than mine.
***I like to cut my length on the fold. I measured 13 1/4” up from the center fold and cut there.

Step 2:
Fold the top and bottom of the cuff under (WRONG sides together) by 1/4” and press.
*If you opted to have no cuff, then do this same step for the top and bottom of your outer fabric.

Step 3:
Fold your cuff in half with the WRONG sides facing each other and press.
This will create the space for your ribbon casing and for the ruffle at the top.
*If you opted to have no cuff, then measure down 3” and fold the top of your bag to that mark and press. Then, repeat on the other side of your bag.

Step 4:
Sew your cuffs to each end of your outer fabric, using that 1/4” press line as a guide.
*If you opted for no cuff, then you can skip this step.

You should now have one continuous piece of fabric.
(This is folded so you can see the entire piece sewn together.)
If you opted for no cuff, then your fabric should look similar to this except in a single colorway.

Step 5:
Line up your side seams and pin or clip.
*Make sure your seam lines match since they will be noticeable.

Step 6:
Measure 1” up from the seam line where your cuff joins the body of the bag and make a mark on the edge of your fabric.
Do this on each side.
This mark is for your ribbon casing.
*If you opted for no cuff then measure down 2” from the top edge of the bag and mark each side. Then you need to measure down another 1” from that previous line and mark it on each side.

Step 7:
Sew down the side seams using a 1/4” seam allowance.
***If you would like to overlock your edges, do so during this step.

Make sure you jump over the marks you made for your ribbon casing.
***I used Pinking Shears to tidy up my edges and prevent fraying.

Step 8:
Turn your bag RIGHT side out and use your 3” press line as a guide to fold your cuff down into the bag.
Sew along the cuff seamline, making sure to catch the fabric we folded into the bag.
Then, sew above the 1” gap where your ribbon casing is.
*You should have two small gaps on either seam.


Step 9:
Measure out your ribbon and thread it through the channel.
To do this I wrapped my ribbon around my gift bag and cut enough so I had about 6” tails. But you can cut this to your desired length. Remember, the strings will be longer when pulled taut.
Cut another ribbon the same length.

Use a safety pin attached to one end to make feeding your ribbon into the casing much easier.
If you fold your ribbon over on itself, then it helps keep the integrity of your ribbon as it is threaded through the channel.

Make sure you enter and exit through the same hole (remember there are two).
Tie your ribbon off and begin threading your second piece of ribbon through the hole on the opposite side.

When you are done, you should have a ribbon attached on each side!
Pull the ribbons taut to close your bag.
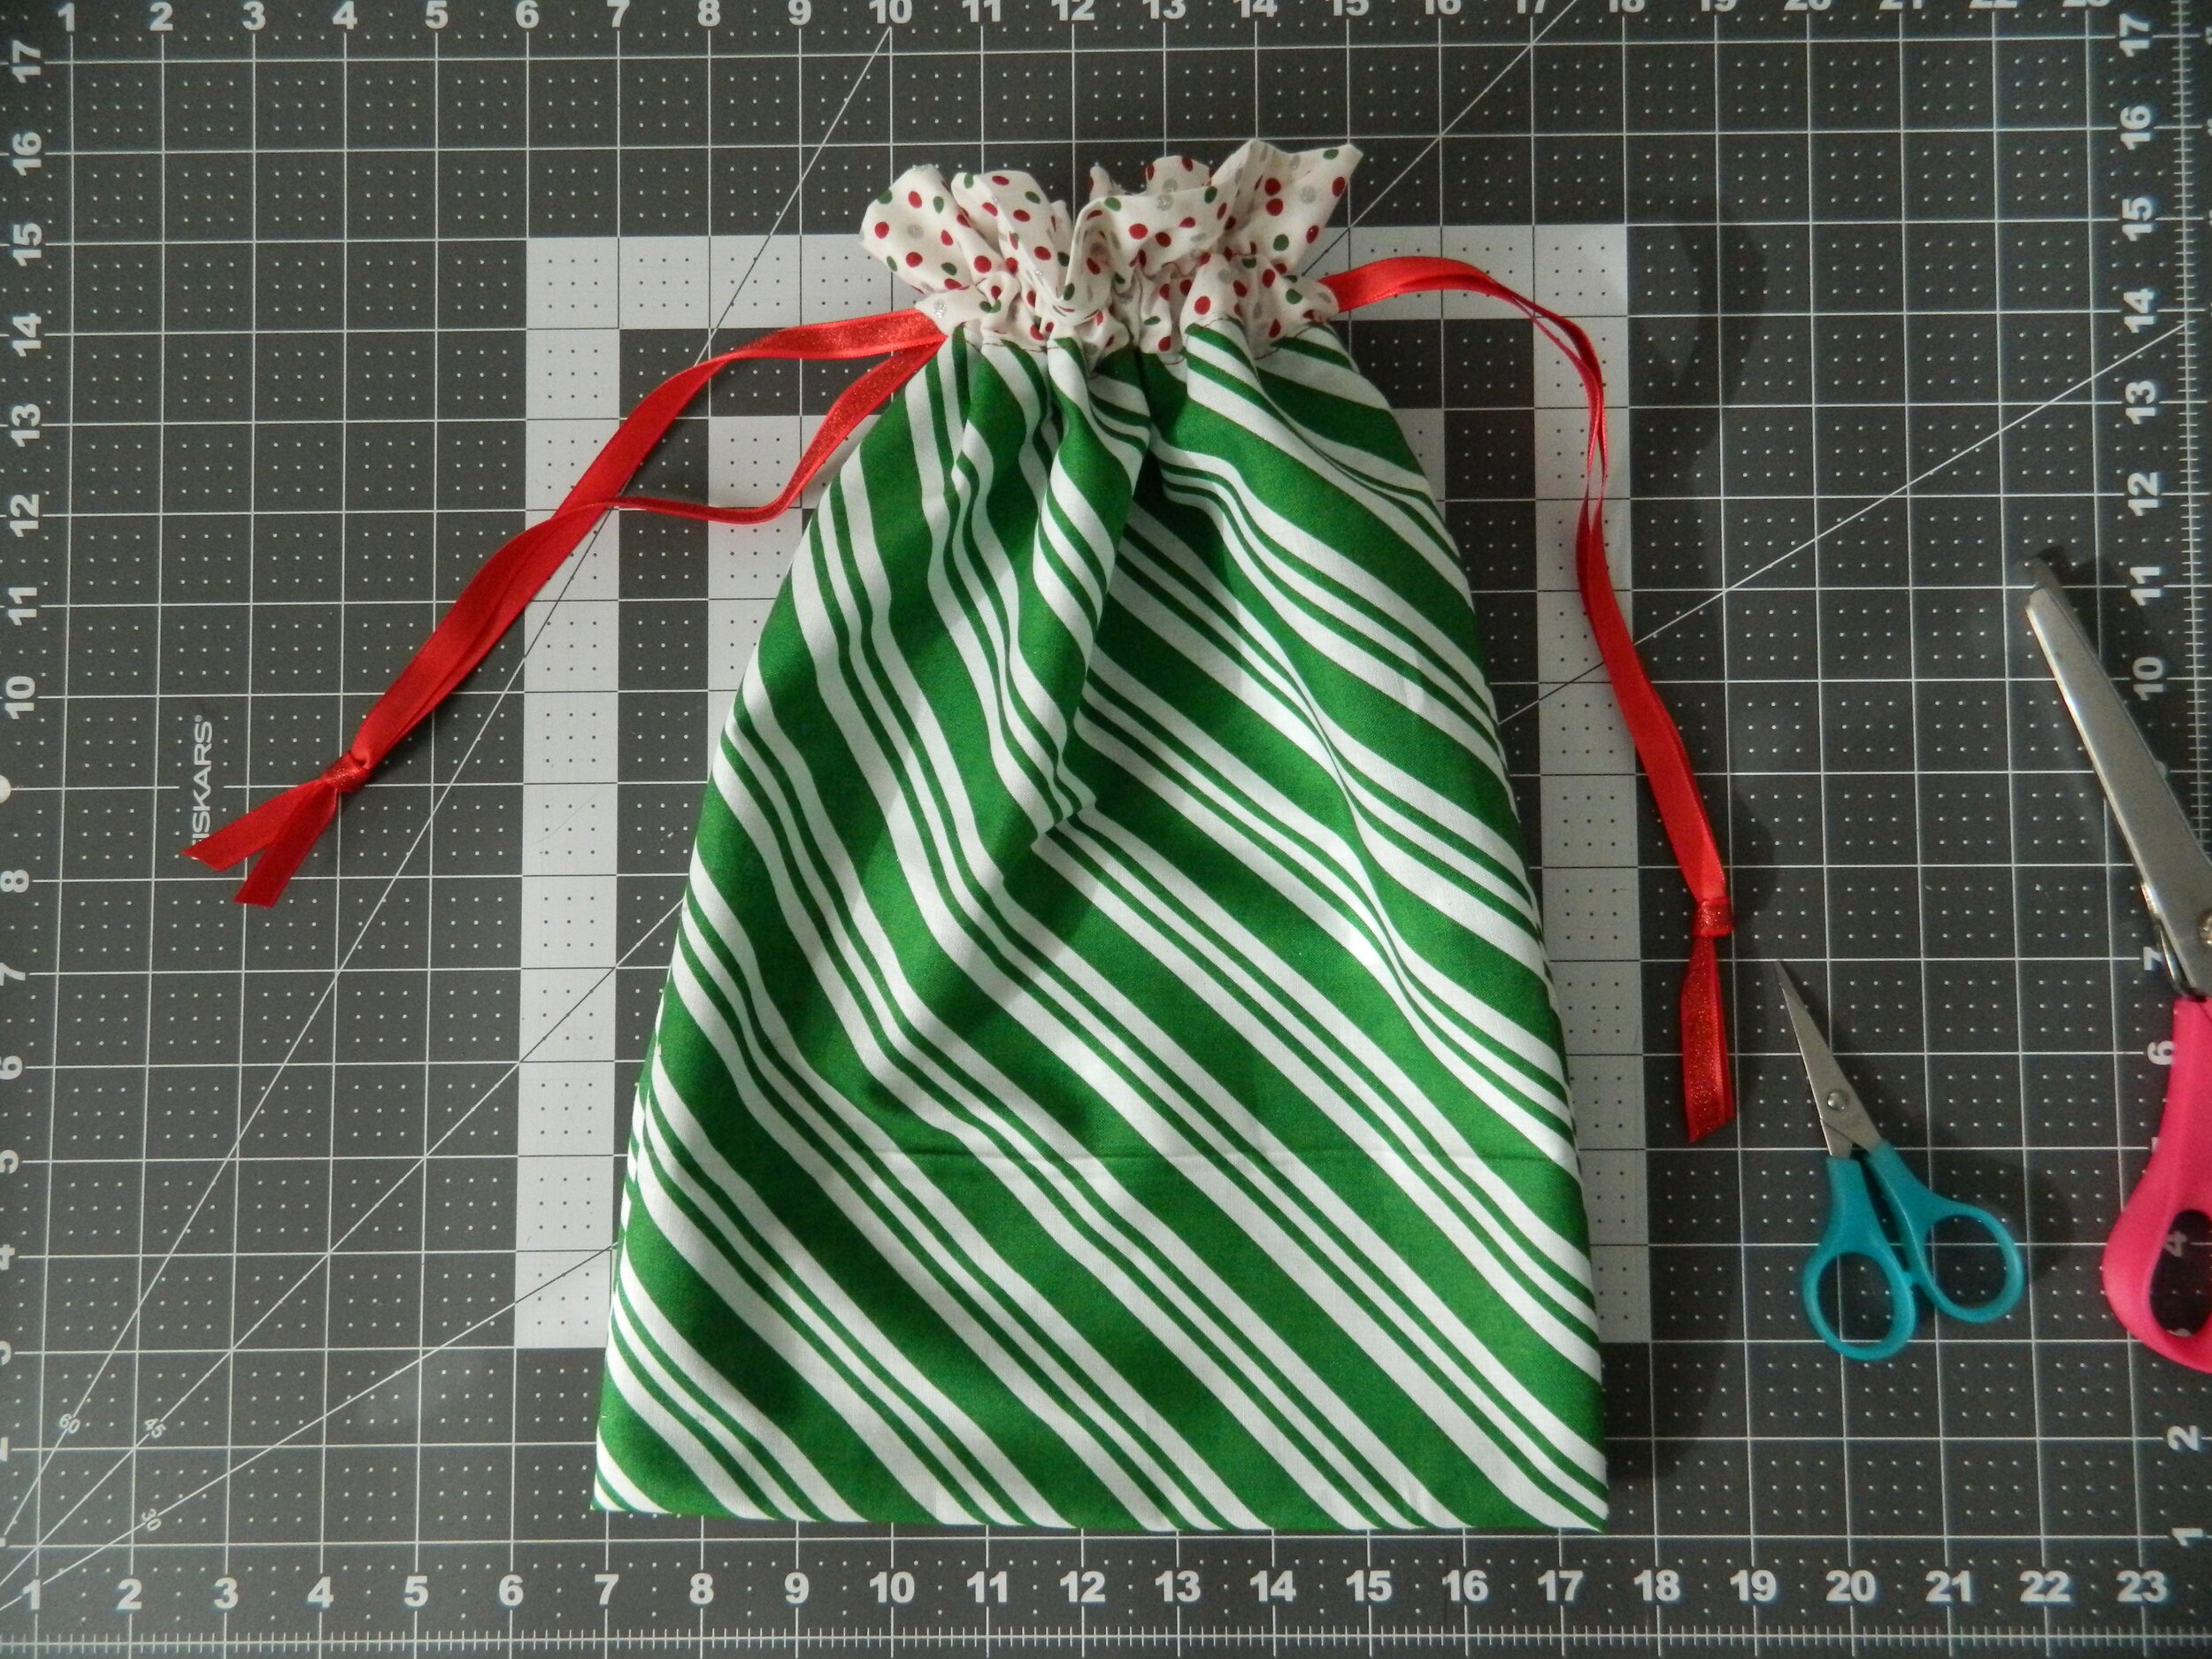
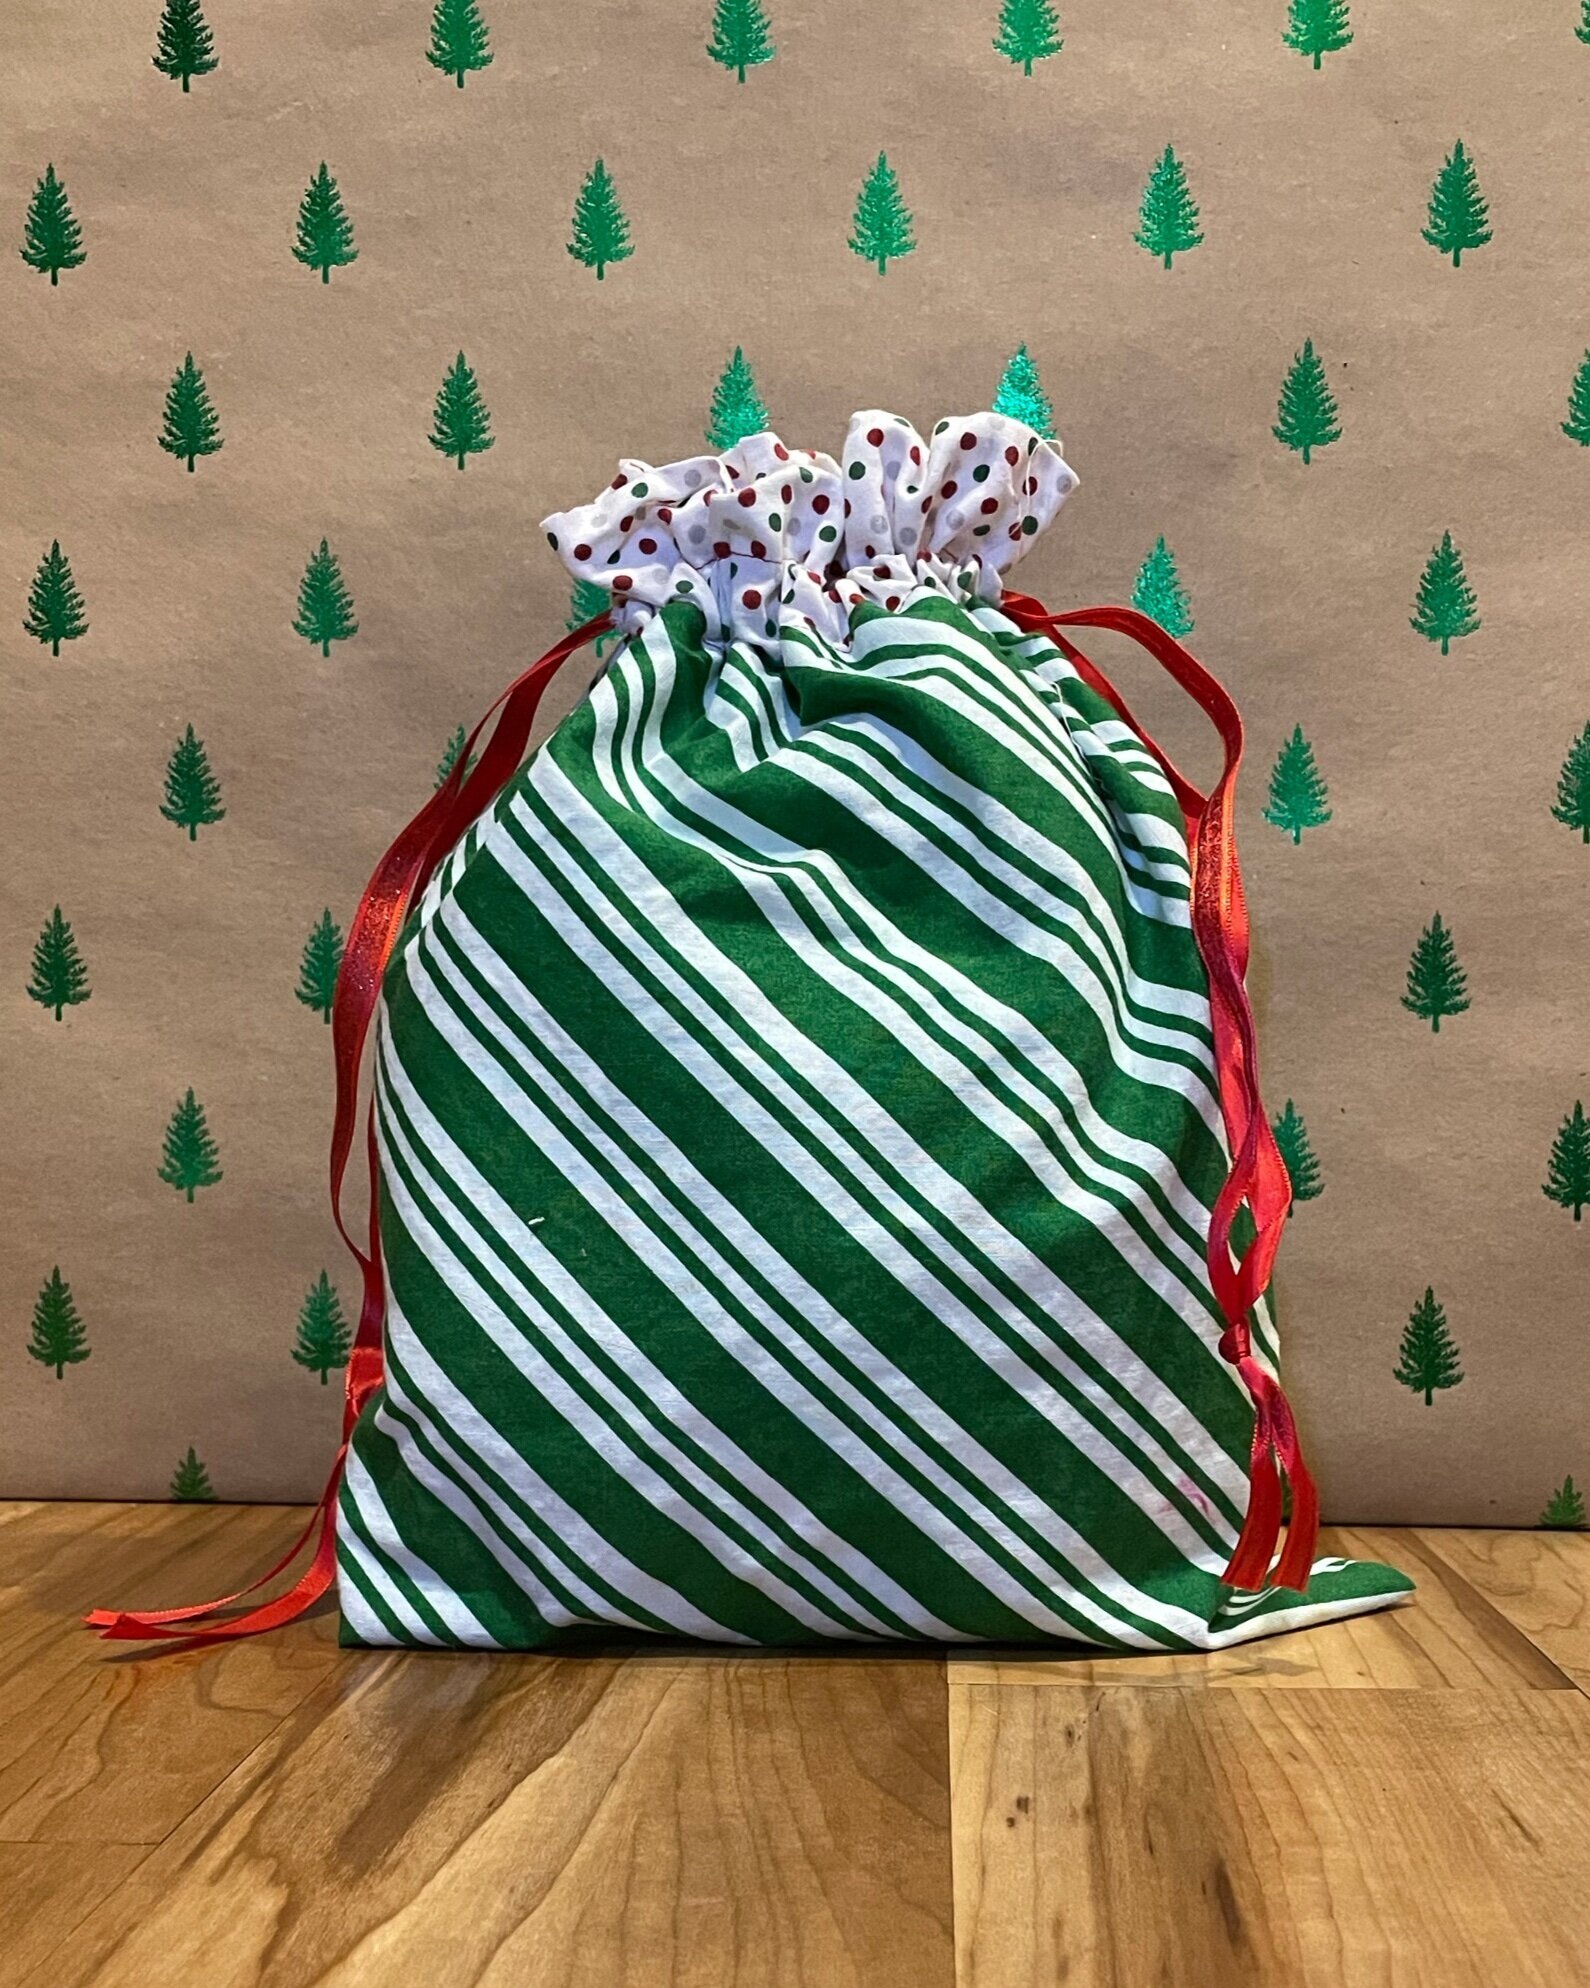
Your Simple Drawstring Bags are complete!
Never struggle to wrap those awkward gifts again! Just pop the item in the bag and pull the strings for a classic look!


Hot Tips
Measure the ribbon casing around 1”- 2”. For this project, I made a 1” casing and used a 1/4” ribbon. I could have made my casing smaller, but I wanted a casing that I could change out the ribbon.
The more space you have between your casing and the top of the bag, the bigger your ruffle will be. Conversely, the smaller the space between your casing and the top of your bag, the smaller your ruffle will be.
If you do not sew above the 1” gap where your casing goes (Step 8), then you will not have a defined ruffle.
If you do a French seam, then you don’t have to overlock or use pinking shears.
2 yards of fabric allowed me to create at least 7 or 8 bags in this style, plus other variations (which you can find here and here). In the end, I probably have about $1 into each bag; that’s a far cry from the $2-$8 they want in the store for a bag that’s most likely going to be destroyed after one use!
The larger the safety pin, the easier it is to use as a guide through your ribbon casing.
You can skip the pressing steps, but they help ensure your project comes together with ease.
Things I would do different…
These bags are so easy and quick to whip up, it’s a no brainer! I took my time with these bags and did them in batches (you can read more about batching in my post here). I love the look of these bags and now I don’t have to worry about wrapping odd presents. There’s not really much I would alter to this bag, but I would….
Personalize it.
If you read my other post, then you know that I recently received a Cricut Maker and I want to use it to personalize the gift bags.
Not only could the Cricut machine cut out this bag for you (I’ll work on a free SVG), but you could add in all kinds of vinyl decals for your gift bags.
Imagine…a cute drawstring that says special delivery from the North Pole or Rudolph Express. Maybe you want to add a pretty tree with a simple Merry Christmas.
The point is that you can completely customize your design to meet your style or the style of your recipient.
This brings me to another point…these could work for any gift at any time. Not just Christmas. You could make these as bridesmaid gifts, housewarming gifts, birthday gifts, etc.
Overall, this project was so quick to whip up that the only thing I would change is the dimensions! I can’t wait to explore my customizing options!
I really hope you enjoyed this make! If you did please consider subscribing to my newsletter, so you never miss a new project!
If you make these gift bags, make sure you tag them with #DarkkFluriDIY so I can see your creations!